Note
Access to this page requires authorization. You can try signing in or changing directories.
Access to this page requires authorization. You can try changing directories.
Note
- Brand agents is currently in beta.
- Currently, Brand agents is available for Shopify and WooCommerce sites.
- Currently, Brand agents is available for websites and not for mobile apps.
- Refer to the Brand agents terms for detailed usage guidelines.
- By accepting the Brand agents terms, you consent to having your catalog published to Microsoft Merchant Center (MMC). This enables your products to be discovered through Bing and Copilot.
This guide walks you through installing Brand agents directly from your Shopify store. This is the recommended approach if you're setting up Clarity and Brand agents for the first time on Shopify, as it streamlines the installation and configuration process within the Shopify interface.
Step 1: Install the Clarity Shopify app
Sign in to Shopify and go to the Shopify App Store. Search for and select Microsoft Clarity: AI Insights, select Install.
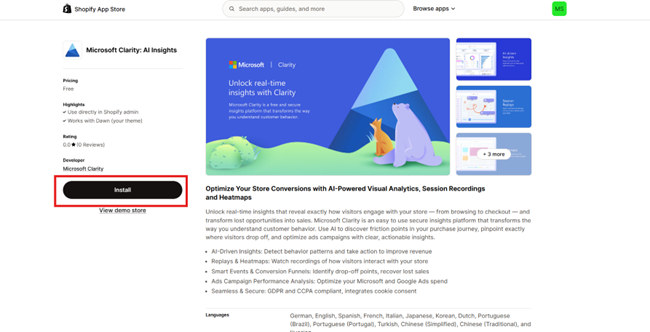
For a detailed, step-by-step guide, see the Clarity Shopify app installation guide.
Step 2: Enable the Clarity script
After you install the app:
- If you don't have a project, continue to create one.
- If you already have a project, continue to set up Brand agents for an existing project.
New project
If you're setting up Clarity and Brand agents for the first time, create a new project. On the Shopify store, select How do I enable Clarity Script?
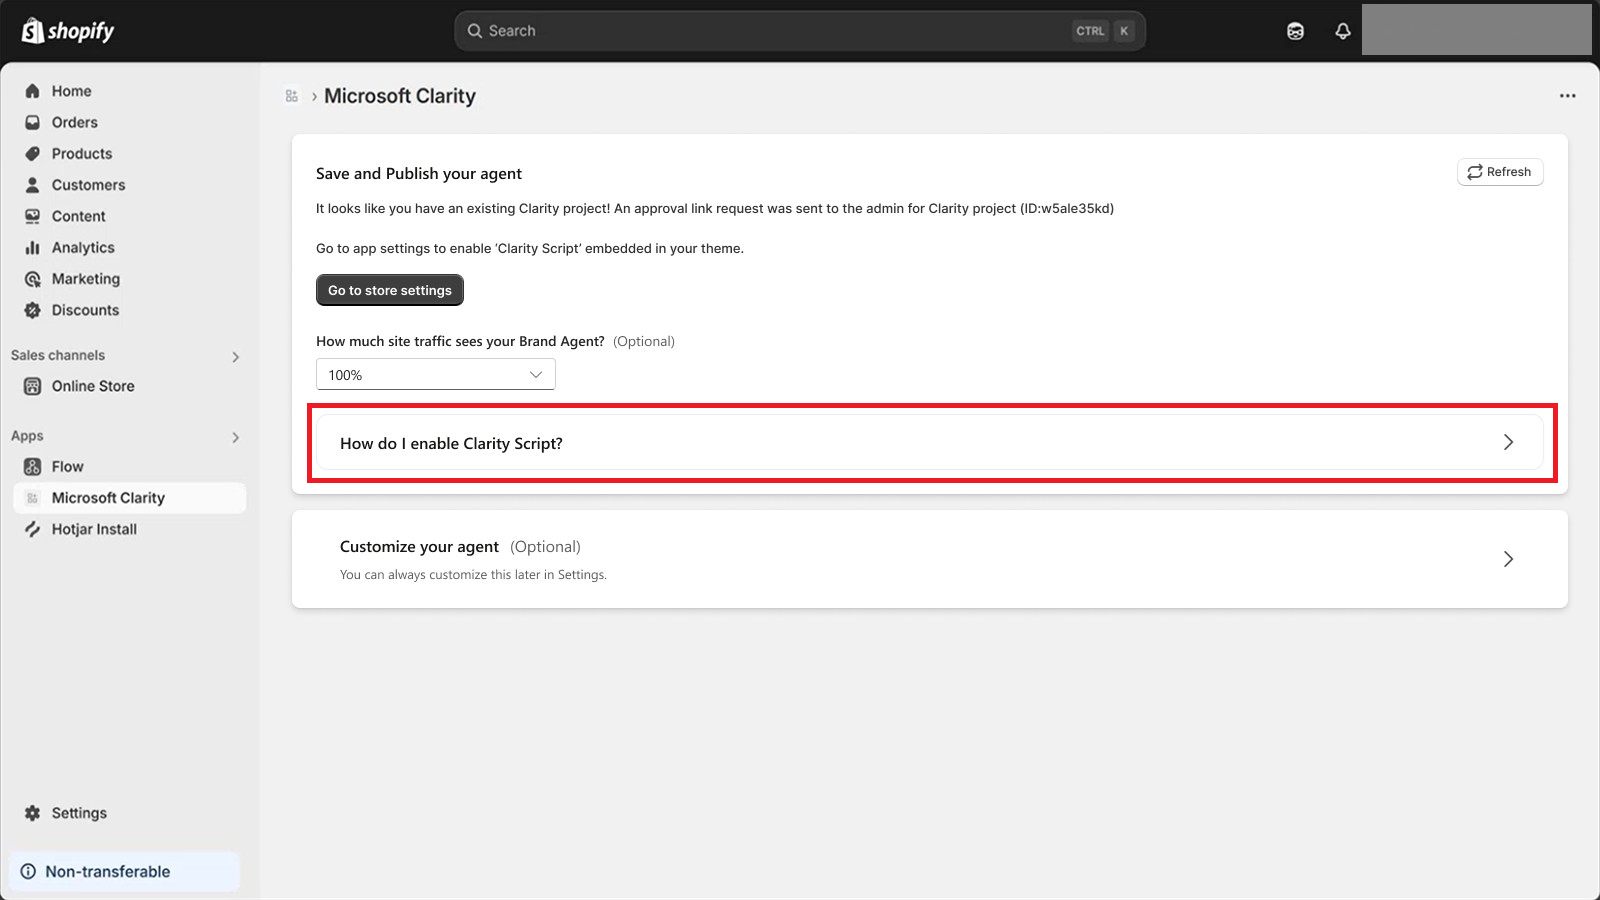
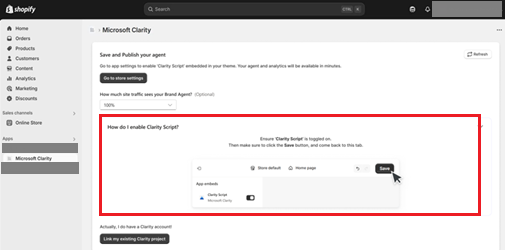
Go to App settings. Ensure Clarity Script is toggled on and select Save.
Existing project
If you already have a Clarity project, follow the steps in your Shopify store.
If Shopify isn't linked
If your Shopify store isn't connected to Clarity yet, link it to your existing Clarity project by selecting Link my existing Clarity project. An approval request is sent to the project admin.
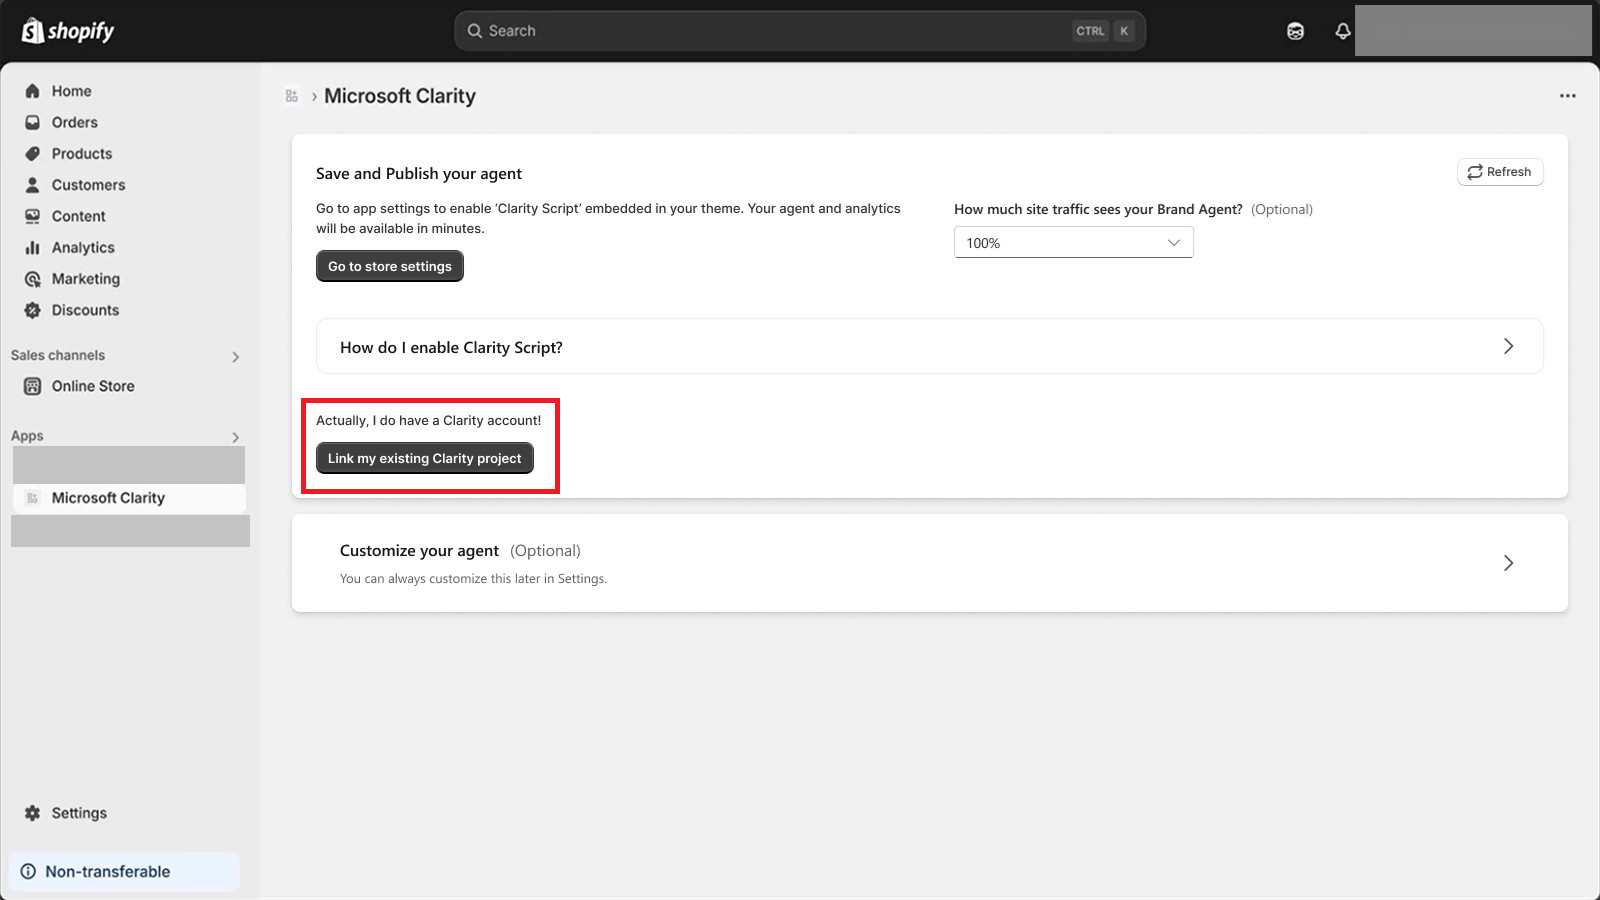
After approval, go to App settings. Ensure Clarity Script is turned on and select Save.
If Shopify is already linked
If your Shopify store is already connected to Clarity, ensure Clarity Script is toggled on and select Save in App settings.
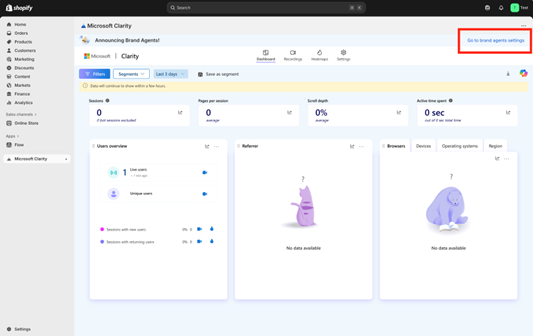
Step 3: Access Brand agents settings
To access the Brand agents experience, select Clarity with Brand agents > Continue.
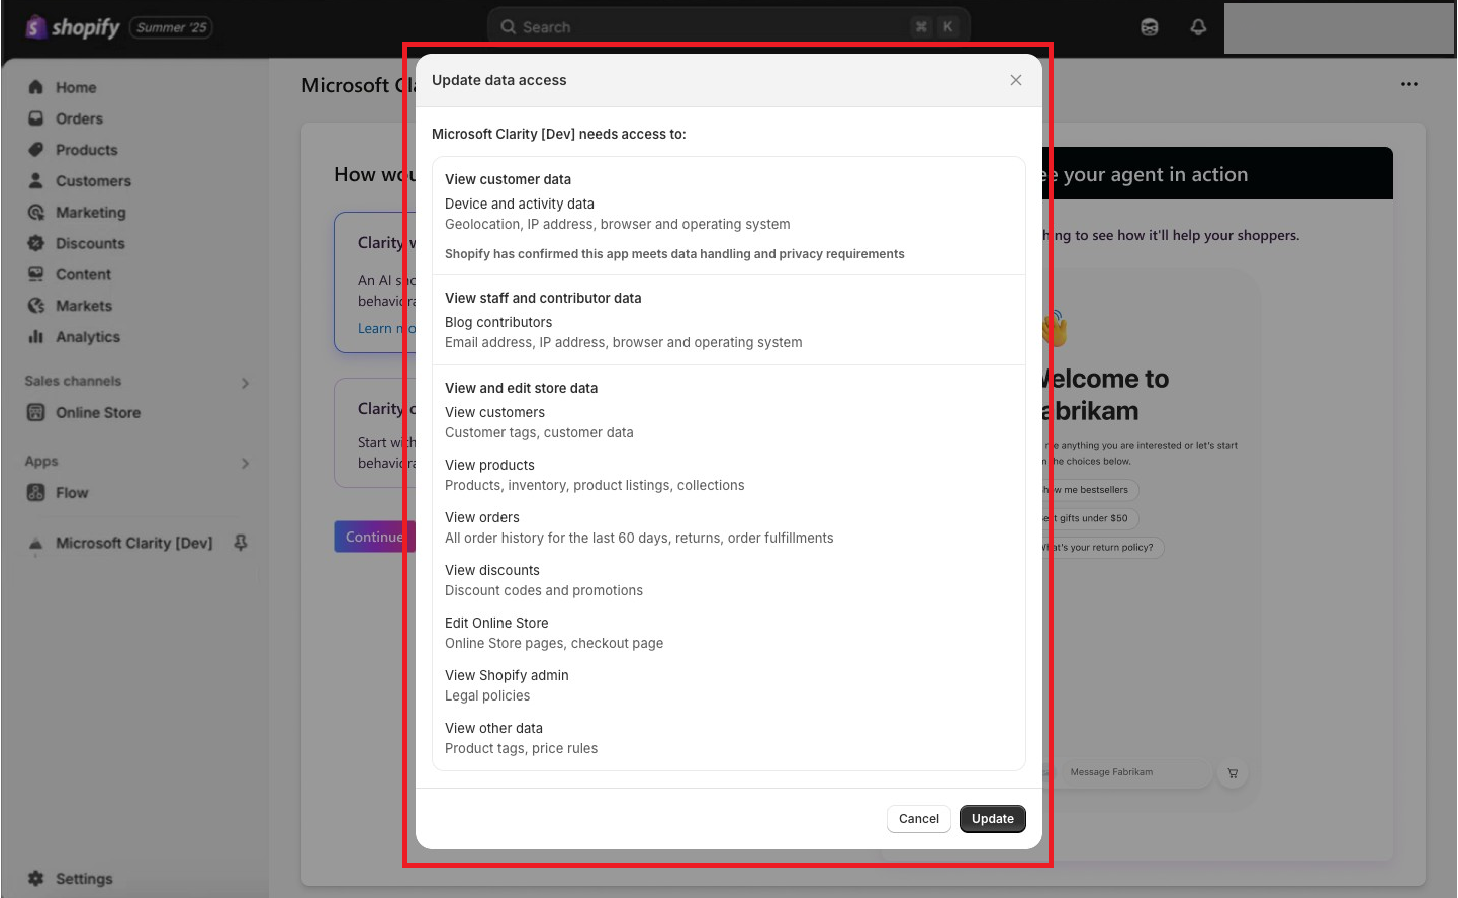
Update the data access settings as required.
Step 4: Customize your agent
Return to the Microsoft Clarity app tab in Shopify. You can customize your agent by editing the greeting, appearance, identity, and reference materials.
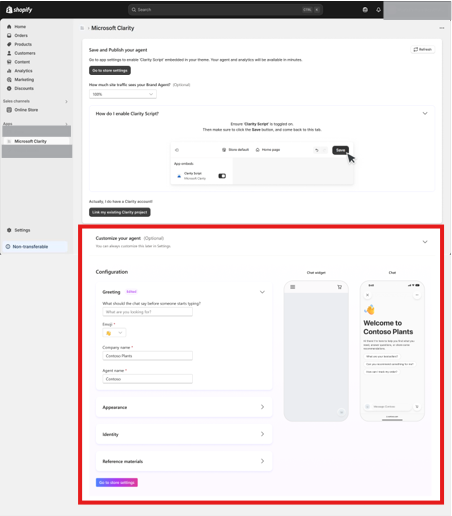
Select Go to store settings to view and save your details.
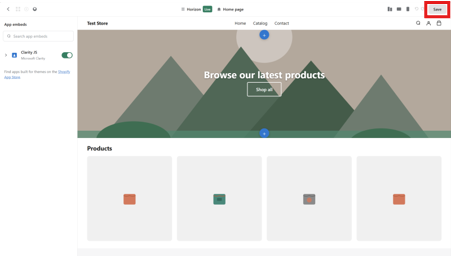
Step 5: Review your setup
After you save your settings, go to Clarity Settings to confirm that Brand agents appears as active.
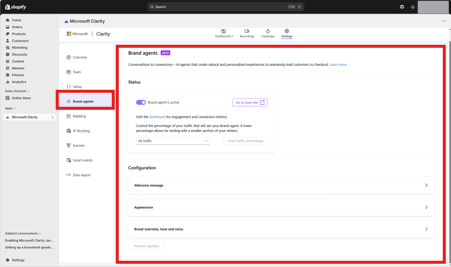
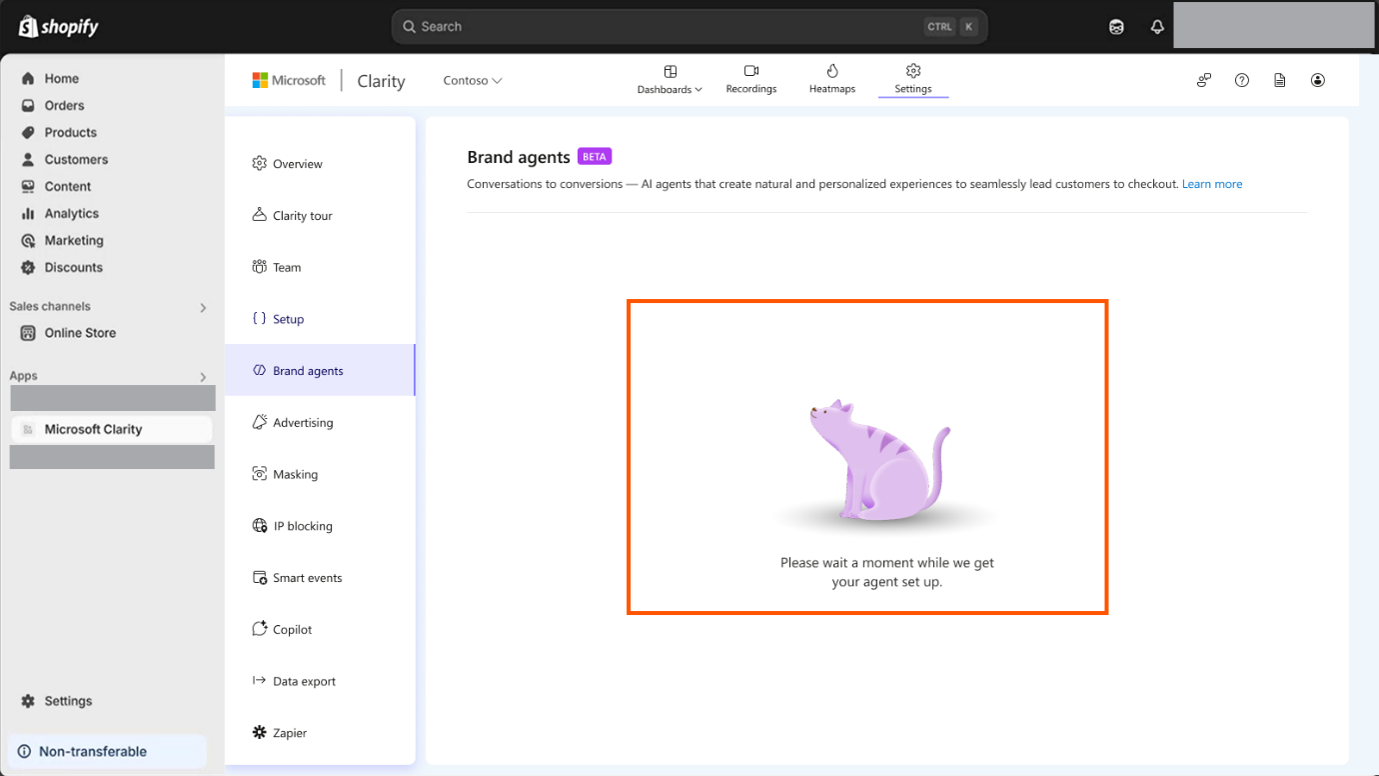
Allow a short time for the agent to finish setting up before you review the dashboard details.
Note
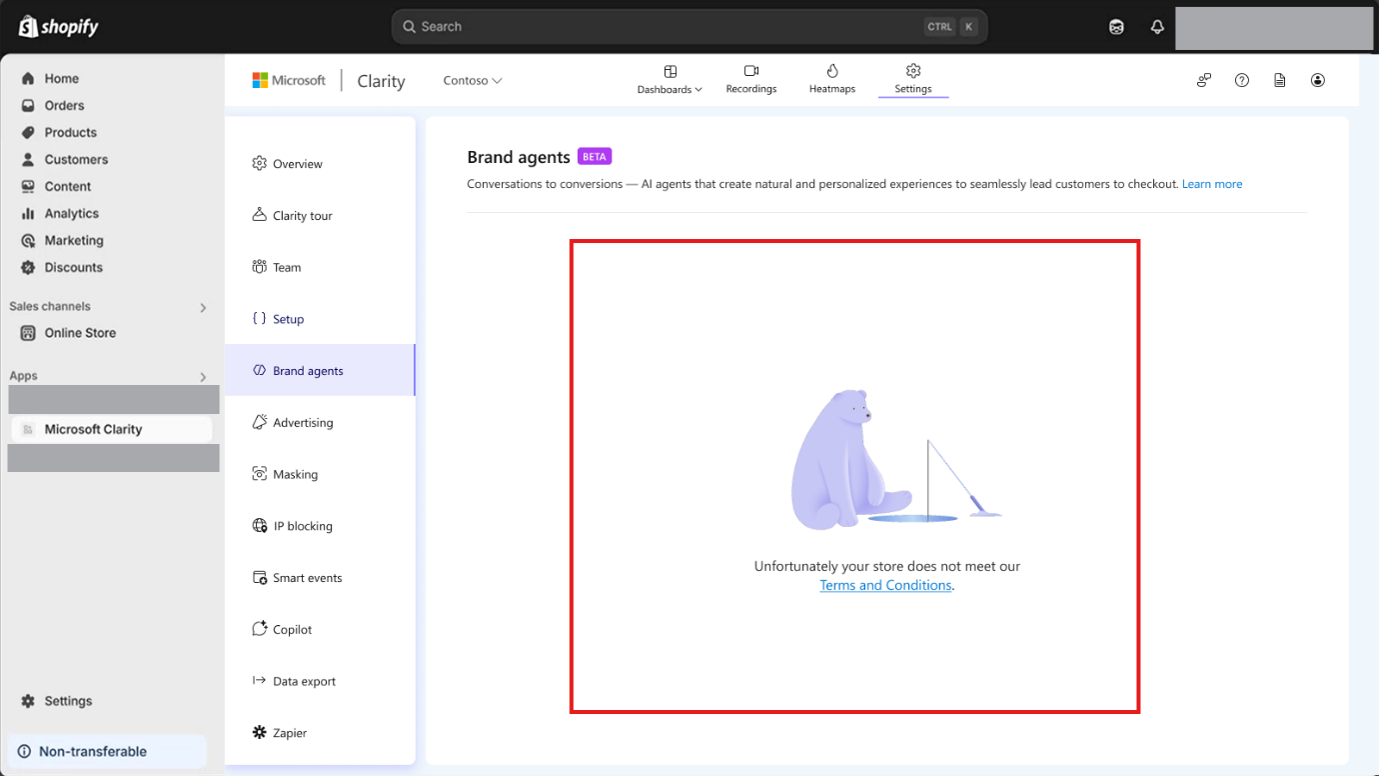
If Brand agents doesn't appear as active or if you encounter issues, review the terms and conditions and contact Clarity support for help.
FAQ
For more answers, refer to FAQ.