Configure Volunteer Engagement
After you've deployed Volunteer Engagement, complete the following post-deployment configuration steps.
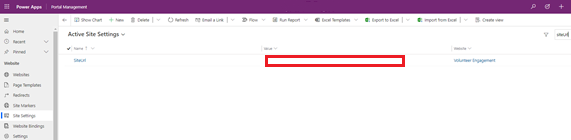
Open Portal Management and go to Site Settings.
Ensure that the SiteUrl setting matches the URL that you used for your Volunteer Engagement portal during deployment, for example volunteerengagement.powerappsportal.com.
Update website bindings
The first time you import the portal into your environment, update the website binding.
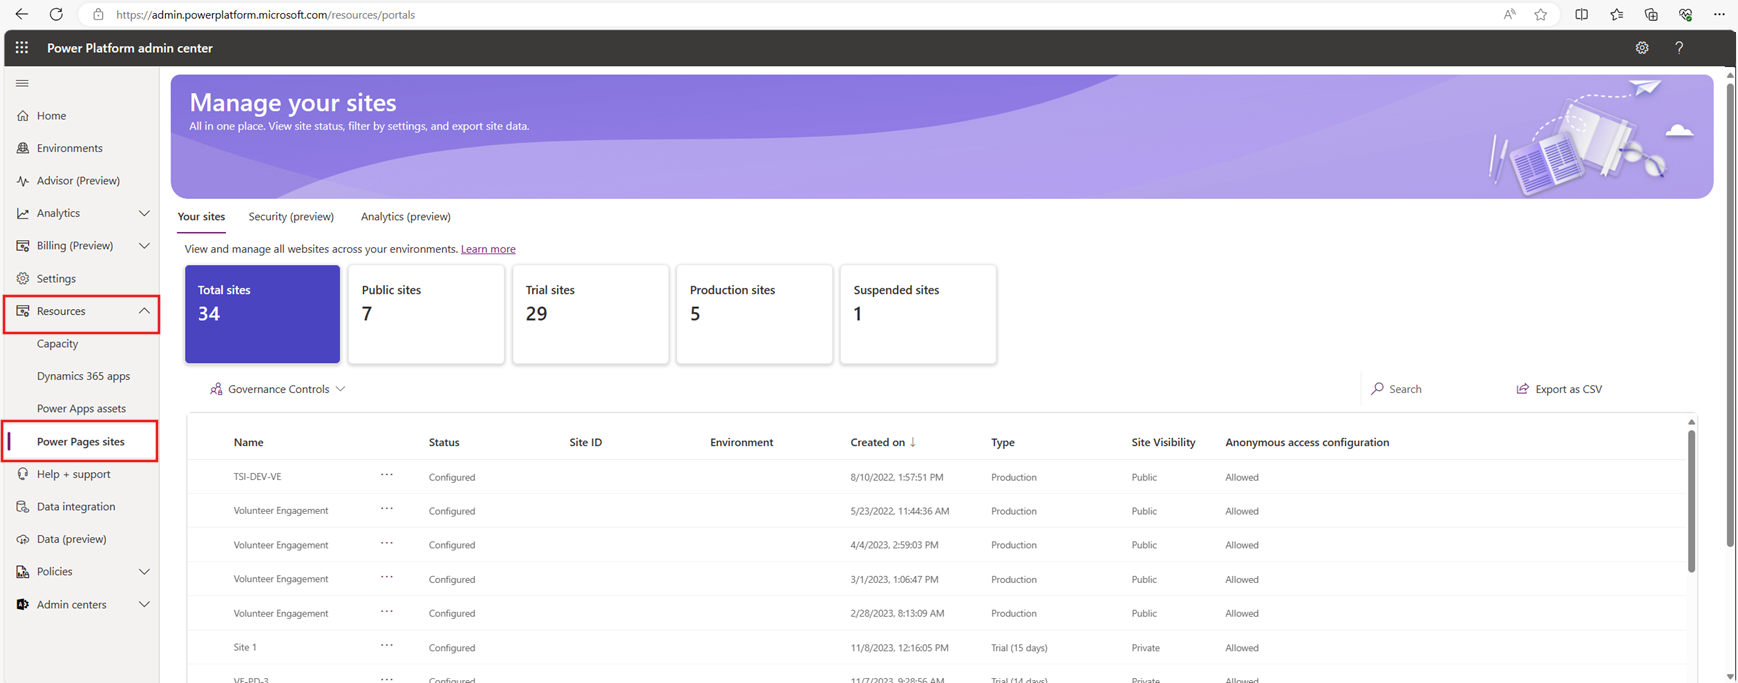
Go to Power Platform admin center.
Expand Resources on the left pane and select Power Page sites.
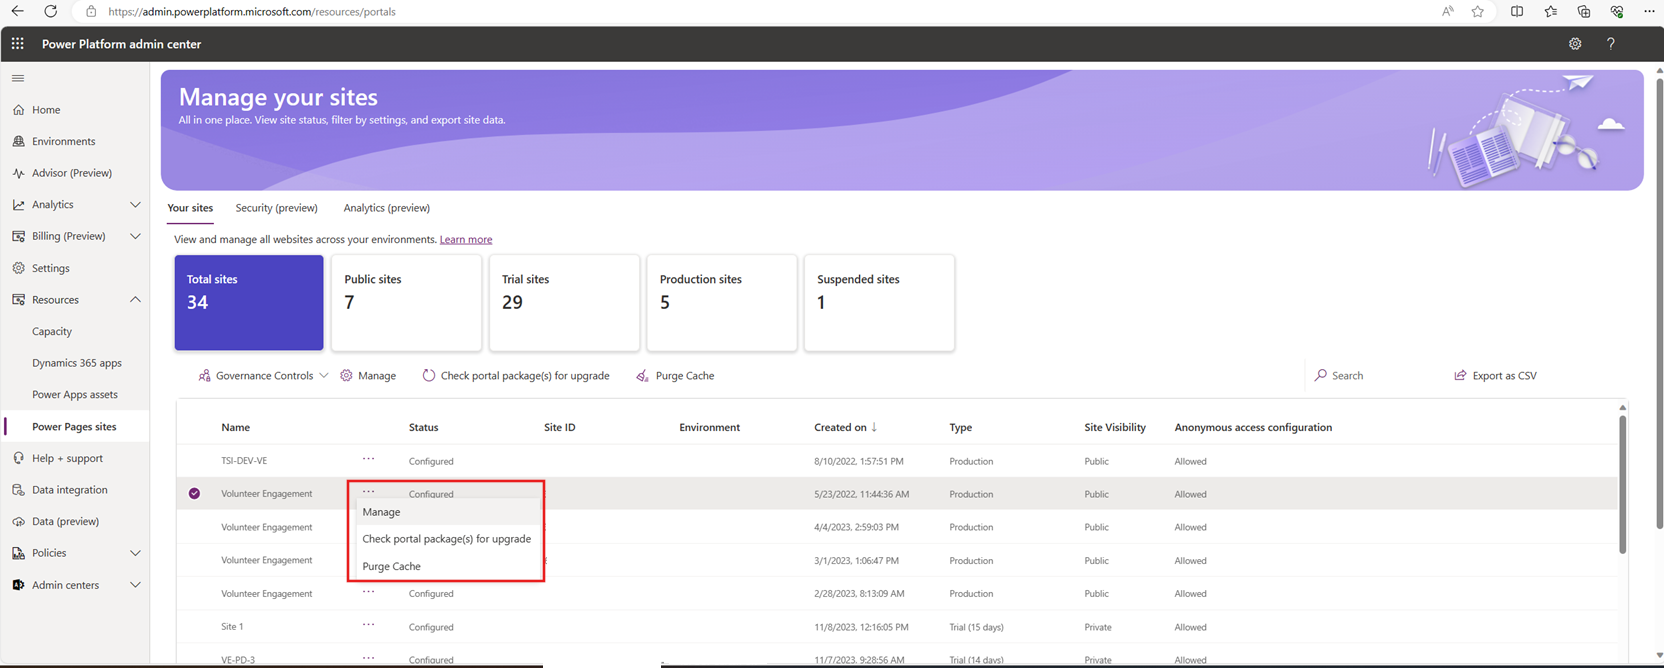
Find Volunteer Engagement, select the ellipses, then select Manage.
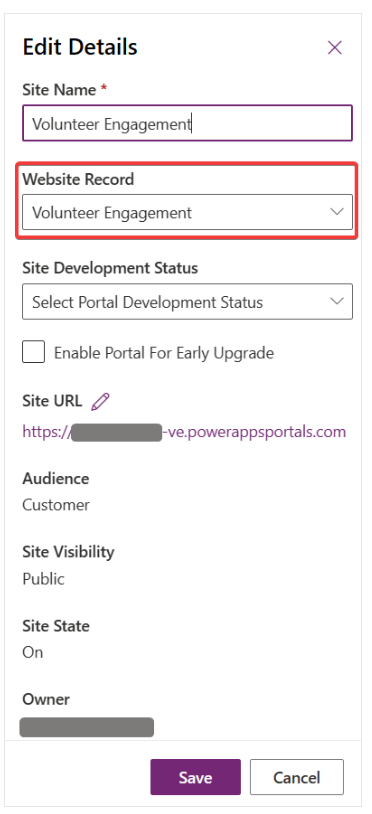
To update the portal binding, select the Edit button in the Site Details section.
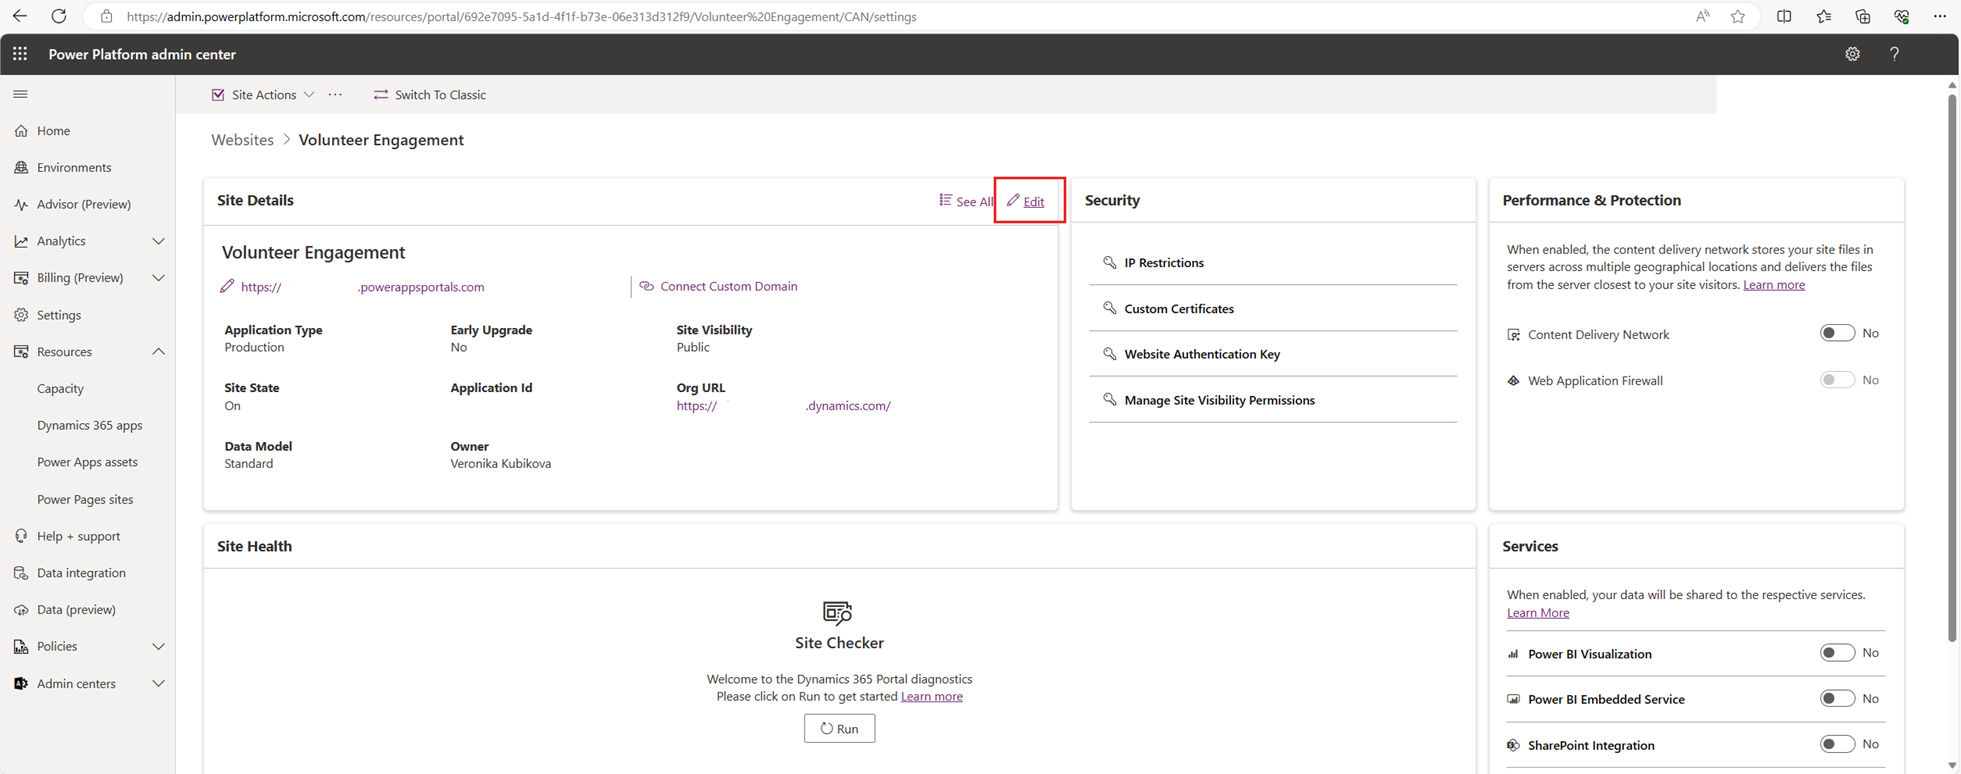
Select the dropdown for Website Record, select Volunteer Engagement, then select Save.
Verify your portal is ready
- Open Power Apps and select your environment on the upper right section.
- Select the URL of the Volunteer Engagement record to open your new Volunteer Engagement portal.
Note
Volunteer Engagement app data is set up in Volunteer Management, as required by Volunteer Engagement.
See also
Deploy Microsoft Cloud for Nonprofit solutions Deploy Volunteer Engagement Use Volunteer Engagement Use Volunteer Management Get started with Microsoft Cloud for Nonprofit solutions powered by Dynamics 365