Note
Access to this page requires authorization. You can try signing in or changing directories.
Access to this page requires authorization. You can try changing directories.
If you turned off Copilot in Dynamics 365 Sales, it remains turned off. Otherwise, Copilot is turned on by default for:
- Organizations in regions where an Azure OpenAI Service endpoint is available.
- Organizations that provide consent for data movement across regions and select the monthly release channel for the sales app.
For all other organizations, an admin must provide consent for cross-region data movement in the Power Platform admin center and then turn on Copilot in the Sales Hub app. This article provides instructions for providing consent for data movement and turning Copilot on or off.
Even if your organization is in a region where an Azure OpenAI Service endpoint is available, enable cross-region data movement as a fallback option. This action helps avoid interruption to Copilot service in case of an OpenAI service outage in your region.
Throughout this article, the term "sales app" refers to apps that have lead and opportunity tables and aren't on the exclusion list.
Prerequisites
Make sure that your organization is in one of the regions where Copilot in Dynamics 365 Sales is available.
Verify if your region has an Azure OpenAI Service endpoint. Check the list of regions where data is processed for Copilots and generative AI features. If it doesn't, you must provide consent for data movement in the Power Platform admin center. Learn more in Turn on data movement and Bing search for Copilot and generative AI features.
Make sure that your organization's data loss prevention policies allow the connectors that Copilot requires.
Make sure that your Power Platform administrator has turned on Copilot in Dynamics 365 Sales in Power Platform Admin Center.
Review the levels of control for Copilot in Dynamics 365 Sales to understand who can access Copilot features in your organization. Ensure that users who need access to Copilot in Dynamics 365 Sales are included in the allowed Entra groups and follow the instructions in this article to turn on Copilot features in the Sales Hub app.
Turn Copilot features on or off in Sales Hub
When you turn on Copilot features, you enable the chat and embedded Copilot experiences in sales apps.
In the Sales Hub app, go to Change area in the lower-left corner of the page and select App Settings.
Under General Settings, select Copilot.
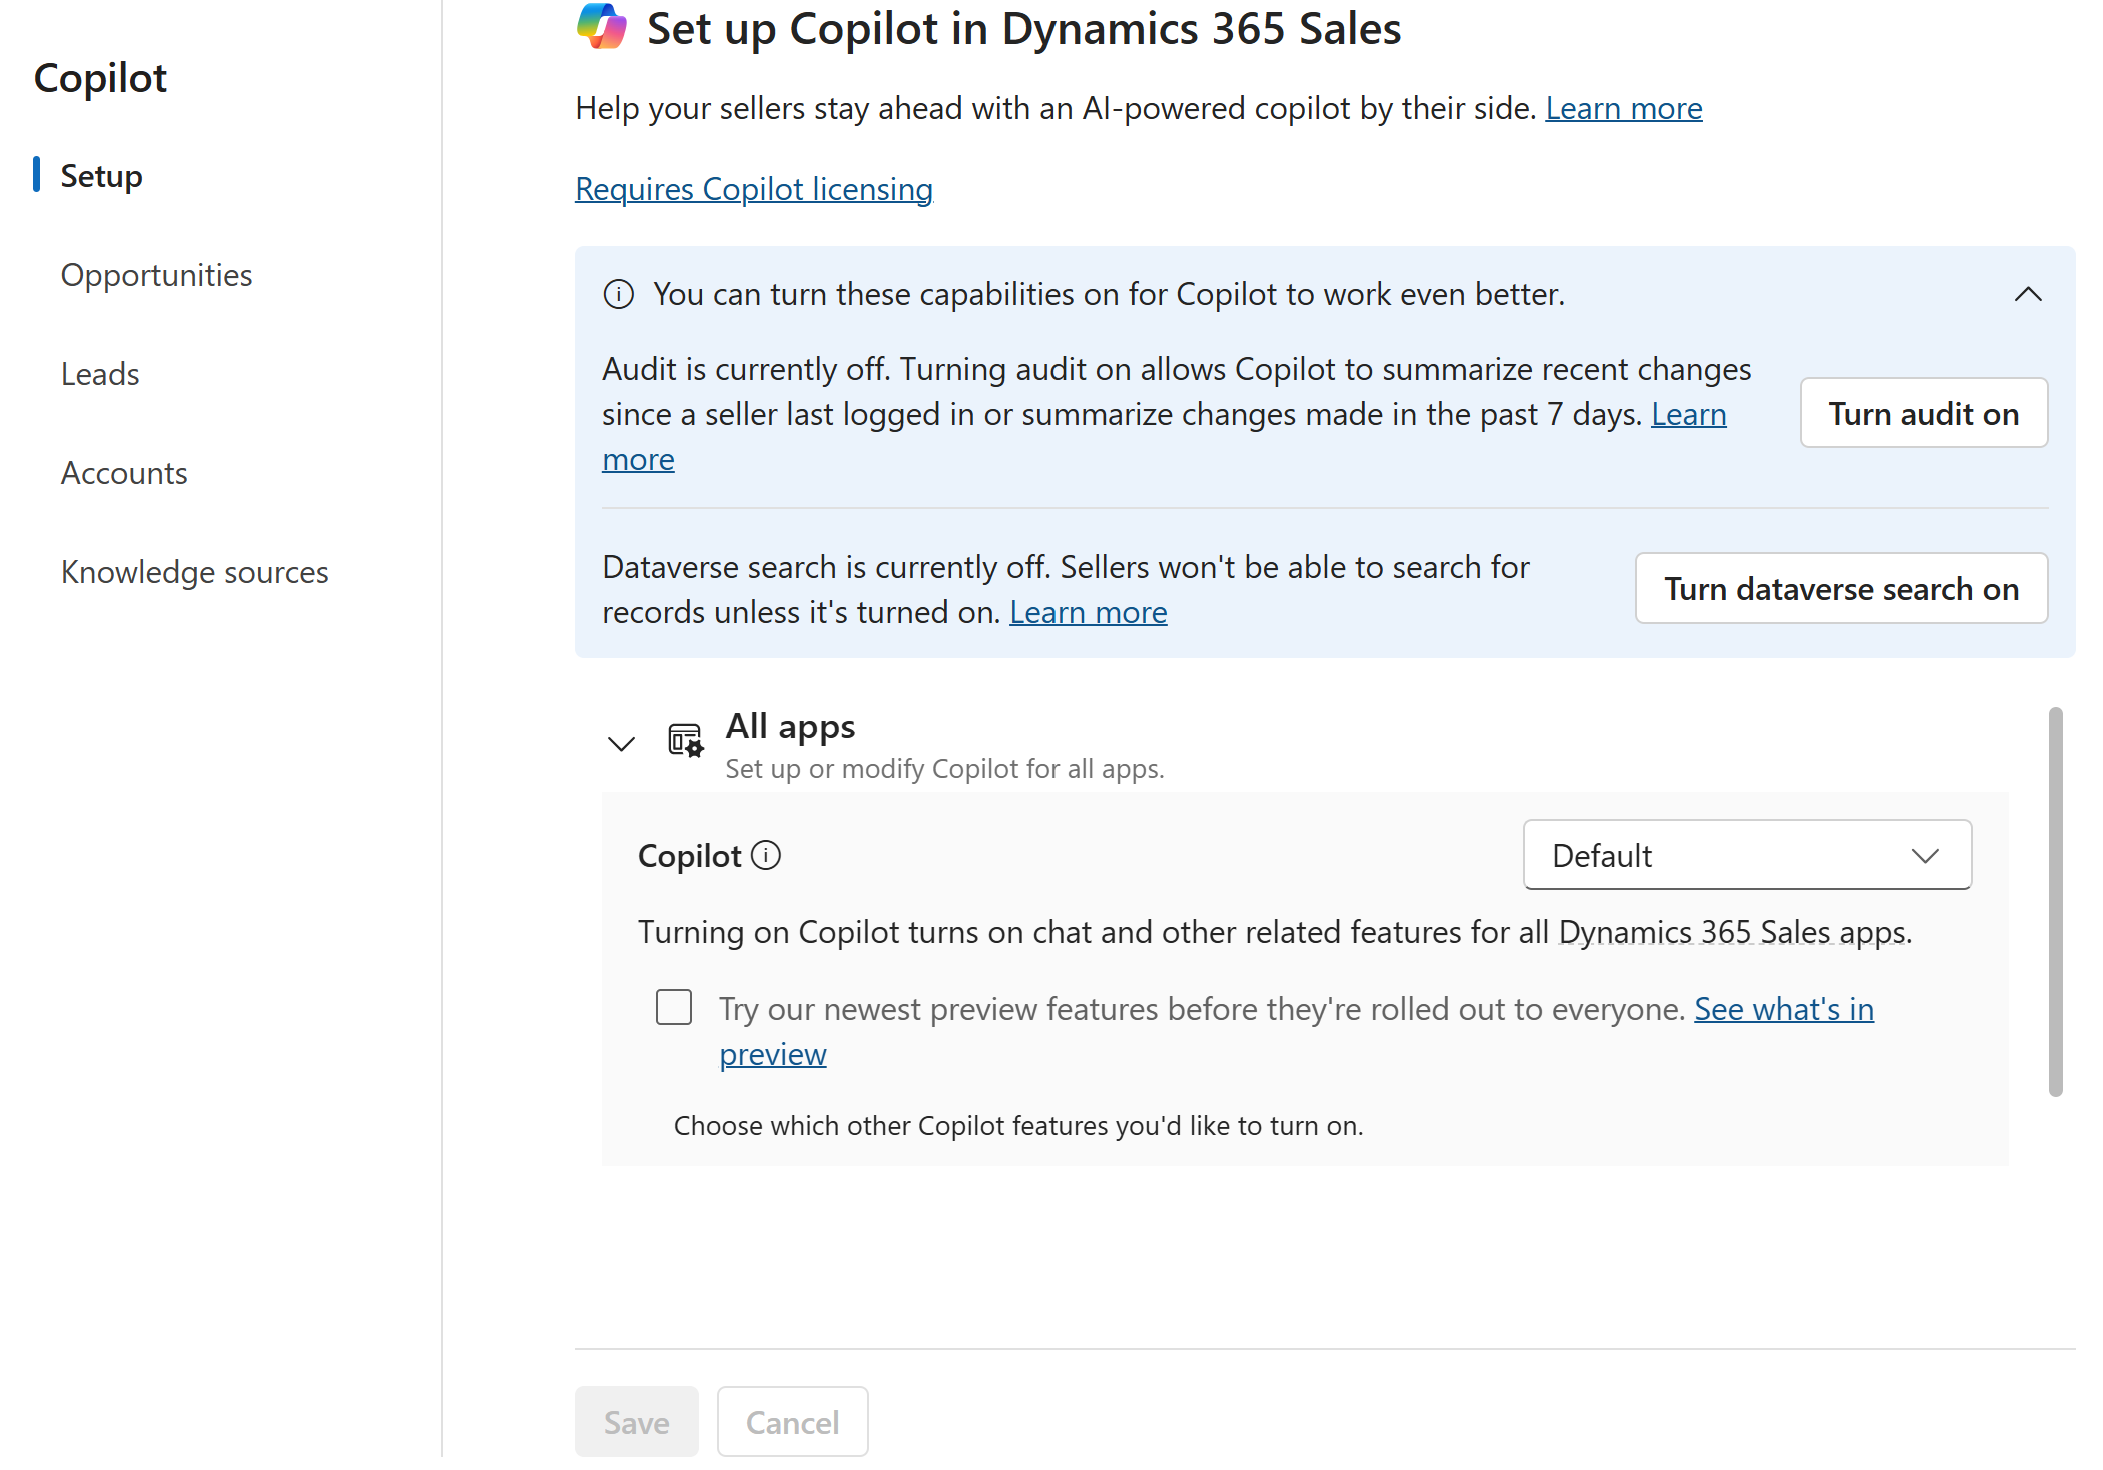
To turn on audit history for the lead, opportunity, and account tables, select Turn audit on.
If auditing is already turned on for these tables or globally, the Turn audit on option isn't displayed.
Copilot needs audit history to display recent changes to leads, opportunities, and accounts. If you configure Copilot to show recent changes from other tables, turning on auditing turns on audit history for those tables as well. However, if you remove those summary fields later, you need to turn off audit history for those tables manually.
Under All apps, select a global setting to apply to all sales apps.
The Default setting applies the default behavior.
You can override the global setting at the app level. For example, to turn on Copilot only for the Sales Hub app, select Off for All apps, and then under Individual apps, select On only for the Sales Hub app.
The initial setting depends on the setting for both the organization and the app. For example, if your Power Platform admin turns on Copilot for your organization, but your Power Apps admin turns it off for the Sales Hub app, the initial setting is Off for the Sales Hub app and On for all other sales apps. Learn more in Control access to Copilot in Dynamics 365 Sales.
Save the changes.

Next steps
- Configure fields for generating summaries and recent changes
- Configure fields for generating what's new with my sales records list
- Configure Copilot to use specific SharePoint folders