Note
Access to this page requires authorization. You can try signing in or changing directories.
Access to this page requires authorization. You can try changing directories.
The Power Apps connector for Azure DevOps lets you work with your Azure DevOps instance. View Azure DevOps queries, select work items by type, and view or edit details—all from inside a canvas app connected to Azure DevOps.
Tip
For a complete list of all actions, see Azure DevOps connector actions.
This article guides you through building a canvas app that connects to Azure DevOps to get a list of queries and interact with work items in your project.
Prerequisites
You need the following:
- A Power Apps license. If you don't have one, use a 30-day trial, or sign up for a developer plan for non-production use.
- If you're new to Power Apps, learn the basics by generating an app, then customize the app's controls, gallery, forms, and cards.
- A blank canvas app to connect to Azure DevOps.
- To create the app in this article, you need an Azure DevOps instance with an organization, a project, and a shared query that has a few sample work items available for editing.
- The Azure DevOps instance must let Third-party application access via OAuth. For more information, see Manage access policies for Azure DevOps.
Step 1 - Add Azure DevOps data source
To connect to Azure DevOps, edit the blank canvas app, and add the Azure DevOps data source.
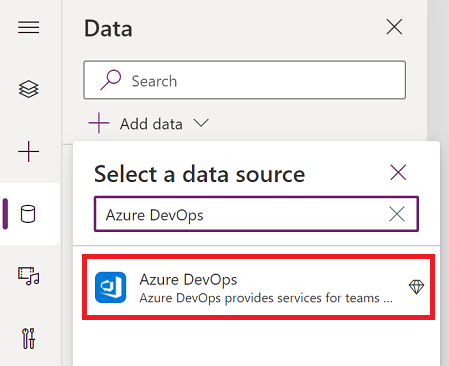
If you don't have an Azure DevOps connection, select Connect, follow the prompts to enter your details, and allow the app to connect.
Step 2 - List shared queries
In this section, you use the ListQueriesInFolder action for the Azure DevOps connector to list the available queries.
In the left pane, select Insert > Layout > Blank vertical gallery.
Enter the following formula for the Items property of the gallery. Replace the example parameter values with your own values.
AzureDevOps.ListQueriesInFolder("Project", "Organization", "Folder").value
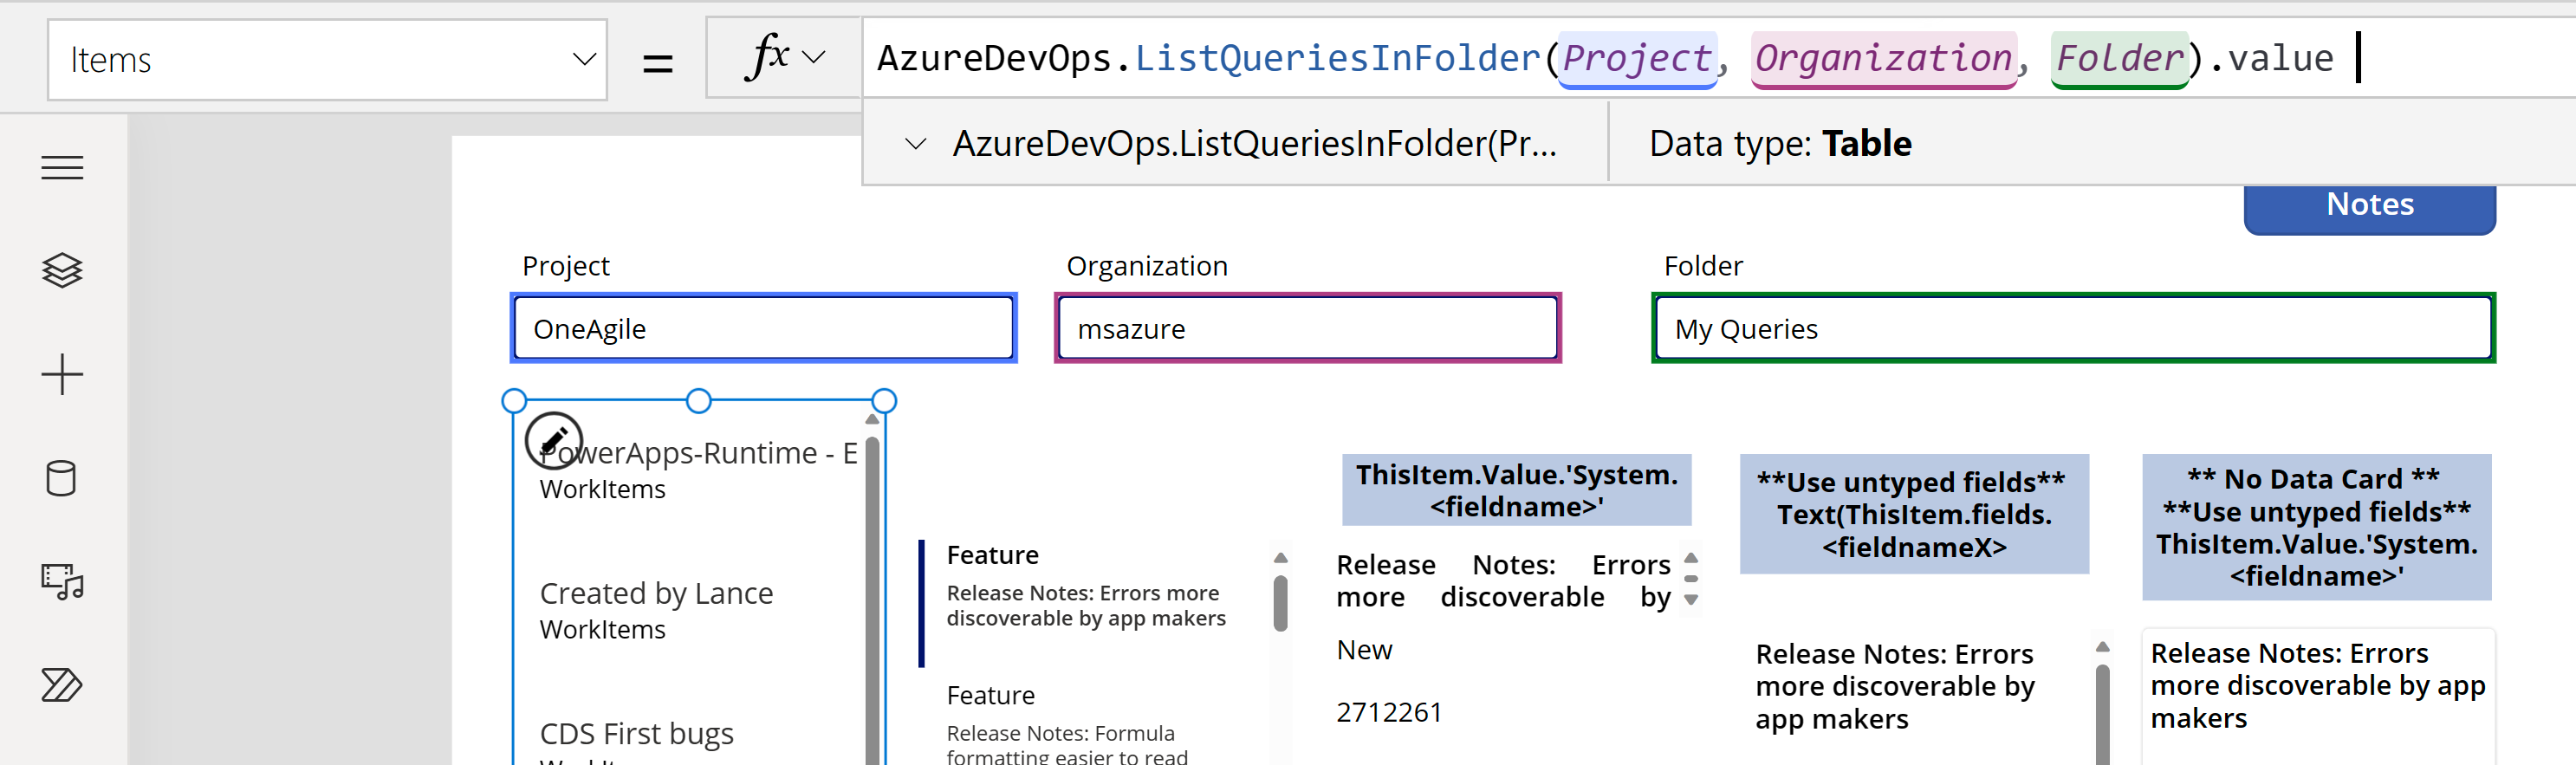
The example uses the variables "Project", "Organization", and "Folder". The actual values are in the text boxes below the formula bar (highlighted). You find your Project and Organization values in the URL used to connect to Azure DevOps. The Folder is usually "Shared Queries" or "My Queries".

If you get the following error in the above formula, enable third-party app access using OAuth in your Azure DevOps organization, and try again.
"AzureDevOps.ListQueriesInFolder failed:{"status":401,"message":"TF400813:The user 'GUID' isn't authorized to access this resource."}"
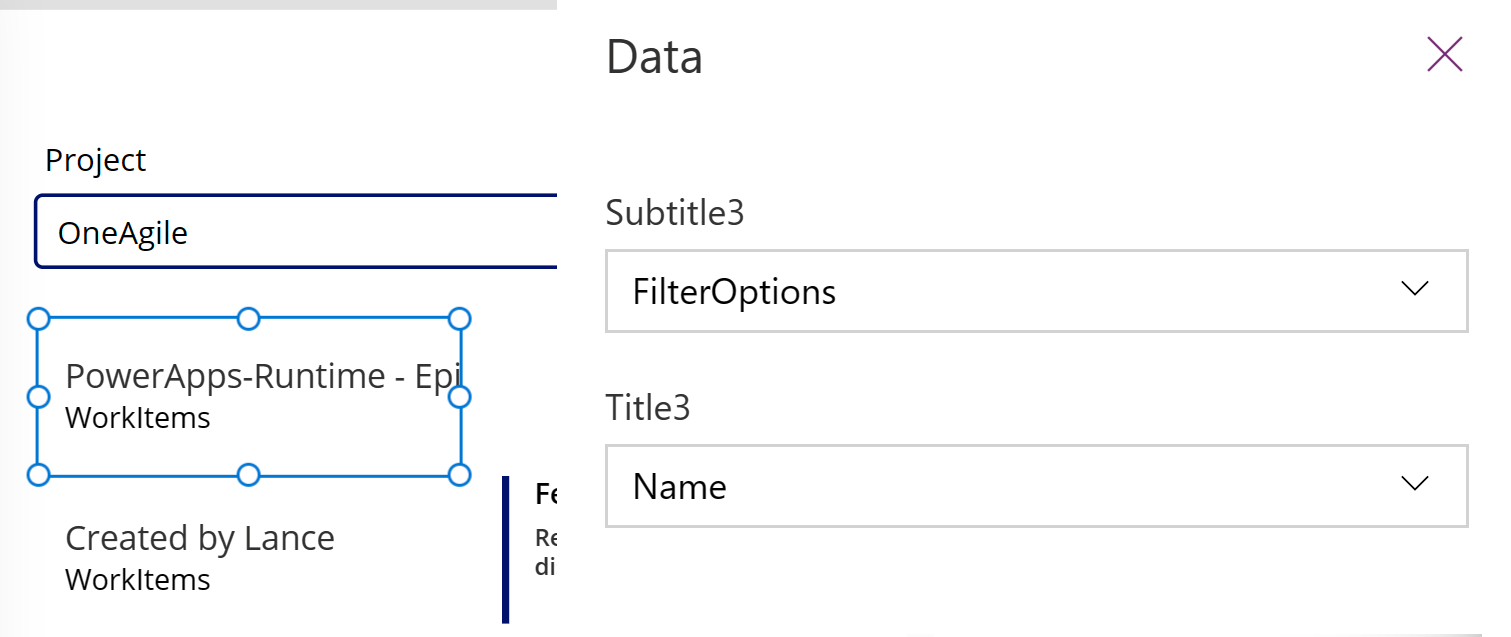
Set the Layout for the gallery to Title and subtitle.
Choose the fields appropriate for Azure DevOps as Name and FolderOptions for the title and subtitles.
Step 3 - List work items
Use the GetQueryResultsV2 action for the Azure DevOps connector to list all work items for the selected query. This action binds the gallery to the data source.
Insert another blank vertical gallery and place it next to the existing gallery.
Enter the following formula for the Items property of the gallery. Replace the example parameter values with your project and organization names.
AzureDevOps.GetQueryResultsV2("Project", Text(Gallery1.Selected.Id), "Organization").value
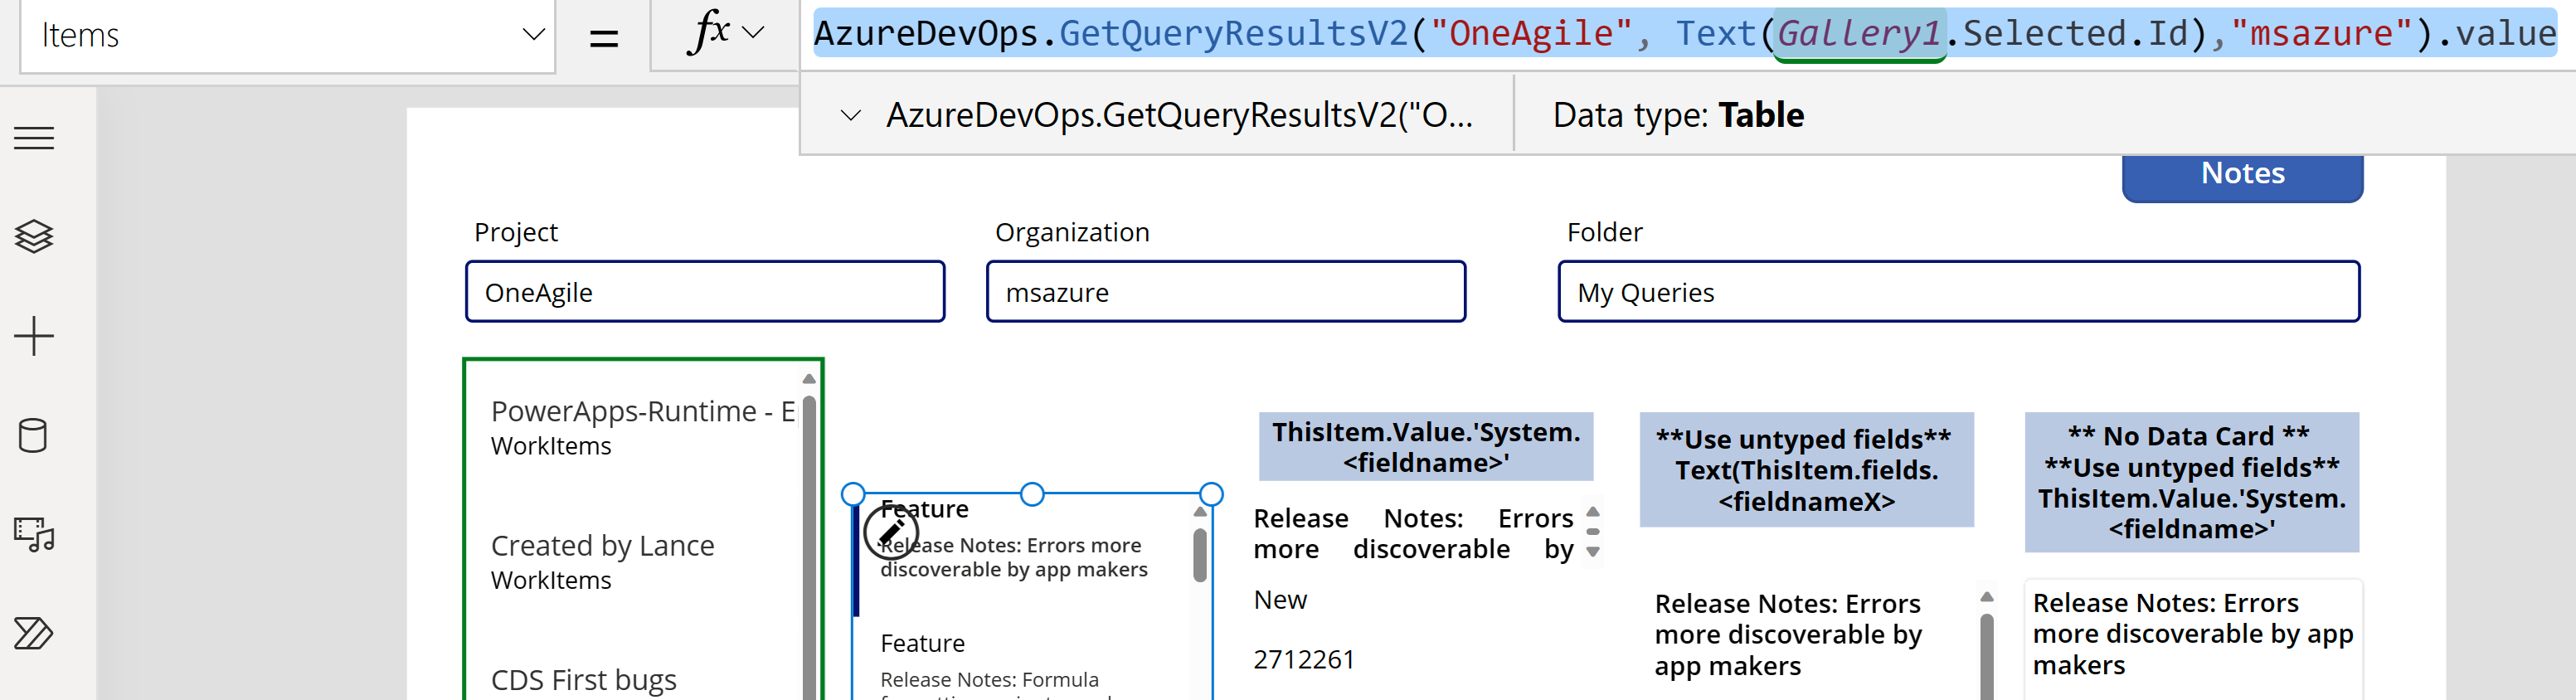
This formula uses the GetQueryResultsV2 action with the project name, query ID, and organization name. The query ID in this example (Gallery2.Selected.Id) refers to the query selected from the list of queries available through the gallery added earlier. Replace the gallery name as needed.
Add dynamic return values to your gallery
The result of GetQueryResultsV2 is dynamic, so the values are dynamic as well.

But you can access some of the values. Azure DevOps returns a basic set of values for all typed items. Select the data card in the gallery and insert two text labels. Set the text property of the labels as follows:
ThisItem.Value.'System.WorkItemType'
ThisItem.Value.'System.Title'
Step 4 - Display work items
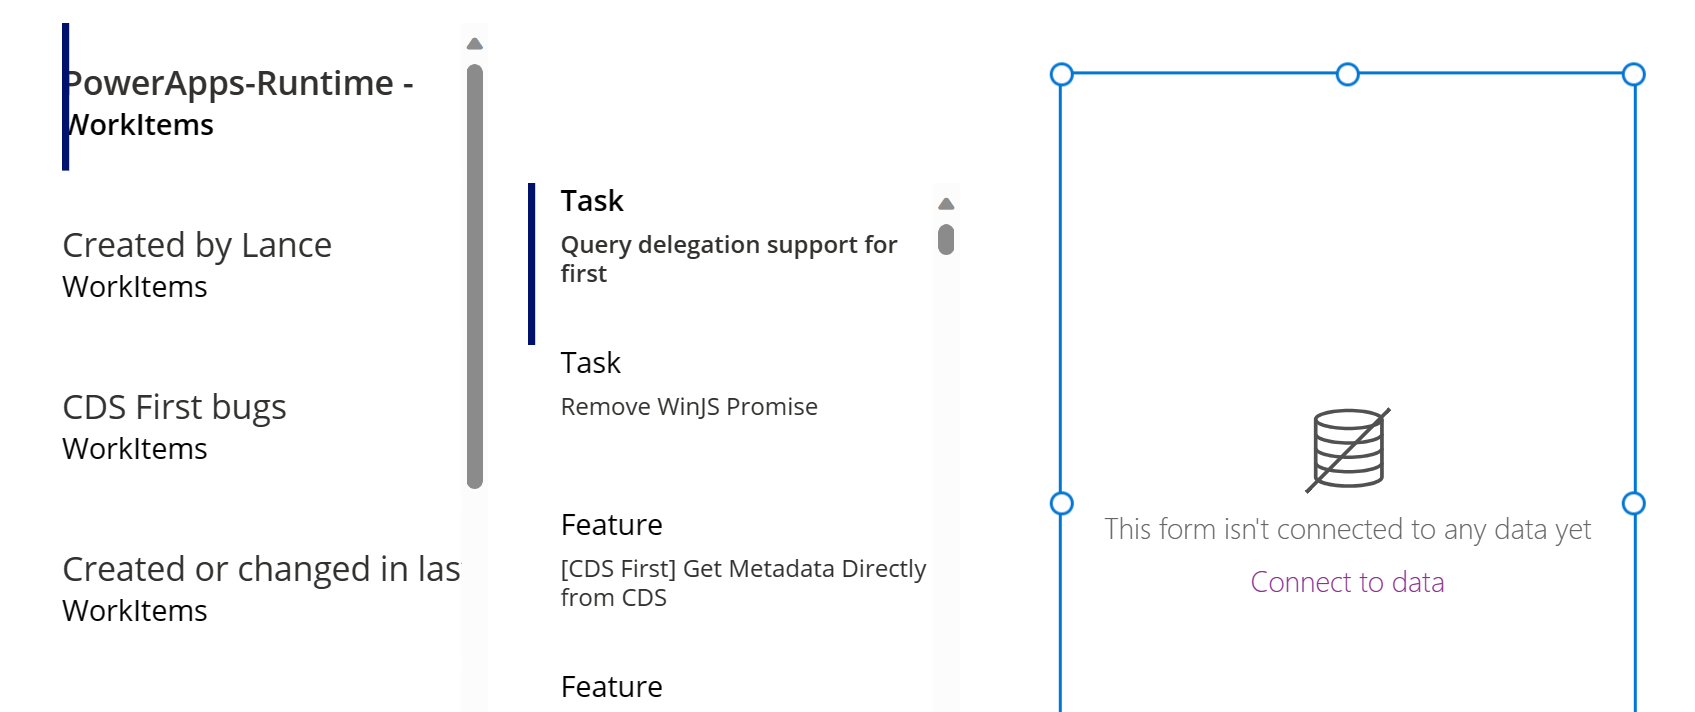
The app shows a list of all queries and the list of work items for the selected query. Now, add an edit form to display data.
Move both galleries to the left side of the screen to make room for the edit form.
Add Edit form to the screen and move it to the right side of the galleries.
Set the DataSource property of the edit form to
AzureDevOps.GetQueryResultsV2("Project", Text(Gallery1.Selected.Id),"Organization").value. Replace "Project" and "Organization" with your project and organization names.Set the Item property of the edit form to
Gallery2.Selected.
This formula sets the Item property for the edit form to the work item that is selected.
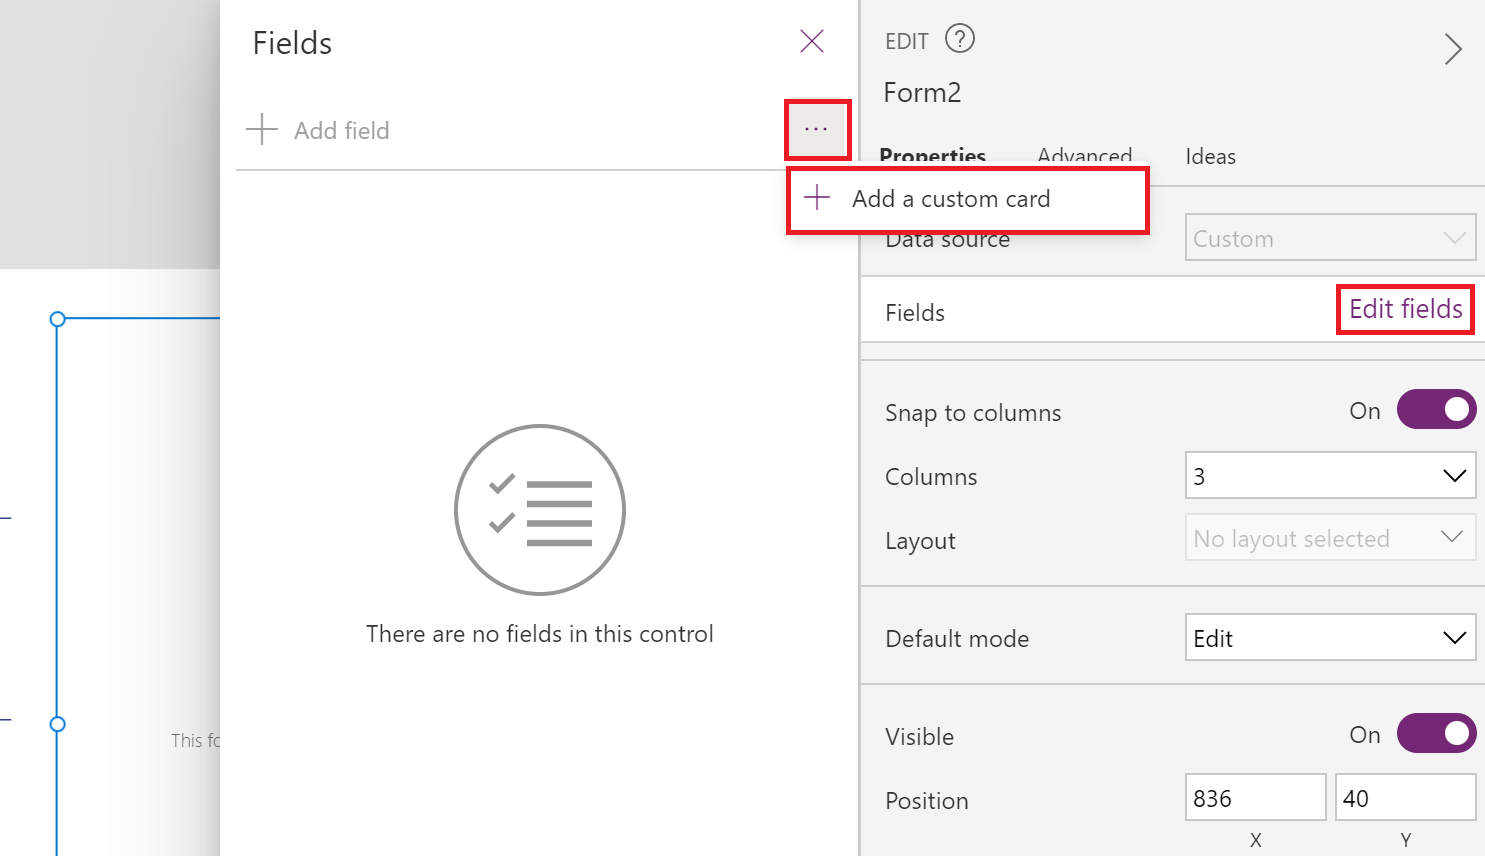
- Select ... (ellipsis) > Add a custom card.
- Move the data card to the top of the edit form.
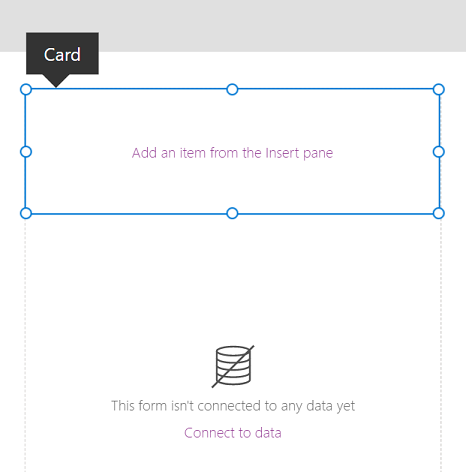
- Increase the size of the text input control.
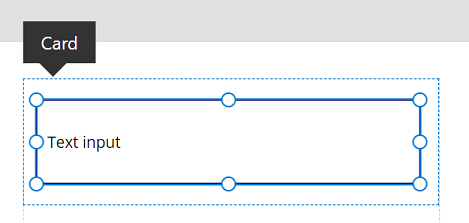
- Set the Default property of the text input control to
Text(ThisItem.Value.'System.Title'). The Text function returns the value as text.
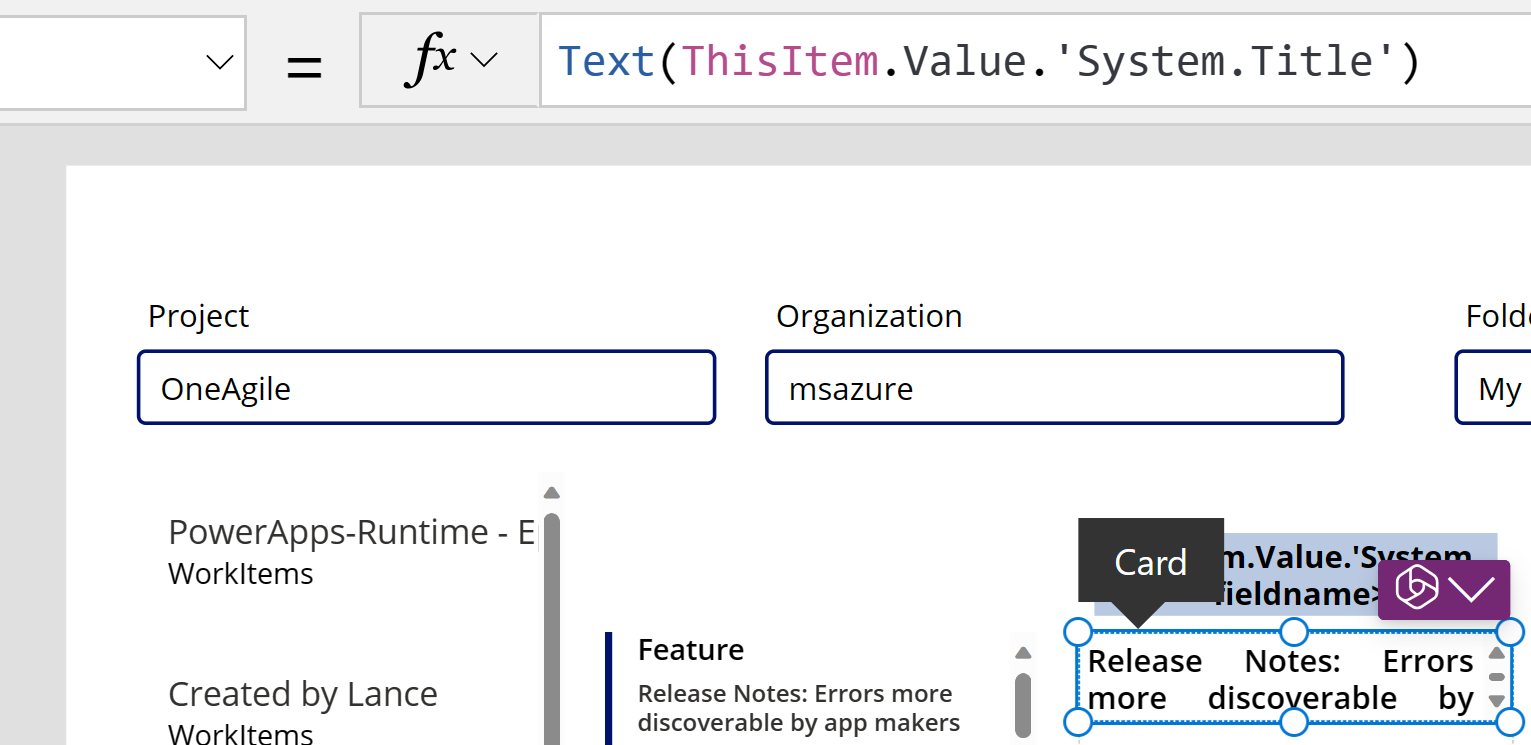
This formula sets the default text inside the text input control to the Title field from the selected Azure DevOps work item.
Tip
If your Azure DevOps project uses the Description field with HTML or rich text, use the Rich text editor input control instead of the Text input or label controls. The Rich text editor control helps display the description as rich text instead of HTML code.
- Repeat the previous steps to add another custom card, with a text input control inside with the Default property set to
Text(ThisItem.Value.'System.State').
This formula sets the default text inside the text input control to the State field from the selected Azure DevOps work item.
- Rearrange the data cards inside the edit form to create space for the save icon.
Add dynamic return values to your forms
So far, you use the Edit form, which simplifies data access by providing a common DataSource and Item property for all data cards in the form. To access dynamic values, set both the data source and the item properties as follows (replace Organization and Project with your values):
AzureDevOps.GetWorkItemDetails(Gallery2.Selected.Value.'System.Id',Organization, Project, Gallery2.Selected.Value.'System.WorkItemType')
When you pass the text property "WorkItemType", such as "Feature", you can switch between items like Features and Work Items. Because the set of fields for these items differs, the return type from this call is dynamic.
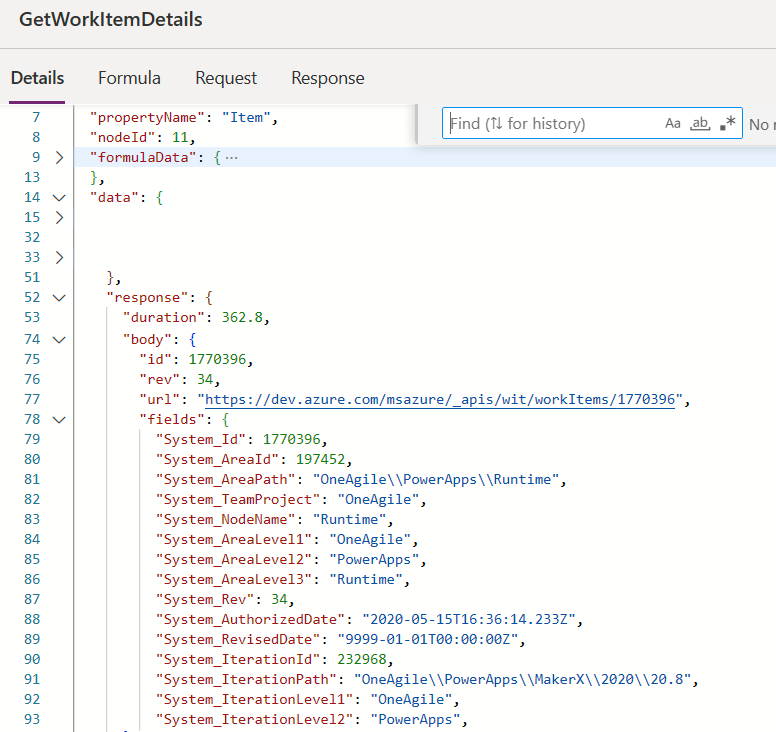
Access specific values using the common method Text(ThisItem.Value.'System.Id'). Alternatively, access them through the more general dynamic response using Text(ThisItem.fields.System_Id). These dynamic value names aren't typically documented. To find the correct names for these fields, including non-standard fields, open the monitor tool and examine the data response for the GetWorkItemDetails call. See the image below for guidance.
If you aren't using an Edit form but are using a container, retrieve these values with a formula like the one below, which gets information from a custom team field.
Text(AzureDevOps.GetWorkItemDetails(Gallery2.Selected.Value.'System.Id',Organization, Project, Gallery2.Selected.Value.'System.WorkItemType').fields.One_custom_CustomField1)
Updating values in Azure DevOps
To update a value in Azure DevOps, use the UpdateWorkItem function in the OnSelect property of a button.
AzureDevOps.UpdateWorkItem(
    Gallery2.Selected.Value.'System.Id',
    Organization,
    {
        description: "This is a new description",
        dynamicFields: ParseJSON(JSON({'Custom Field 1': "This is new custom text" }))
    }
)
The formula adds new sample text, but you can also use a Power Fx expression.
Make sure the formula uses lowercase for built-in field names. For example, when you refer to the Description field, use description: "This is a new description" instead of Description: "This is a new description". Incorrect casing can result in the error "400 Required parameter missing for requested operation: 'UpdateWorkItem'". For custom or dynamic values, use the display name as shown in the UI, such as 'Custom Field 1'. This naming convention is specific to Azure DevOps and might differ from other services.
Next steps
Run the app. Select a query from the list of queries. Then, choose a work item you want to update the title or description of. Make a change, and then select the save button. The app saves your changes to the Azure DevOps work item. Switch to another query, and then switch back to see the changes in the app.
You can also customize the app further or create an app with more data cards on forms. Use a display form instead of an edit form to show data in different data cards. When you use a display form, use the Text label control to show text. When you use rich text or HTML format (like the Description field in Azure DevOps), use the HTML text control. For more information about customizing the app, see controls, gallery, forms, and cards.
See also
Working with dynamic schema data sources in Power Apps (experimental)