Note
Access to this page requires authorization. You can try signing in or changing directories.
Access to this page requires authorization. You can try changing directories.
This topic covers how to sign in and run your apps on Power Apps for Windows.
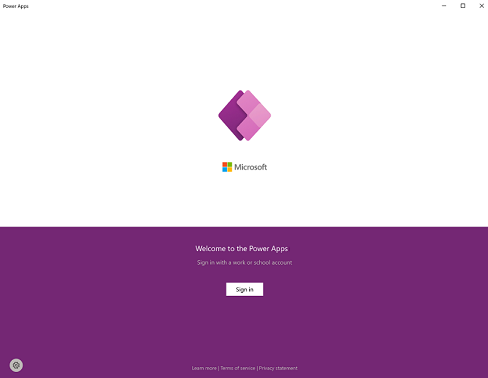
Sign in
Sign into Power Apps for Windows quickly using your work email address. If you need help with your sign-in information, contact your Power Apps administrator.
On the Welcome screen, select Sign in.
Note
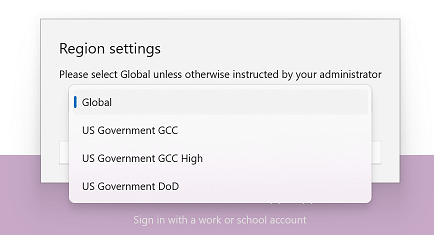
You also have the option to sign in as a guest user and choose a different region.
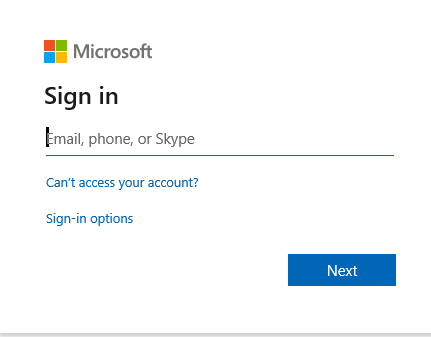
Enter your email address, and then select Next. Then enter your password and then select Sign in.
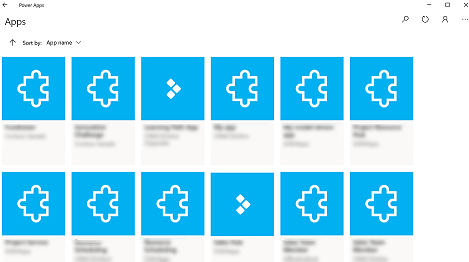
From the list of apps that you have access to, select the app that you want to use.
See non-production apps
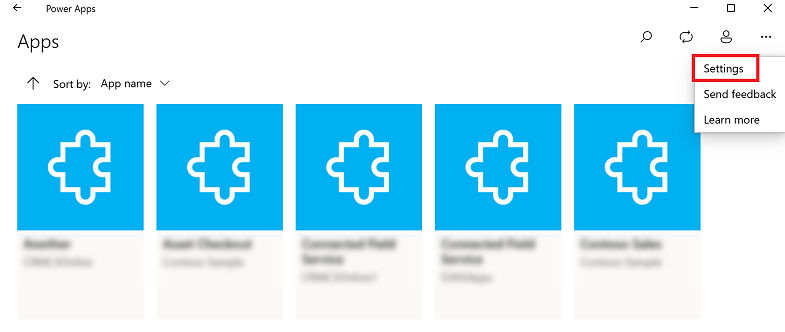
By default, only production model-driven apps are shown in the list of apps.
To see model-driven apps from non-production environments, select the More button (...) > Settings and then turn on Show non-production apps.
Move between apps
When you're using an app, you can select the back button to go back to the Apps screen. From the Apps screen, you can then select another app to use.
For model-driven apps, you can also select the name of the current app that you're using to go back to the Apps screen.
Switch to another canvas app
Select the back button.
On the Apps screen select an app. You'll only see apps for your organization.
Switch to another model-driven app
Select the back button or select the current app name.
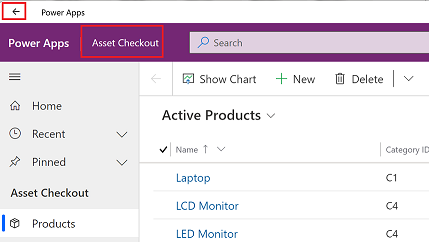
On the Apps screen select an app. You'll only see apps for your organization.
Run an app
Because canvas apps can essentially be anything, there isn't much help documentation on how to use an app once it's created. If you need help using a canvas app, contact your app maker or Power Apps admin.
You'll find below the documentation on how to run model-driven apps on Power Apps for Windows.
Navigation in model-driven apps
It's easy to get around and get back to your favorite or most-used rows. The following illustration shows the primary navigation elements for a model-driven app.
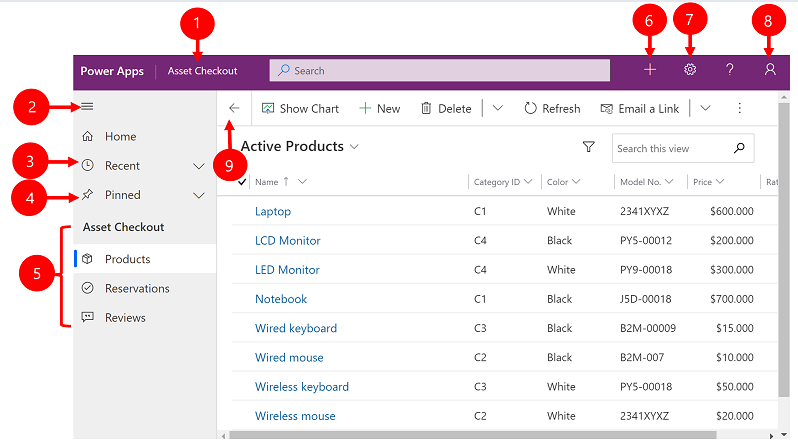
Legend:
Click to change app: Select the current app name to change to a different app.
Collapse/expand site map: Select this to collapse the navigator to allow more room for the main part of the page. If the navigator is already collapsed, select this button to expand it again.
Recent: Expand this entry to view a list of rows you were recently using. Select a row here to open it. Select the push-pin icon next to a row listed here to add it to your pinned rows.
Pinned: Expand this entry to view and open your favorite pinned rows. Use the Recent list to add rows here. Select the remove-pin icon next to a row listed here to remove it from this list.
Page navigation: This area lists each table and dashboard page available for the current work area. Select any entry here to open the named dashboard or list view for that table.
Create new row: Select New to create a new row.
Setting: Access your setting such as personalization setting and information about the app.
User Information: See the current user that's signed in, sign out of the app, or reconfigure the app**.**
Go back: Use the back button for form, view, and dashboard pages on the command bar to go back to the previous page.
Create and edit rows
The New button or Quick create makes it fast and easy to enter almost any type of information into the system. The command is on the navigation bar, so it's available whenever you need to enter new information into the system. You can also save a row and create a new one directly from the Quick create form.
Note, the Quick create option is only available for rows that are enabled by your admin.
On the navigation bar, select the plus sign
 , and then select the item you want.
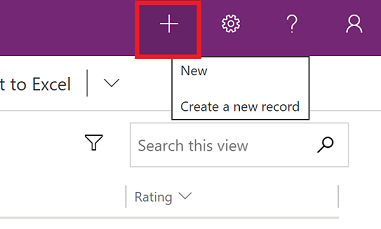
Fill in the columns, and then select Save and Close. Or, to save and create another row, select the down arrow and then select Save & Create New

Create a new row using the New button
From the left navigation pane, select a table such as Products and then select New.
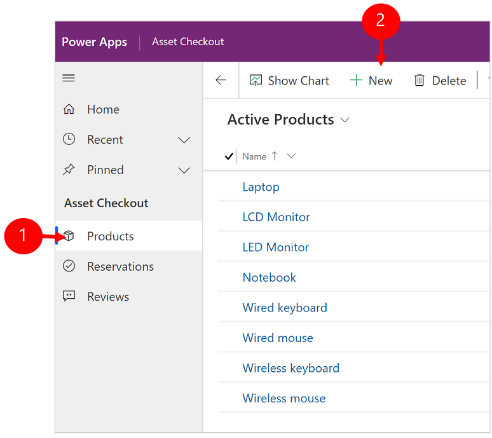
Fill in the columns and then on the command bar, select Save or Save & Close.
Edit a row
From the left navigation pane, select a table such as Products.
Select a row to open it.
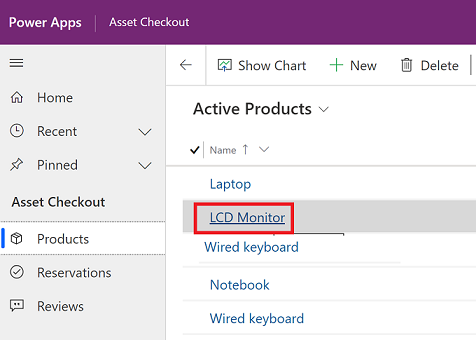
Make your edits and when you're done editing, select Save or Save & Close.
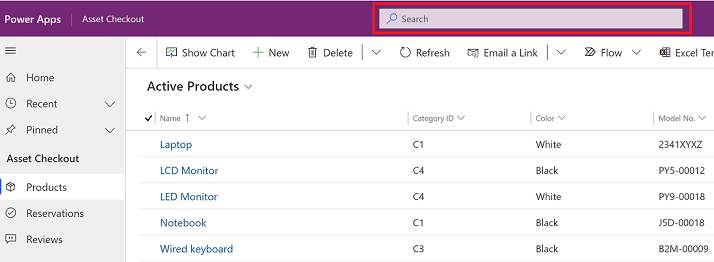
Use search
With Dataverse search, the search box is always available at the top of every page in your app. You can start a new search and quickly find the information that you're looking for. For more information, see Search for tables and rows by using Dataverse search.
Notifications
Notifications on Power Apps for Windows work the same as when you run a model-driven app on the web. For more information, see In-app notifications in model-driven apps.
Set up mobile offline
To configure your app in offline mode, see:
- For canvas apps: Develop offline-capable canvas app
- For model-driven apps: Set up mobile offline
Session ID
To get the session ID, select the More button (...) > Settings and then copy the session ID.
Log files
Open the following directory on your device to find the log files related to the Windows session for Power Apps for Windows:
%LocalAppData%\Packages\MicrosoftCorporationII.PowerAppsforWindows10_8wekyb3d8bbwe\LocalState
The Power Apps support team can use the log files to investigate issues.
Deep links
For more information on deep links, see Use deep links with Power Apps mobile.
Limitations and known issues
- The following is not supported:
- Advanced controls such as sensors.
- Pinning an app on Windows desktop
- Mixed reality controls
- NFC function
- You can't see favorites, recent, featured apps, or the app details.
- A user picture isn’t displayed in the app list.
- The Optimize images for Upload option is not available on Windows.
- The barcode scanner doesn’t support BarcodeType, PreferFrontCamera, and FlashlightEnabled properties. For more information, see Barcode scanner control in Power Apps - Power Apps. The barcode scanner does support symbologies.