Set up workspace in Power Pages design studio
The Set up workspace in Power Pages design studio allows you to manage key aspects of your Power Pages site: authentication, table permissions, site visibility, progressive web application, and more.
Authentication
Setting up authentication is a core customization in any business website. Simplified identity provider configuration in the Power Pages Set up workspace provides in-app guidance for identity provider setup and removes setup complexities.
In the Set up workspace, select Identity providers under Authentication and then select Configure next to the required provider.

You can set up the site for supported identity providers by following the steps that are outlined in the Simplified authentication and identity provider configuration document.
Go-live checklist
Making a site live for production use is an important business step. The Go-live checklist includes interactive tasks that guide you in reviewing and completing the recommended actions before the site goes live.
In the Set up workspace, select Go-live checklist and then follow the steps to ensure that you don't miss anything before your site is up and running.
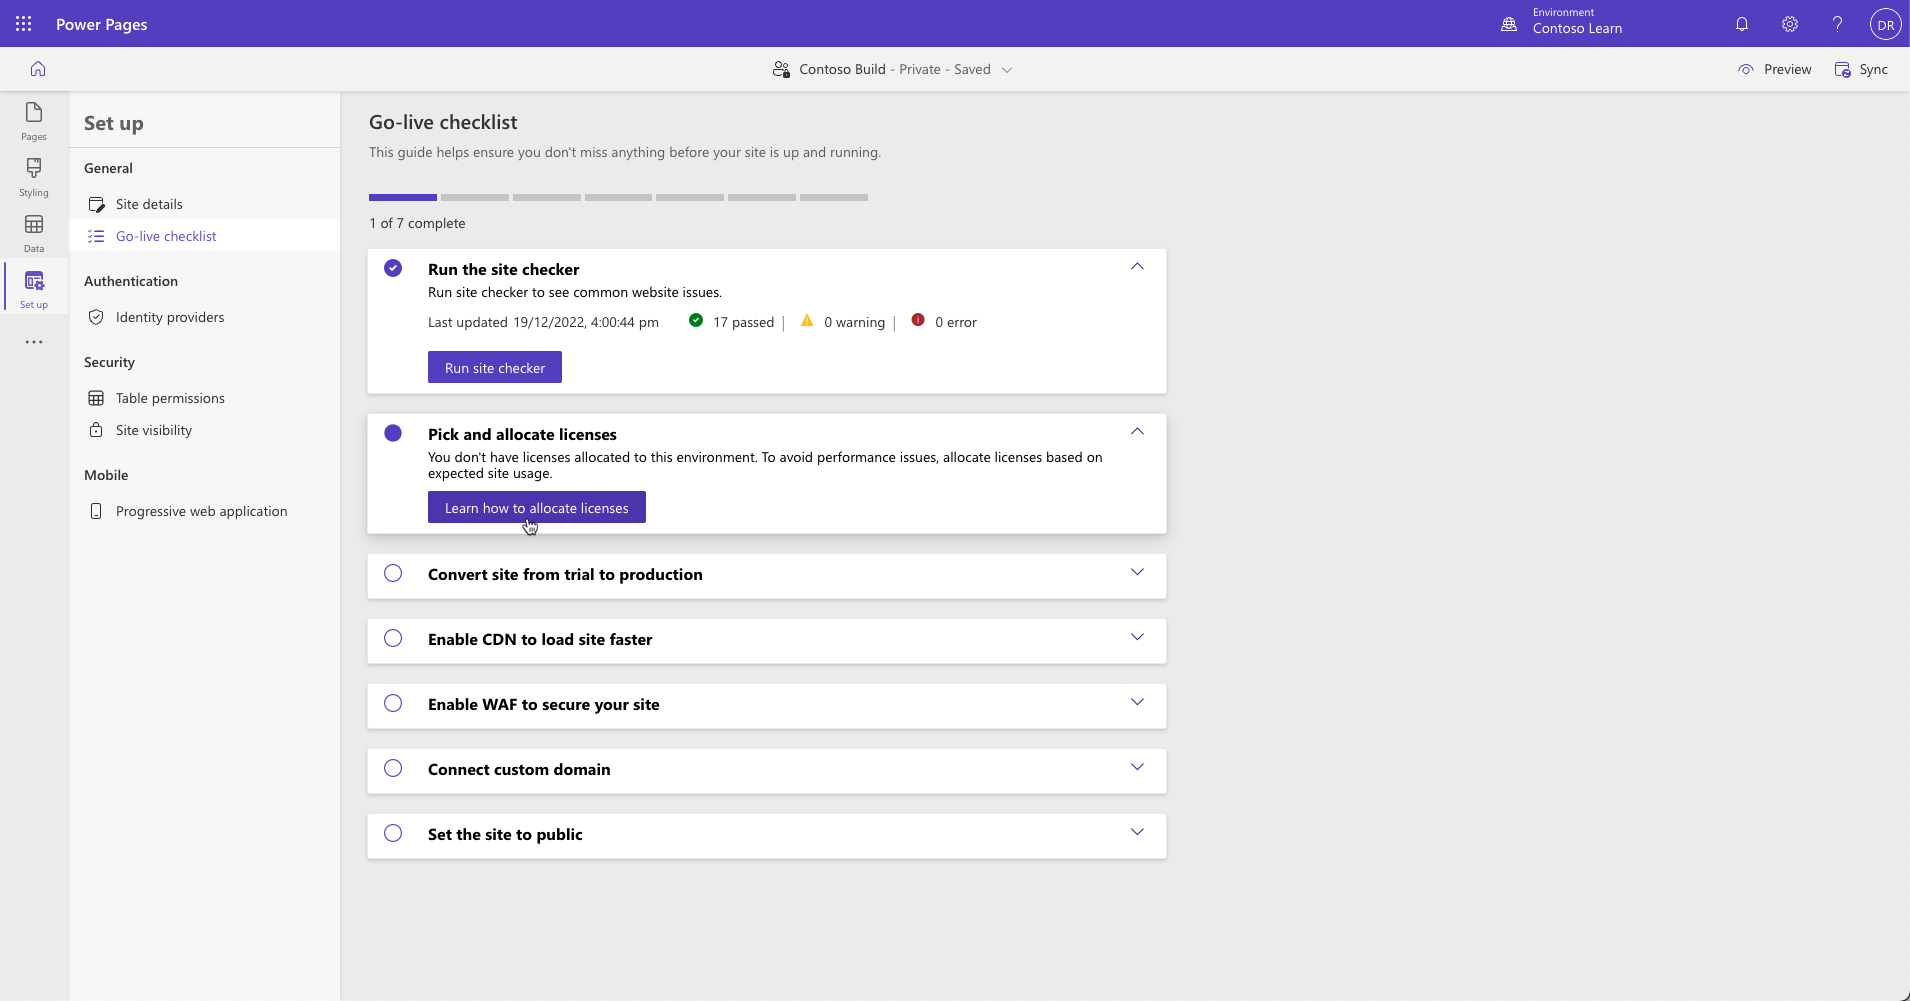
For more information, see Go-live checklist.
Table permissions
You can control access to specific pages by using page permissions. You'll also want to secure custom web applications that are built with forms, lists, and portals Web API. To help secure these features, you can use table permissions to allow granular rights to be granted.

In the Set up workspace, select Table permissions, select the ellipsis (...) menu, and then select Edit for an individual table permissions row. A new panel will open, where you can manage table permissions and assign web roles to them.
For more information, read how to set up table permissions in Power Pages.
Site visibility
During the design and build stages, you can restrict site access to authorized users only. You can make the site private to restrict access to specific people in an organization, or you can make it public so that anyone with the link has access.
All new sites that are created in Power Pages are private by default. When a website is ready to go live, you can change the site visibility to public.
In the Set up workspace, select Site visibility under the Security section. Switch visibility between public and private as required. For a private site, you can also specify users who have access to the site.

For more information, see Site visibility in Power Pages.
Progressive web application
Power Pages supports progressive web app technology that enables you to use a Power Pages site as an app that works on all platforms (Android, iOS, macOS, Windows, and Chromebooks) and form factors (mobile, desktop, and tablet). Progressive web apps are built to provide users with a native app–like experience.
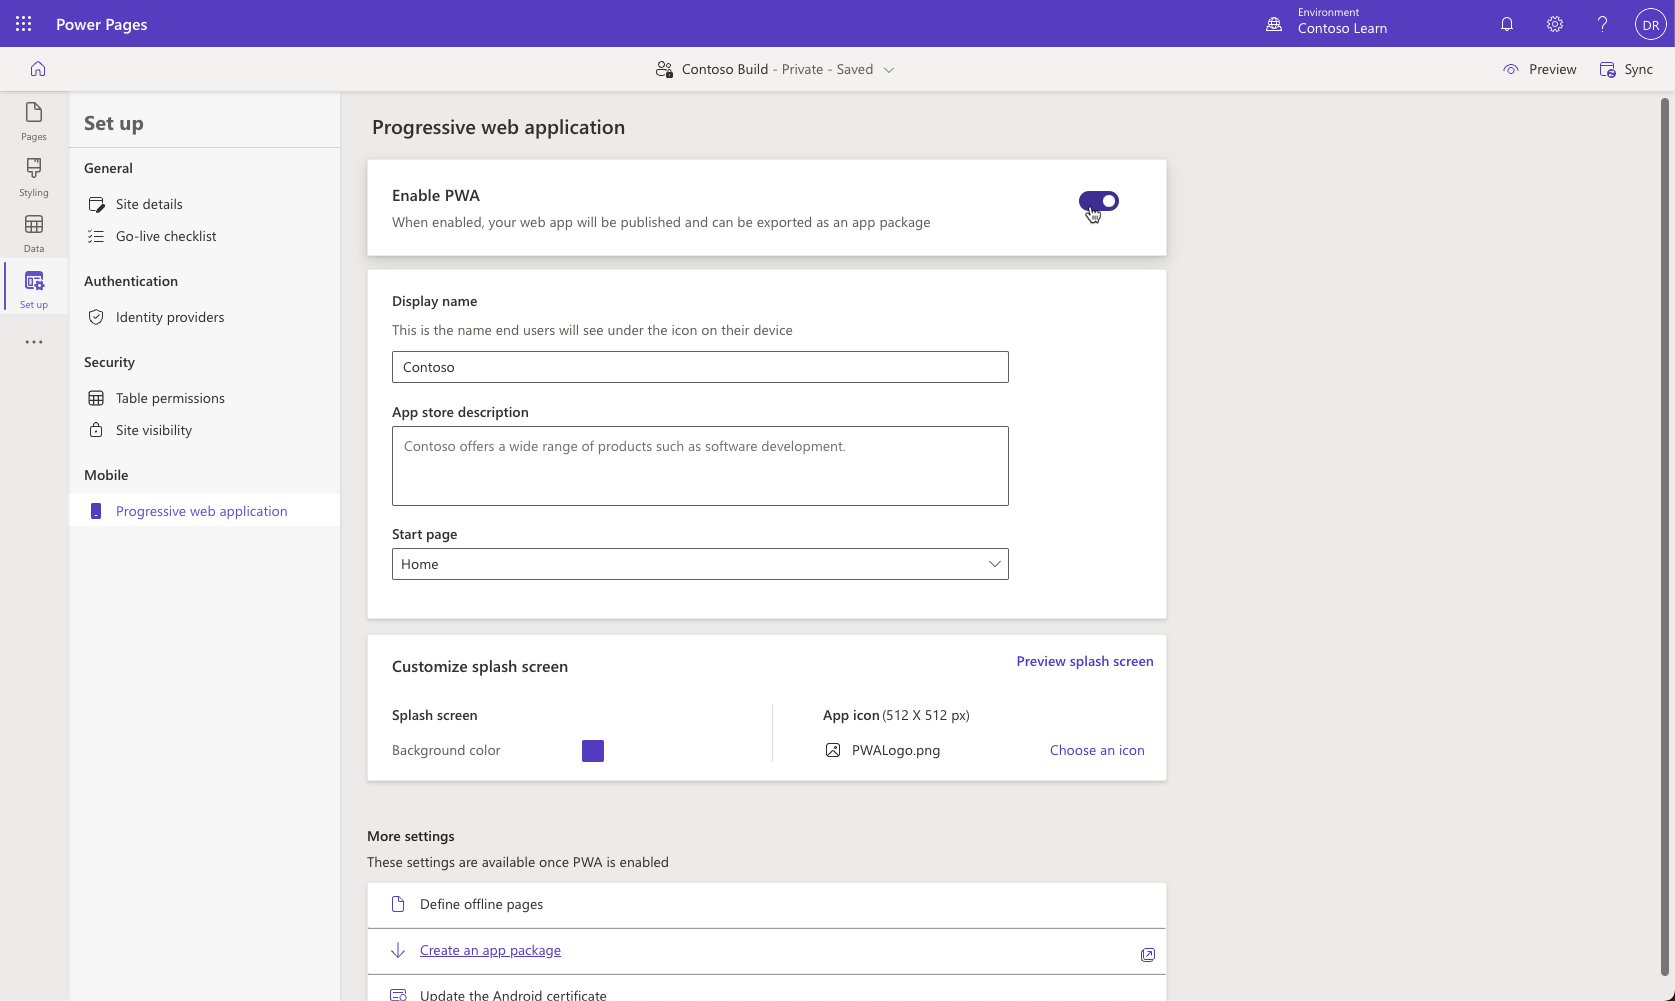
After you've set up the application properties, the site will become an app that's installable from the browser and mobile app stores.
For more information, see Power Pages sites as progressive web apps (PWAs) overview.