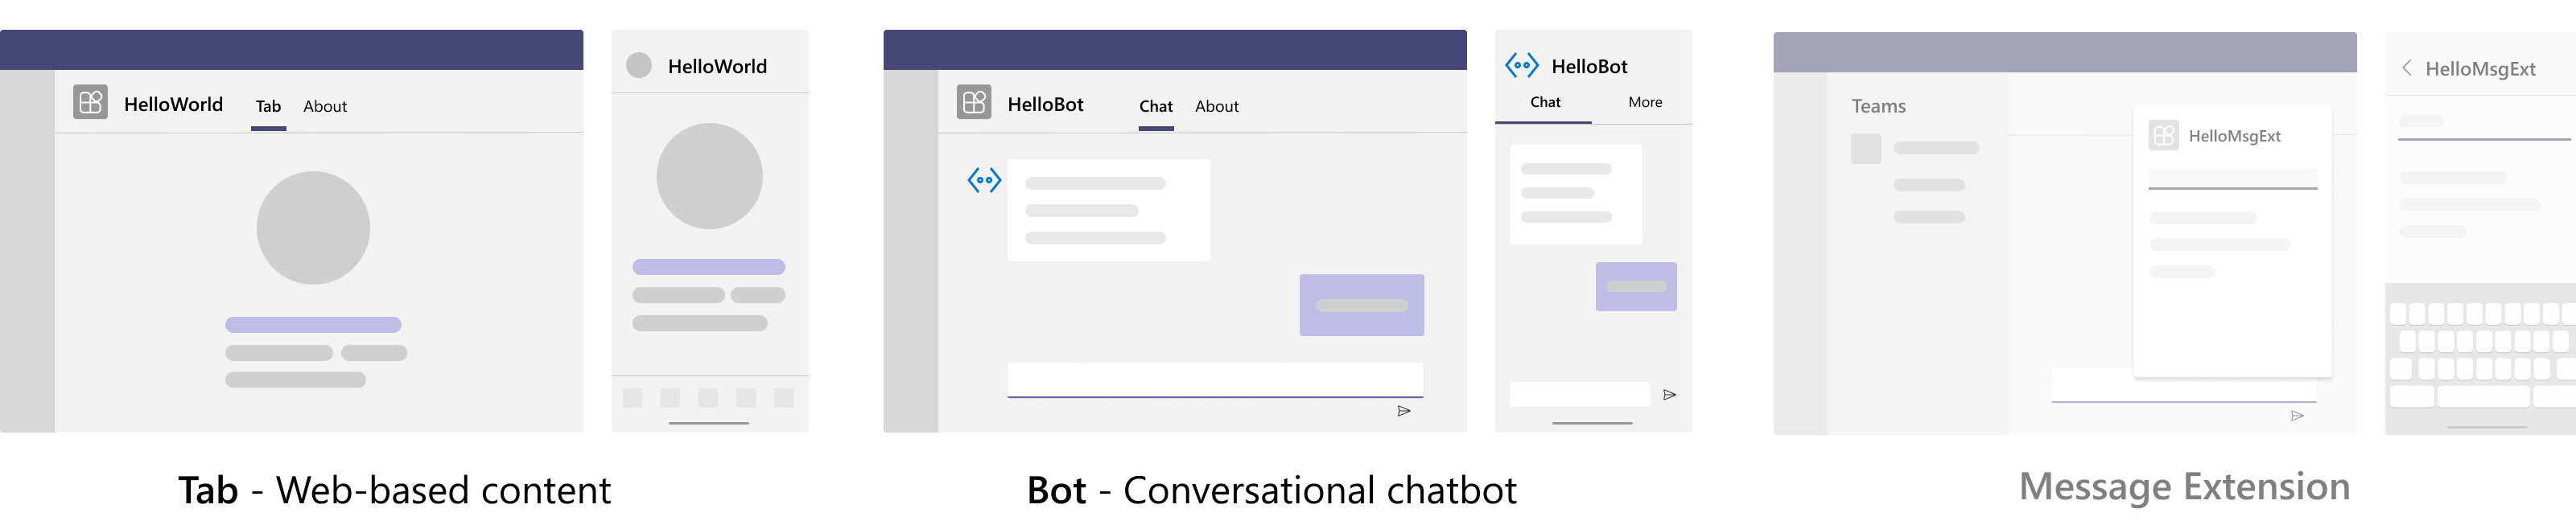
Build your first app using Blazor
Blazor lets you build interactive web UIs using C#, instead of JavaScript.
You can create a tab app and a bot app with Blazor and the latest version of Visual Studio.
Nota
Teams Toolkit doesn't support the message extension capability.
Prerequisites
Here's a list of tools you require for building and deploying your app.
| Install | For using... | |
|---|---|---|
| Visual Studio 2022 | You can install the enterprise version in Visual Studio 2022, and install the ASP.NET and web development workloads. Use the latest version. | |
| Microsoft Teams | Microsoft Teams to collaborate with everyone you work with through apps for chat, meetings, and call all in one place. | |
| Microsoft Edge (recommended) or Google Chrome | A browser with developer tools. | |
| Dev tunnel | Teams app features (conversational bots, message extensions, and incoming webhooks) need inbound connections. A tunnel connects your development system to Teams. Dev tunnel is a powerful tool to securely open your localhost to the internet and control who has access. Dev tunnel is available in Visual Studio 2022 version 17.7.0 or later. or You can also use ngrok as a tunnel to connect your development system to Teams. It isn't required for apps that only include tabs. This package is installed within the project directory (using npm devDependencies). |
After you've installed the required tools, set up the development environment.
Install Microsoft Teams Toolkit
The Teams Toolkit helps simplify the development process with tools to provision and deploy cloud resources for your app, publish to the Microsoft Teams Store, and more.
You can use the toolkit with Visual Studio, or CLI (command-line interface) called teamsfx.
Download the latest version of Visual Studio.
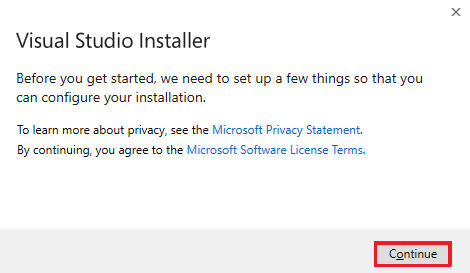
Open
vs_enterprise__3bed52501a604464b1eff2ce580fd4eb.exefrom your download folder.Select Continue in the Visual Studio Installer page to configure your installation.
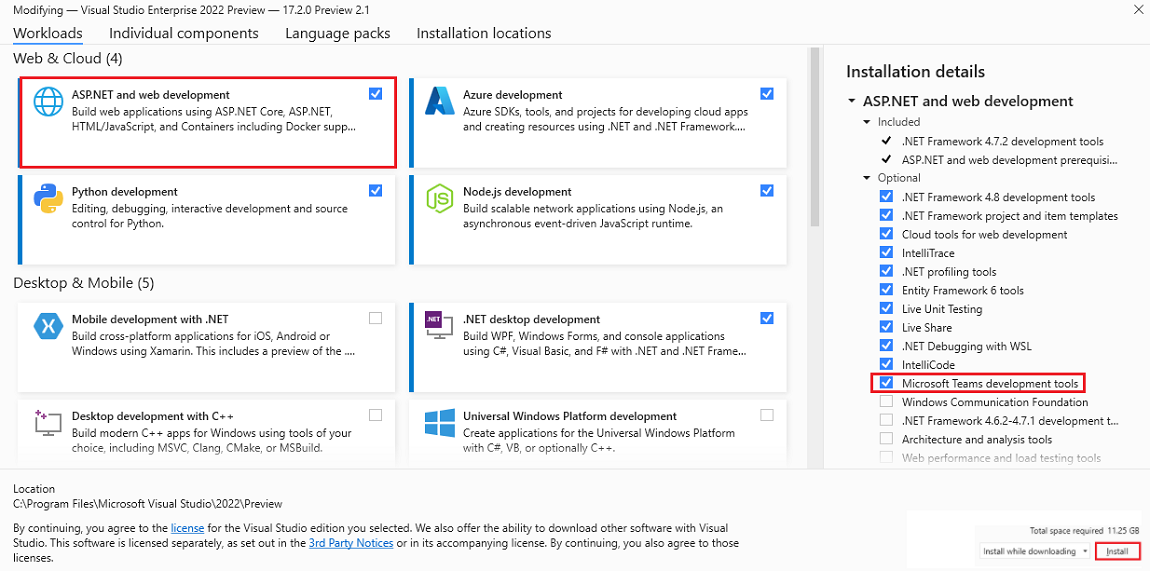
Select ASP.NET and web development under Workloads.
Select Microsoft Teams development tools under Installation details.
Select Install.

Your Visual Studio is installed in a few minutes.
Set up your Teams development tenant
A tenant is like a space or a container for your organization in Teams, where you chat, share files, and run meetings. This space is also where you upload and test your custom app. Let's verify if you're ready to develop with the tenant.
Enable custom app upload
After creating the app, you must load your app in Teams without distributing it. This process is known as custom app upload. Sign in to your Microsoft 365 account to view this option.
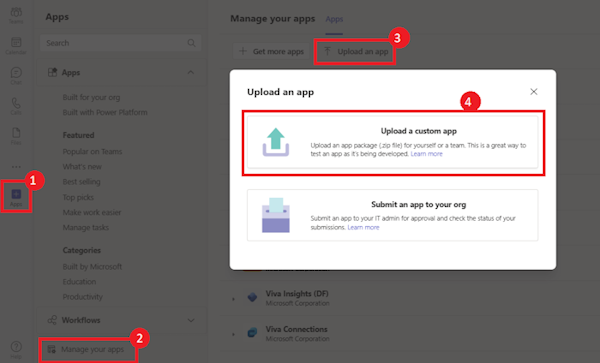
In the Teams client, select Apps icon.
Select Manage your apps.
Select Upload an app.
Look for the option to Upload a custom app. If you see the option, custom app upload is enabled.
Nota
Contact Teams administrator, if you don't have the option to upload a custom app.
Create a free Teams developer tenant (optional)
If you don't have a Teams developer account, you can get it for free. Join the Microsoft 365 developer program!
Go to the Microsoft 365 developer program.
Select Join Now and follow the onscreen instructions.
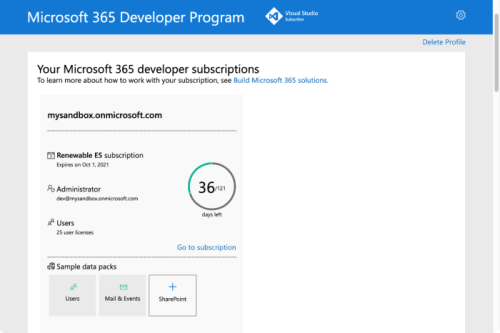
In the welcome screen, select Set up E5 subscription.
Set up your administrator account. After you finish, the following screen appears.
Sign in to Teams using the administrator account you just set up. Verify that you have the Upload a custom app option in Teams.
Get a free Azure account
If you wish to host your app or access resources in Azure, you must have an Azure subscription. Create a free account before you begin.
Now you've got all the tools to set up your account. Next, let's set up your development environment and start building! Select the app you want to create first.
Create project workspace for your tab app
Open Visual Studio.
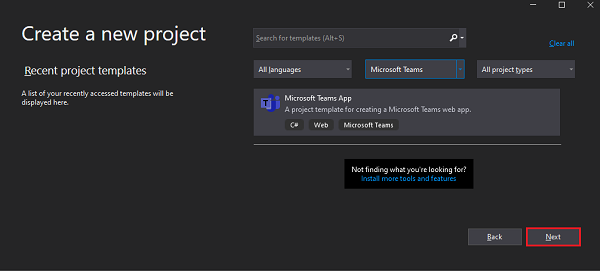
Select Create a new project.

The Create a new project page appears.
In the search box, enter Microsoft Teams. From the search results, select Microsoft Teams App.
Select Next.

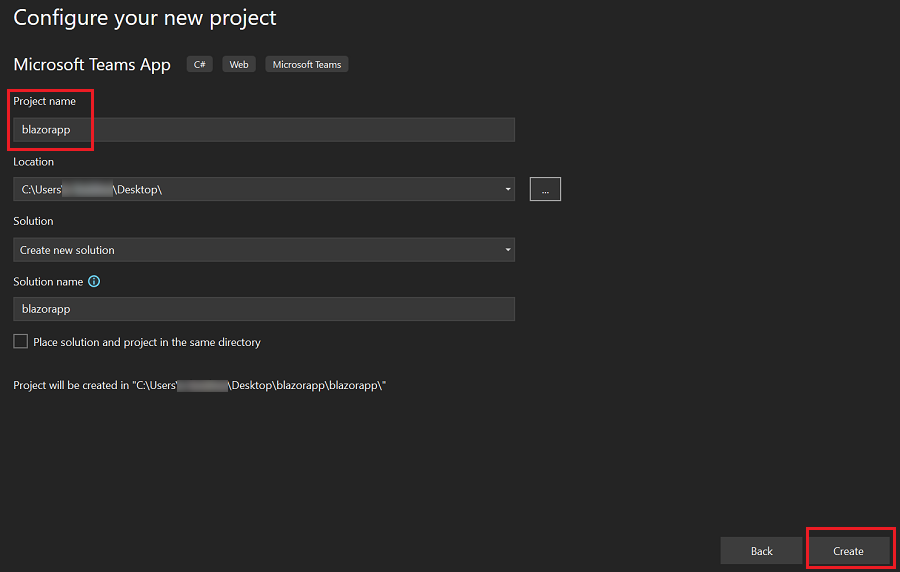
Enter Project name and select Create.
Select Tab as the capability for your app.
Select Create.

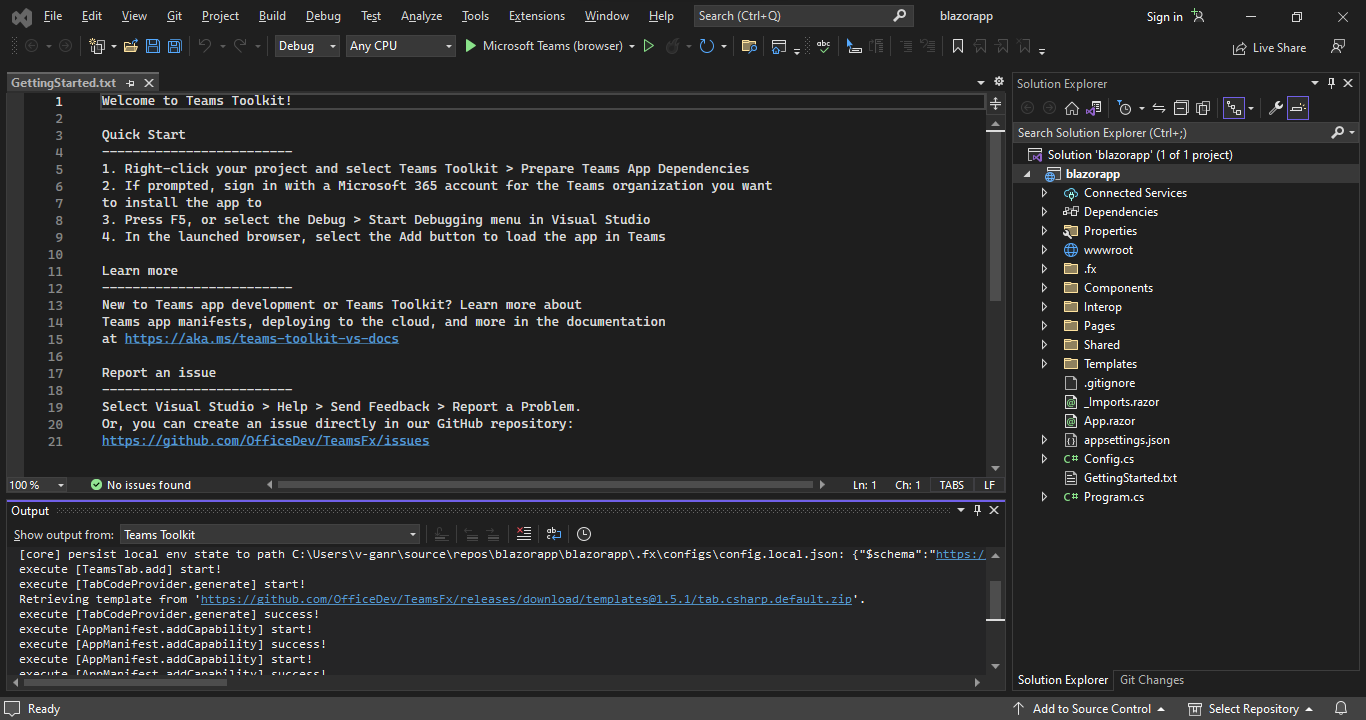
Your Teams tab app is created in a few seconds.

A quick recap of creating a Teams tab app.
Watch this short recap for creating a Teams tab app.
Take a tour of the source code for Teams tab app
After project creation, you have the components to build a basic personal app. You can view the project directory structure in the Solution Explorer pane of the Visual Studio.
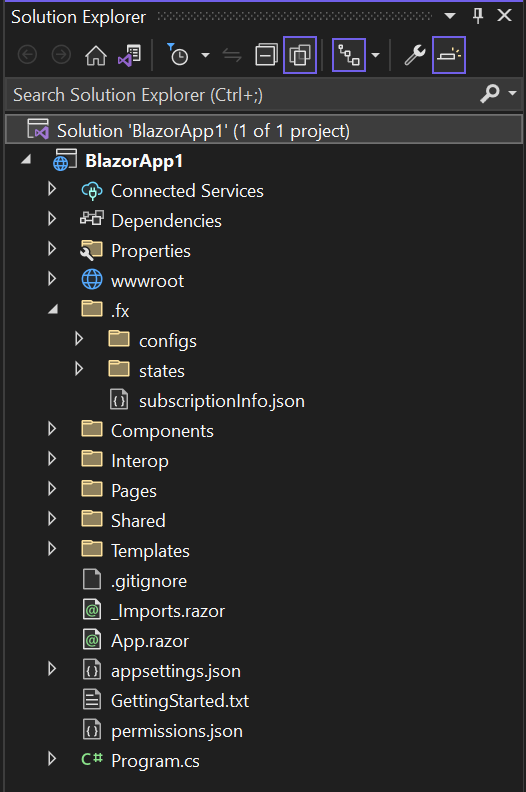
Teams Toolkit creates a scaffolding for your project based on the capabilities you selected. Among other files, Teams Toolkit maintains:
| Folder name | Contents |
|---|---|
| App icons | The app icons are stored as PNG files in color.png and outline.png. |
manifest.json |
App manifest (previously called Teams app manifest) for publishing through the Developer Portal for Teams is stored in Properties/manifest.json. |
BackendController.cs |
A backend controller is provided in Controllers/BackendController.cs for assisting with authentication. |
Pages/Tab.razor |
App manifest for publishing through the Developer Portal for Teams is stored in Properties/manifest.json. |
TeamsFx.cs and JS/src/index.js |
The content is used for initializing communications with the Teams host. |
You can add backend functionality by adding other ASP.NET Core controllers to your application.
Build and run your first Teams tab app
After you set up your project workspace with Teams Toolkit, build your tab project.
To build and run your app:
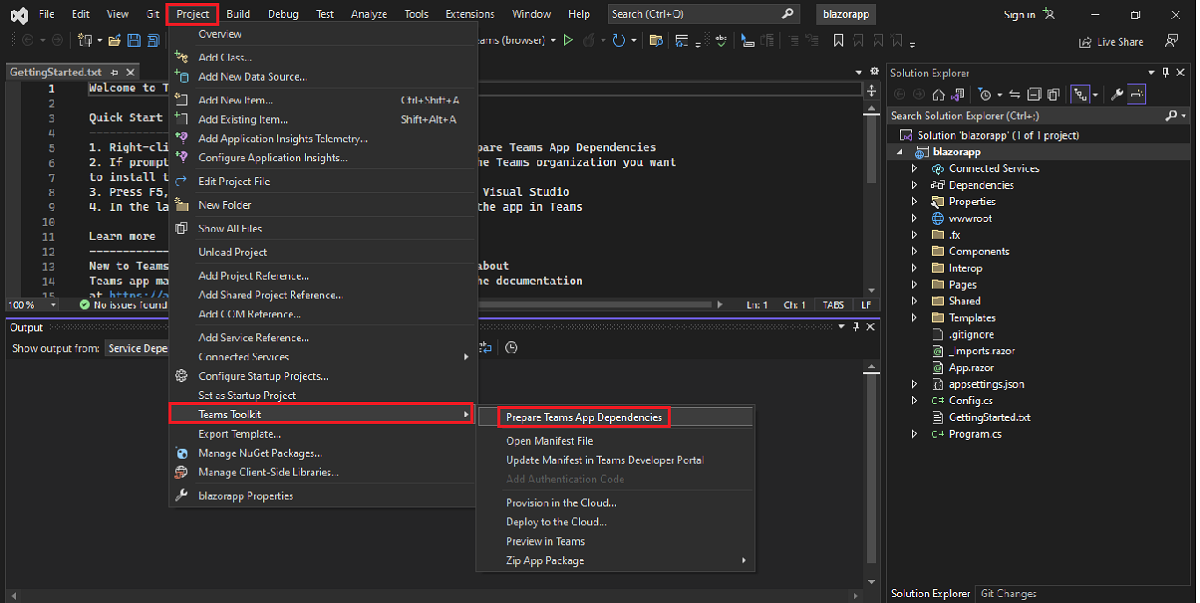
Select Project > Teams Toolkit > Prepare Teams App Dependencies.
Sign in to your Microsoft 365 account and then select Continue.

Select Debug > Start Debugging or select F5.
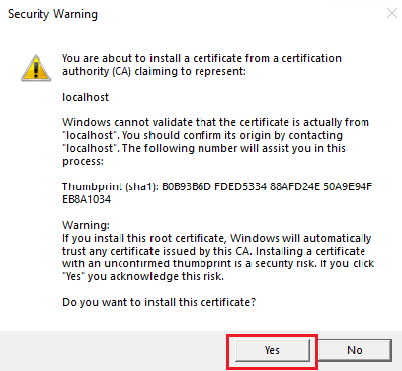
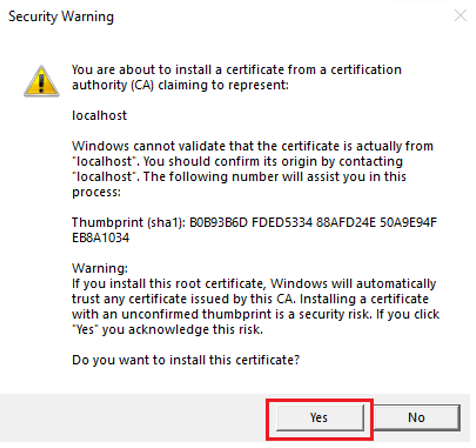
If a Security Warning dialog appears, select Yes.
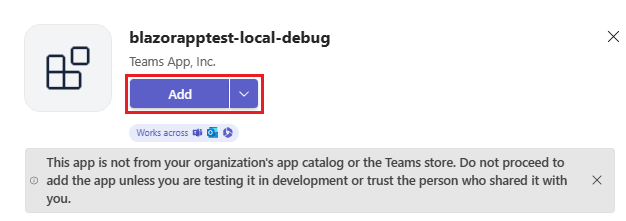
Select Add to install your app in Teams.

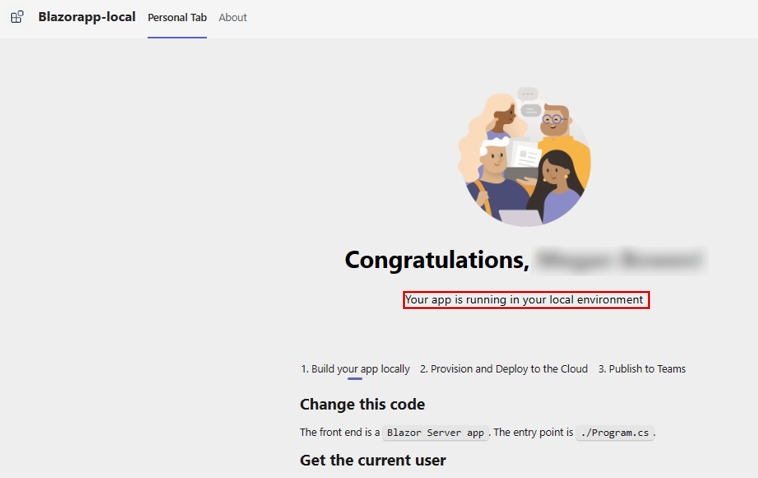
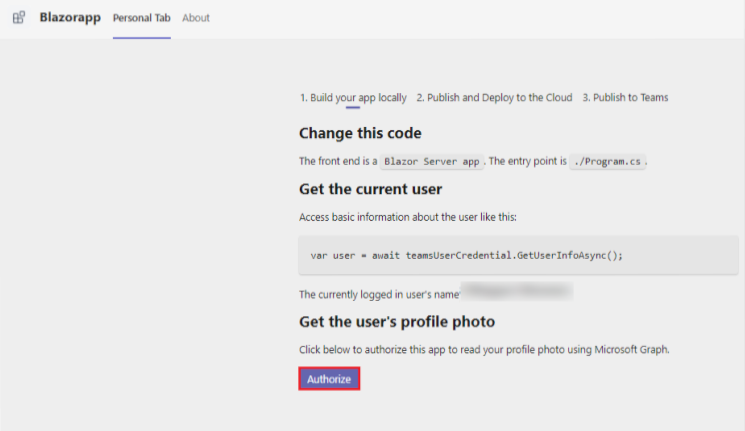
Congratulations, your first tab app is running in your local environment!
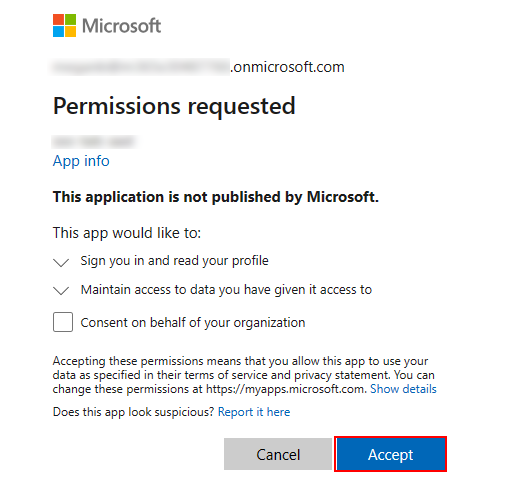
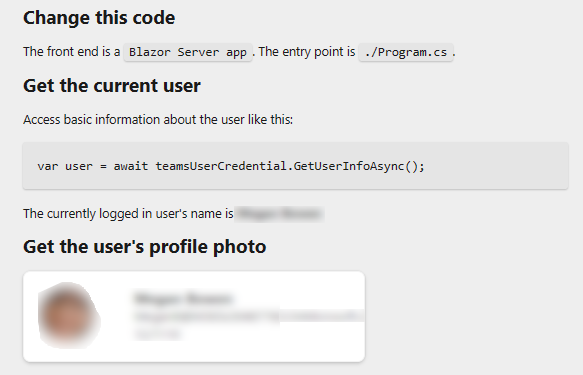
To let your app retrieve user details using Microsoft Graph, select Authorize.
Select Accept.
Your photograph and details appear in your Personal Tab.

You can do normal debugging activities, such as setting breakpoints, as if it were any other web application. The app supports hot reloading. If you change any file within the project, the page reloads.
Stop debugging in Visual Studio.

Preview your first Teams tab app
You've learned to create, build, and run Teams app with tab capability. The following final steps are to deploy your app on Azure and Preview in Teams:
Let's deploy the first app with tab capability on Microsoft Azure using Teams Toolkit.
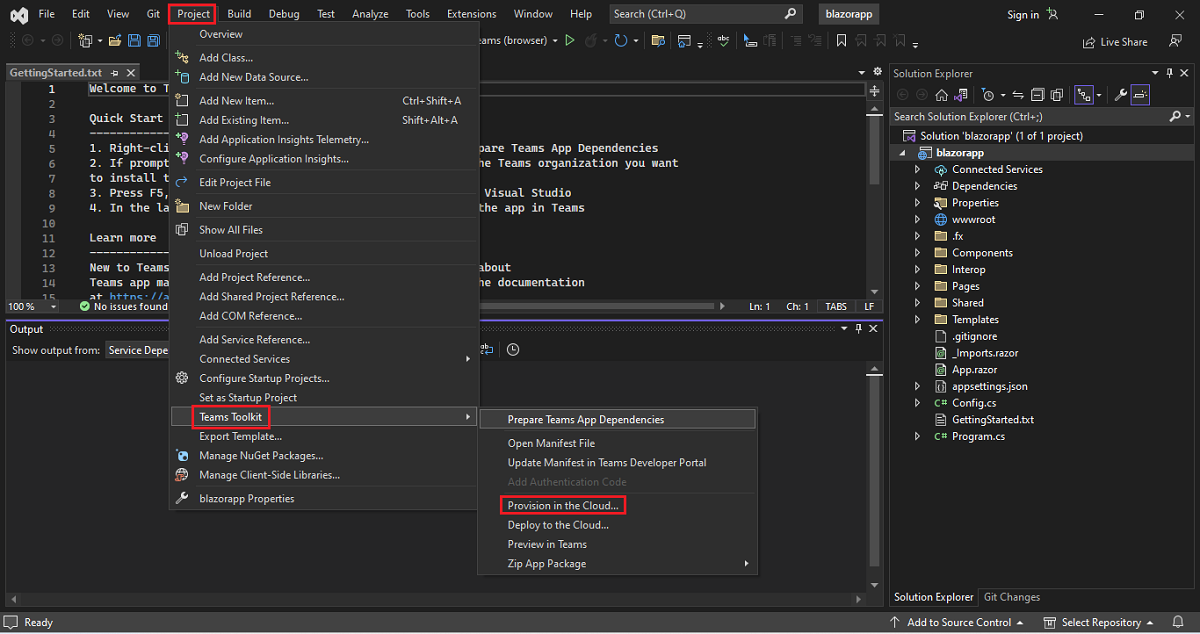
To provision your tab app in Azure
Select Project > Teams Toolkit > Provision in the Cloud.

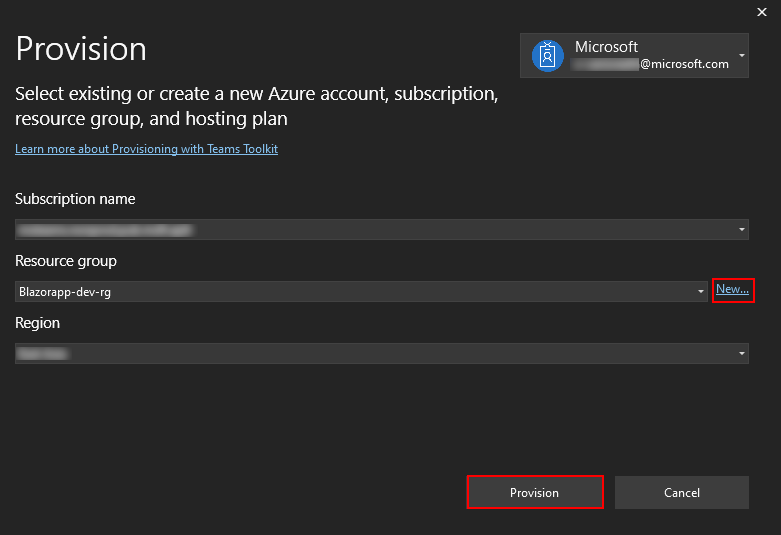
Enter the subscription and resource group details in the Provision dialog:
- Select your Subscription name from the dropdown list.
- Select your Resource group from the dropdown list.
- If you don't have an existing resource group, you can create a new resource group. To create a new resource group, select New > enter the resource name > select OK. Select a location from the new resource group location dropdown list.
- Select Provision.
A Teams Toolkit warning dialog appears.
Select Provision.

It takes a few minutes for your resource group to provision in the cloud.
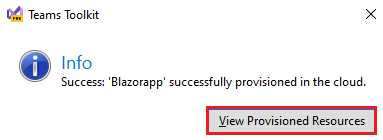
Select OK.

Select View Provisioned Resources to view on Azure portal.
Sign in to your Azure portal.
Your app-dev-rg appears.
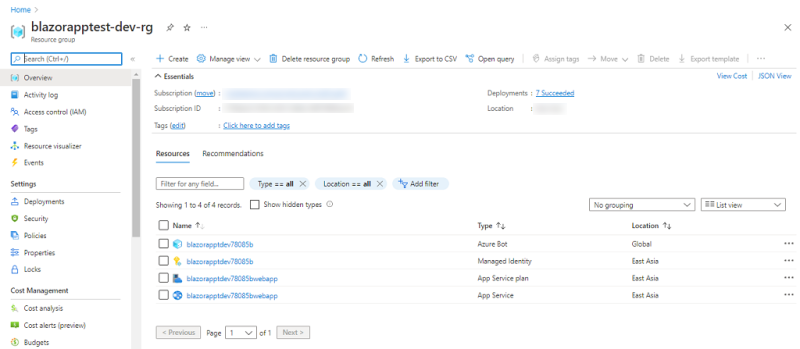
Your resources are provisioned in the Azure portal.


To deploy your tab app to cloud
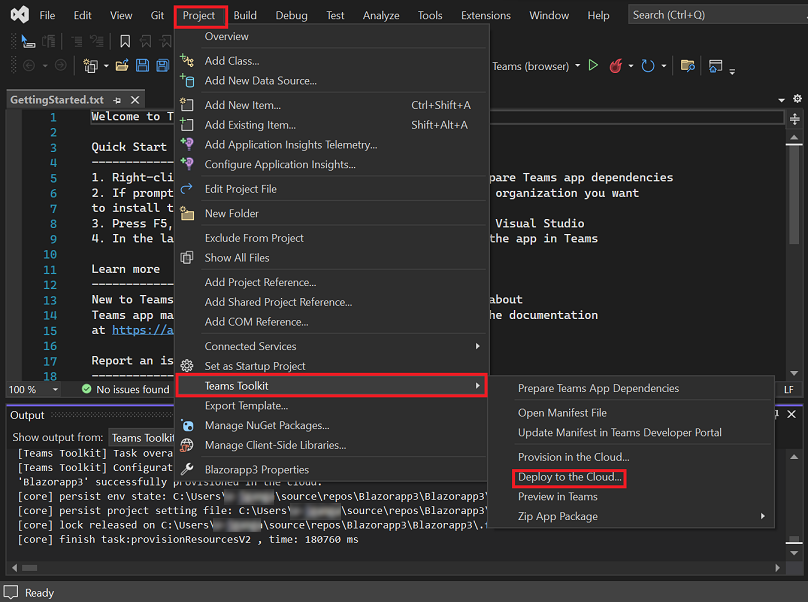
Select Project > Teams Toolkit > Deploy to the Cloud....
Select OK.
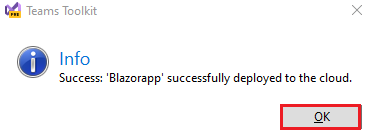
Your tab app is successfully deployed to the cloud!

To preview your tab app in Teams
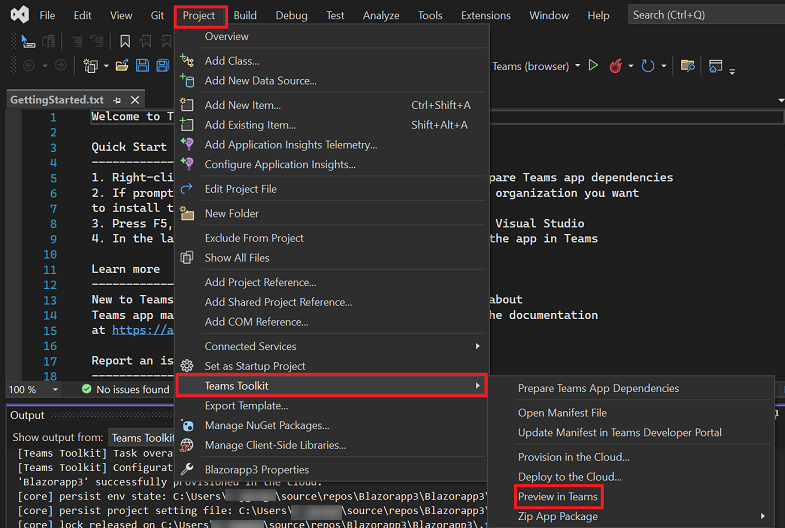
Select Project > Teams Toolkit > Preview in Teams.
Select Add.
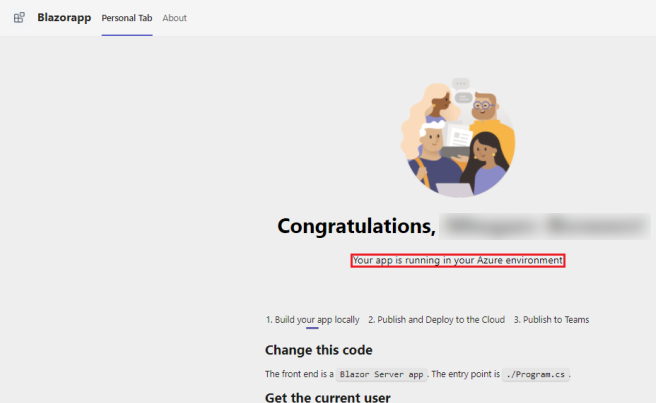
Congratulations, your first tab app is running in your Azure environment!
Select Authorize to let your app retrieve user details using Microsoft Graph.
Select Accept.
Your photograph and details appear in your Personal Tab.


Create project workspace for your bot app
Start Teams app development by creating your first app. This app uses the bot capability.

Create your bot project
Open Visual Studio.
Select Create a new project.
The Create a new project page appears.
In the search box, enter Microsoft Teams. From the search results, select Microsoft Teams App.
Select Next.
The Configure your new project window appears.
Enter Project name and select Create.

The Create a new Teams application window appears.
Select Teams app feature.
Select the Command Bot app as the capability for your app.
Select Create.

Your Teams bot app is created in a few seconds.


A quick recap of creating a Teams bot app.
Watch this short recap for creating a Teams bot app.

Take a tour of the source code for Teams bot app
After project creation, you have the components to build a basic personal app. You can view the project directory structure in the Solution Explorer area of the latest Visual Studio.

Teams Toolkit creates a scaffolding for your project based on the capabilities you selected. Among other files, Teams Toolkit maintains:
| Folder name | Contents |
|---|---|
| App icons | The app icons are stored as PNG files in color.png and outline.png. |
manifest.json |
The app manifest for publishing through the Developer Portal for Teams is stored in Properties/manifest.json. |
BackendController.cs |
A backend controller is provided in Controllers/BackendController.cs for assisting with authentication. |
TeamsFx.cs and JS/src/index.js |
The content is used for initializing communications with the Teams host. |
You can add backend functionality by adding other ASP.NET Core controllers to your application.
Build and run your first bot app
To build and run your app locally:
Create a tunnel
Open Visual Studio.
Select Create a new project.

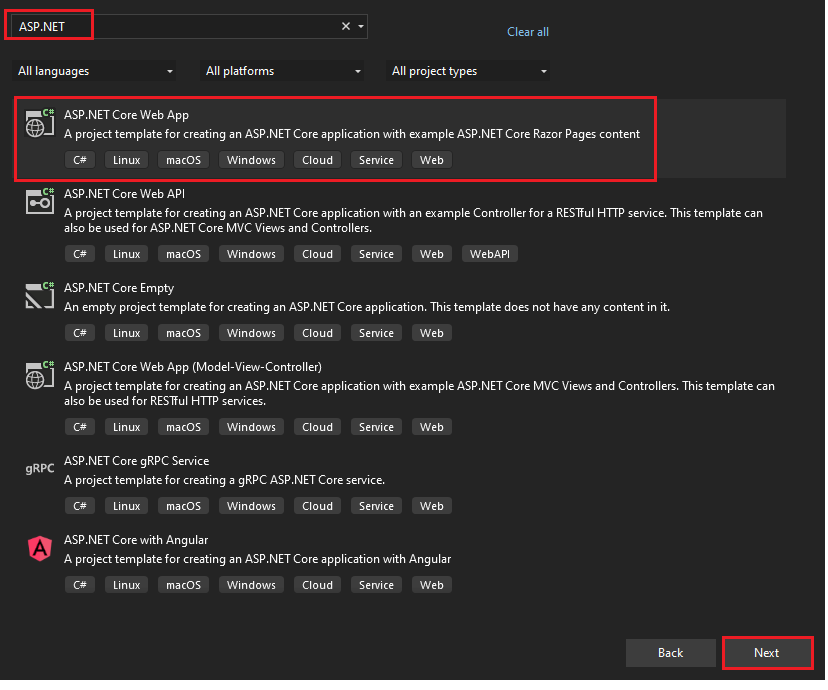
In the search box, enter ASP.NET. From the search results, select ASP.NET Core Web App.
Select Next.
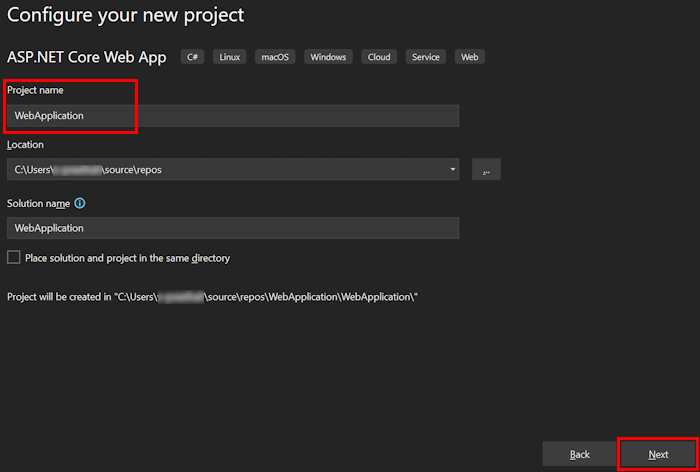
Enter Project name and select Next.
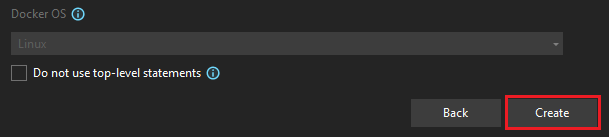
Select Create.
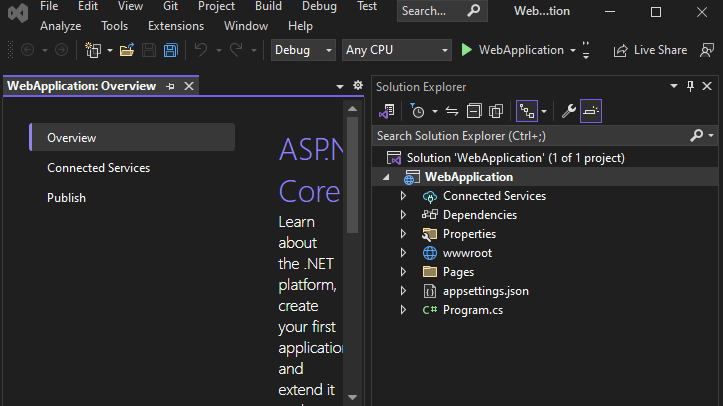
An overview window appears.
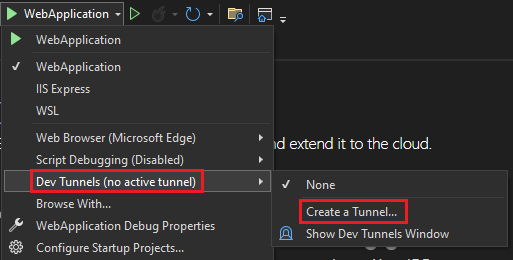
In the debug dropdown list, select Dev Tunnels (no active tunnel) > Create a Tunnel....
A pop-up window appears.
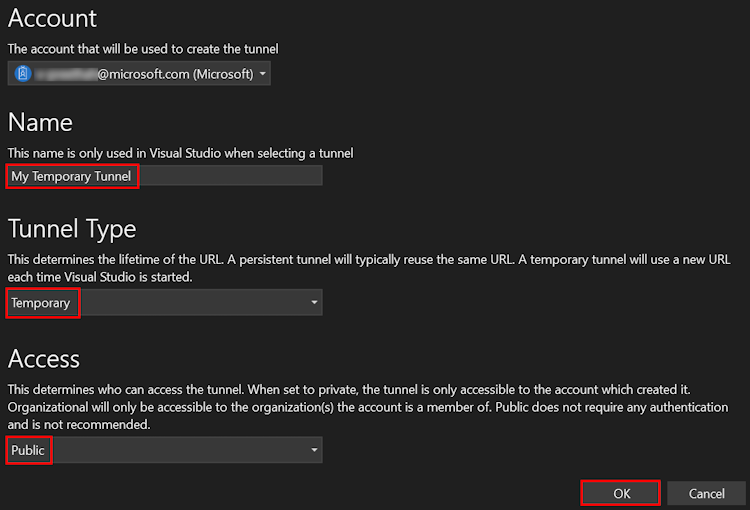
Update the following details in the pop-up window:
- Account: Enter a Microsoft or GitHub account.
- Name: Enter a name for your tunnel.
- Tunnel Type: From the dropdown list, select Temporary.
- Access: From the dropdown list, select Public.
Select OK.
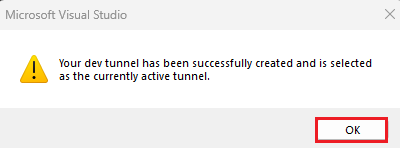
A pop-up window appears showing that dev tunnel is successfully created.
Select OK.
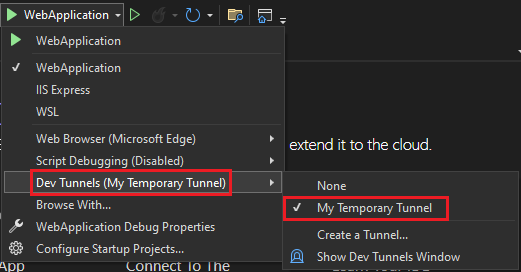
You can find the tunnel you've created in the debug dropdown list as follows:
Select F5 to run the application in the debug mode.
If a Security Warning dialog appears, select Yes.
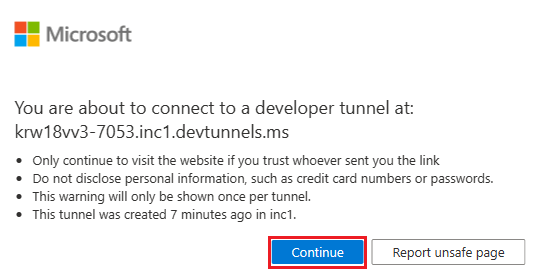
A pop-up window appears.
Select Continue.
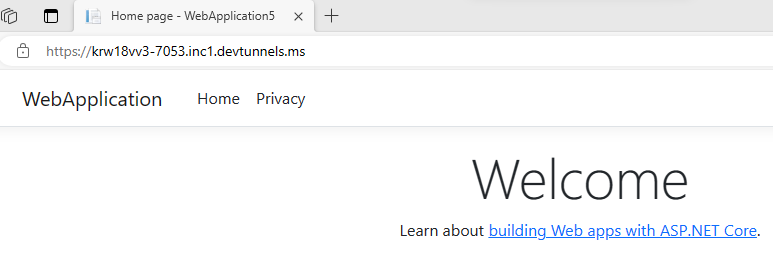
The dev tunnel home page opens in a new browser window and the dev tunnel is now active.
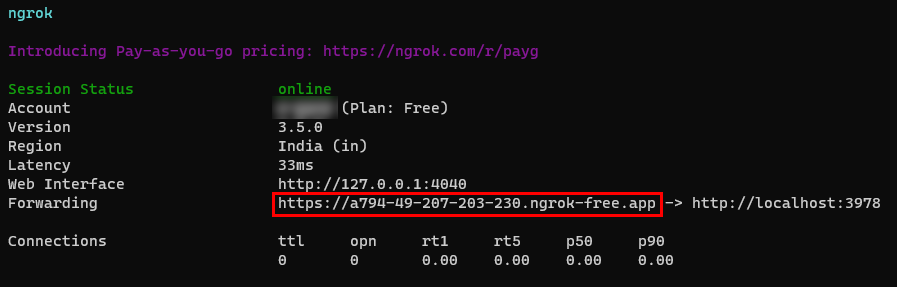
Go to Visual Studio, select View > Output.
From the Output console dropdown menu, select Dev Tunnels.
The Output console shows the dev tunnel URL.

Select Project > Teams Toolkit > Prepare Teams App Dependencies.
Sign in to your Microsoft 365 account and then select Continue.
Select Debug > Start Debugging or select F5 to run your app in debug mode.
Select Add.

Now the bot is successfully running on Teams! After the app is loaded, a chat session with the bot opens.

You can type
helloworldto show an introduction card for an Adaptive Card.
You can do normal debugging activities, such as setting breakpoints, as if it were any other web application. The app supports hot reloading. If you change any file within the project, the page reloads.
Learn how to troubleshoot if your app doesn't run locally.
To successfully run your app in Teams, ensure that you've enabled custom app upload in your Teams account. You can learn more about custom app upload in the prerequisites section.
Preview your first bot app
To provision your bot app in Azure
Select Project > Teams Toolkit > Provision in the Cloud.
Enter the subscription and resource group details in the Provision dialog:
Select your Subscription name from the dropdown list.
Select your Resource group from the dropdown list.
If you don't have an existing resource group, you can create a new resource group. To create a new resource group, select New > enter the resource name > select OK. Select a location from new resource group location dropdown list.
Select Provision.

A Teams Toolkit warning dialog appears.
Select Provision.

It takes a few minutes for your resource group to provision in the cloud.
After the provision is complete, select OK.

Select View Provisioned Resources to view on Azure portal.

Sign in to your Azure portal.
Your app-dev-rg appears.

Your resources are provisioned in the Azure portal!


To deploy your bot app to cloud
Select Project > Teams Toolkit > Deploy to the Cloud.

Select OK.
Your bot app is successfully deployed to the cloud!

To preview your bot app in Teams
Select Project > Teams Toolkit > Preview in Teams.

Select Add.

Now the bot is successfully running on Teams! After the app is loaded, a chat session with the bot opens.

You can type
helloworldto show an introduction card for an Adaptive Card.

Congratulations!
You've done it!
You've created two apps, each with a different capability: a tab app and a bot app.
You've completed the tutorial to build apps with Blazor.
Have an issue with this section? If so, please give us some feedback so we can improve this section.
Feedback su Platform Docs
Platform Docs è un progetto di open source. Selezionare un collegamento per fornire feedback: