Nata
Norint pasiekti šį puslapį, reikalingas leidimas. Galite pabandyti prisijungti arba pakeisti katalogus.
Norint pasiekti šį puslapį, reikalingas leidimas. Galite pabandyti pakeisti katalogus.
This article walks you through the following basic tasks in Microsoft Fabric’s Git integration tool:
We recommend reading the overview of Git integration before you begin.
Prerequisites
To integrate Git with your Microsoft Fabric workspace, you need to set up the following prerequisites for both Fabric and Git.
Fabric prerequisites
To access the Git integration feature, you need a Fabric capacity. A Fabric capacity is required to use all supported Fabric items. If you don't have one yet, sign up for a free trial. Customers that already have a Power BI Premium capacity, can use that capacity, but keep in mind that certain Power BI SKUs only support Power BI items.
In addition, the following tenant switches must be enabled from the Admin portal:
- Users can create Fabric items
- Users can synchronize workspace items with their Git repositories
- Create workspaces (only if you want to branch out to a new workspace.)
- Users can synchronize workspace items with GitHub repositories: For GitHub users only
These switches can be enabled by the tenant admin, capacity admin, or workspace admin, depending on your organization's settings.
Git prerequisites
Git integration is currently supported for Azure DevOps and GitHub. To use Git integration with your Fabric workspace, you need the following in either Azure DevOps or GitHub:
- An Active Azure DevOps account registered to same Fabric user (supported even if Azure DevOps organization reside in a different tenant than Fabric tenant). Create a free account.
- Access to an existing repository.
Connect a workspace to a Git repo
Connect to a Git repo
Only a workspace admin can connect a workspace to a repository, but once connected, anyone with permission can work in the workspace. If you're not an admin, ask your admin for help with connecting. To connect a workspace to an Azure or GitHub Repo, follow these steps:
Sign into Fabric and navigate to the workspace you want to connect with.
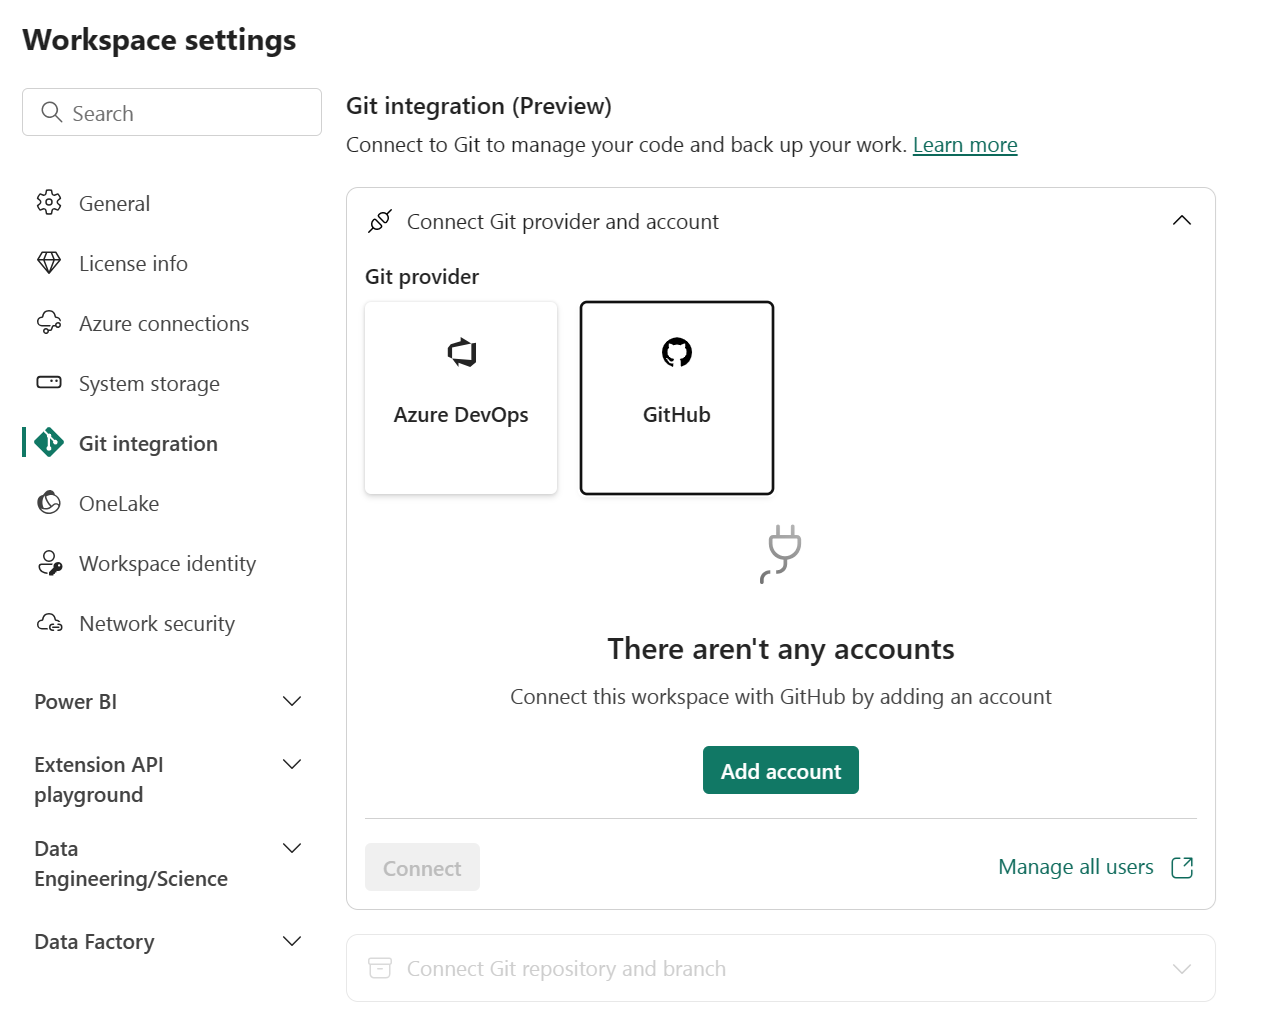
Go to Workspace settings

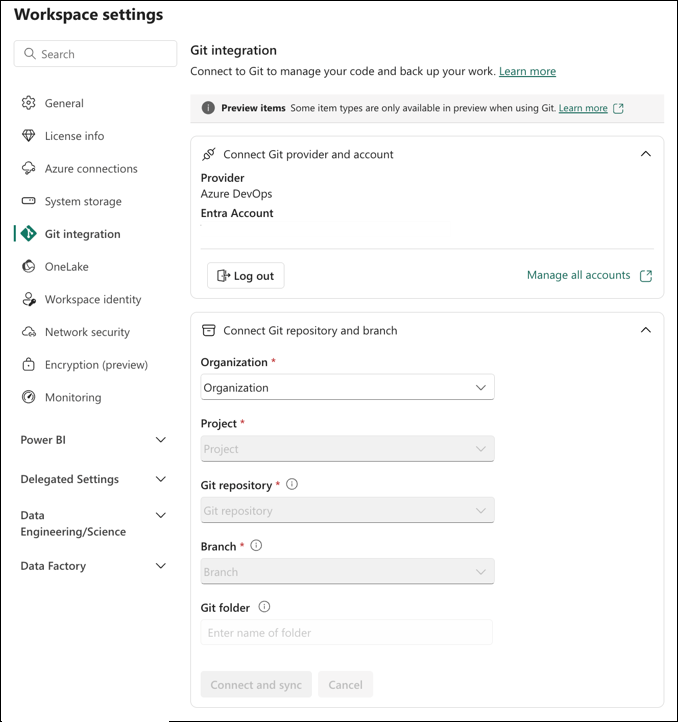
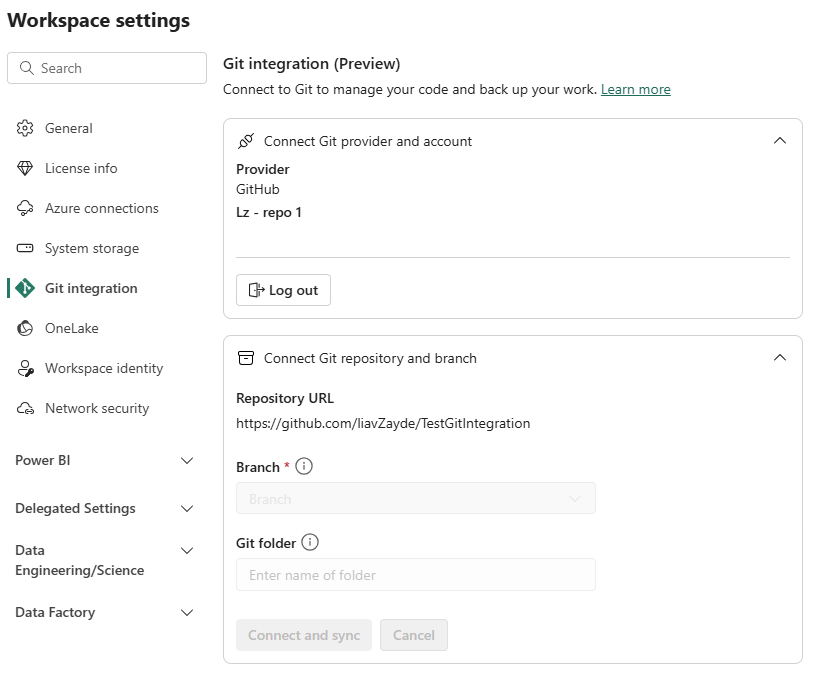
Select Git integration.
Select your Git provider. Currently, Azure DevOps and GitHub are supported.
If you select Azure DevOps, select Connect to automatically sign into the Azure Repos account registered to the Microsoft Entra user signed into Fabric.
If you have already signed in to Azure from Fabric using a different account, select your account from the list and select Connect.
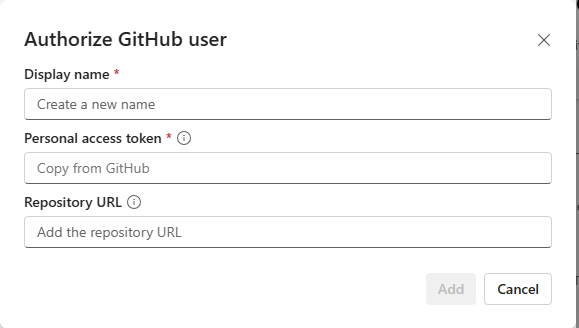
If it's your first time signing in from Fabric, or you want to add a new account, select Add account.
If it's the first time connecting, you need to Authorize your user. Provide the following information:
- Display name - must be unique for each user
- Azure DevOps URL - URL of the Azure DevOps repository. URL must be in the format
https://dev.azure.com/{organization}/{project}/_git/{repository}orhttps://{organization}.visualstudio.com/{project}/_git/{repo}. - Authentication - You can authenticate either with OAuth2 or a Service Principal. For more information see Azure DevOps - Git Integration with service principal
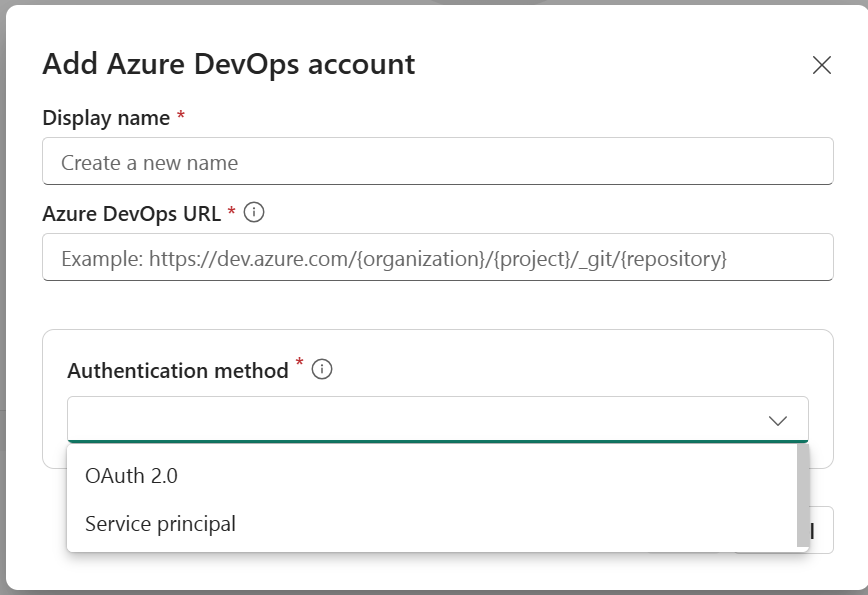
After you sign in, select Connect to allow Fabric to access your account
Connect to a workspace
If the workspace is already connected to Azure DevOps/GitHub, follow the instructions for Connecting to a shared workspace.
From the dropdown menu, specify the following details about the branch you want to connect to:
- Organization
- Project
- Git repository.
- Branch (Select an existing branch using the drop-down menu, or select + New Branch to create a new branch. You can only connect to one branch at a time.)
- Folder (Type in the name of an existing folder or enter a name to create a new folder. If you leave the folder name blank, content is created in the root folder. You can only connect to one folder at a time.)
Select Connect and sync.
During the initial sync, if either the workspace or Git branch is empty, content is copied from the nonempty location to the empty one. If both the workspace and Git branch have content, you’re asked which direction the sync should go. For more information on this initial sync, see Connect and sync.
After you connect, the Workspace displays information about source control that allows the user to view the connected branch, the status of each item in the branch and the time of the last sync.
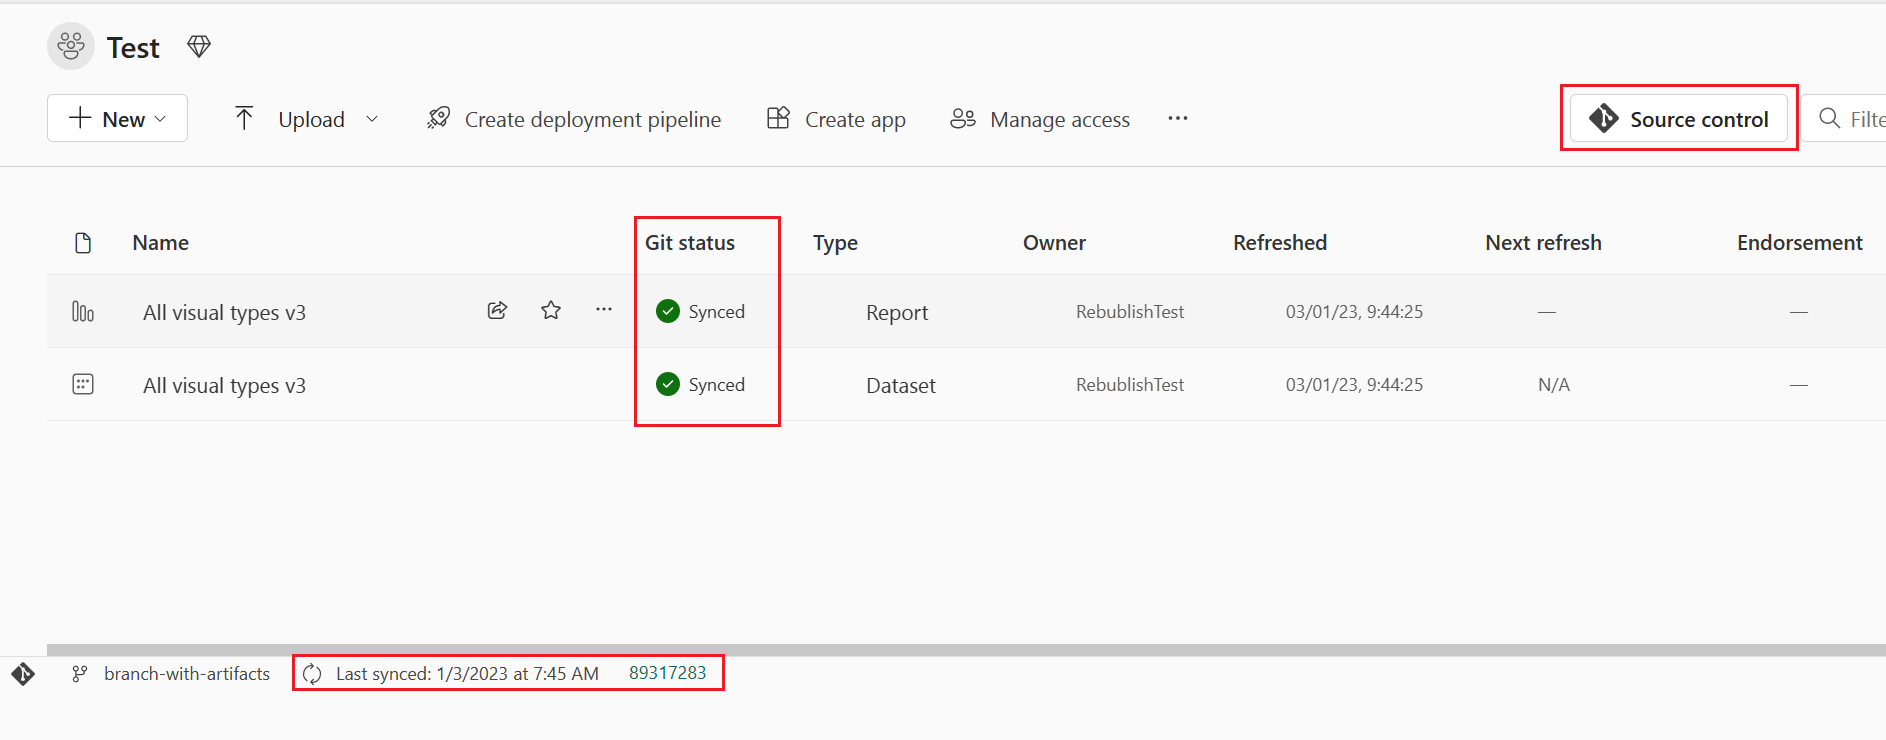
To keep your workspace synced with the Git branch, commit any changes you make in the workspace to the Git branch, and update your workspace whenever anyone creates new commits to the Git branch.
Commit changes to git
Once you successfully connect to a Git folder, edit your workspace as usual. Any changes you save are saved in the workspace only. When you’re ready, you can commit your changes to the Git branch, or you can undo the changes and revert to the previous status.
Read more about commits.
To commit your changes to the Git branch, follow these steps:
Go to the workspace.
Select the Source control icon. This icon shows the number of uncommitted changes.

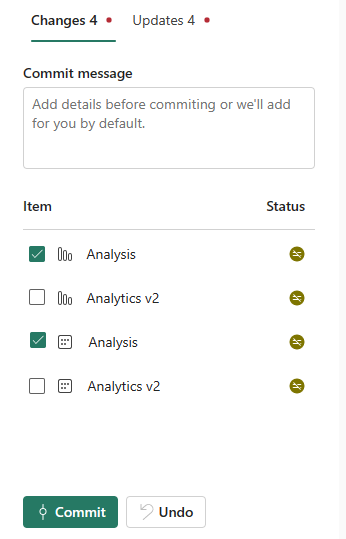
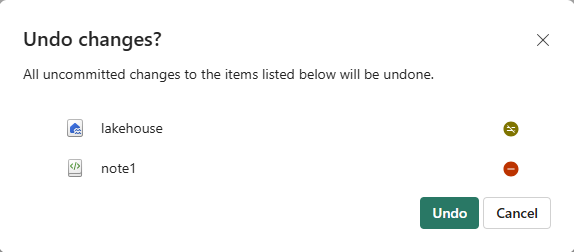
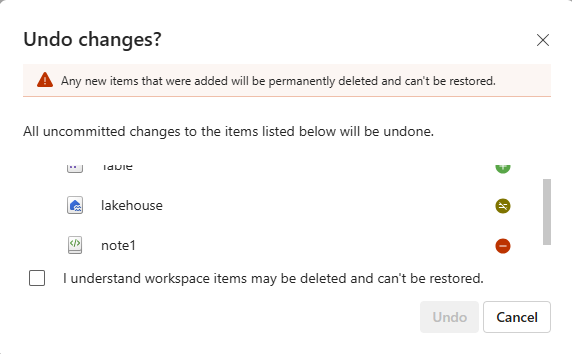
Select the Changes from the Source control panel. A list appears with all the items you changed, and an icon indicating if the item is new
 , modified
  , conflict
  , same change
  , or deleted
  .
.Select the items you want to commit. To select all items, check the top box.
Add a comment in the box. If you don't add a comment, a default message is added automatically.
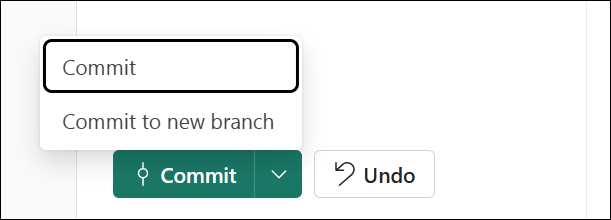
Select Commit.
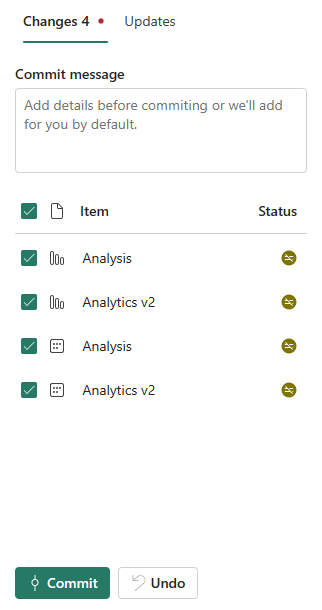
After the changes are committed, the items that were committed are removed from the list, and the workspace points to the new commit that it synced to.
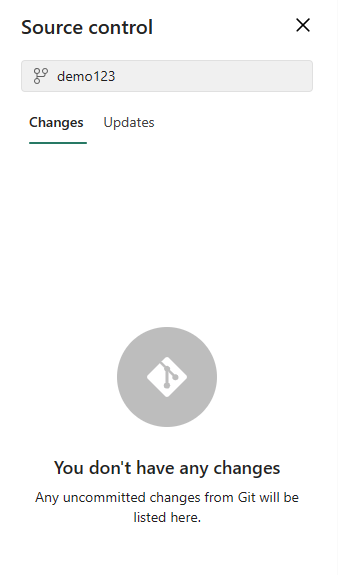
After the commit is completed successfully, the status of the selected items changes from Uncommitted to Synced.
Update workspace from Git
Whenever anyone commits a new change to the connected Git branch, a notification appears in the relevant workspace. Use the Source control panel to pull the latest changes, merges, or reverts into the workspace and update live items. Changes to folders are also updated. Read more about updating.
To update a workspace, follow these steps:
- Go to the workspace.
- Select the Source control icon.
- Select Updates from the Source control panel. A list appears with all the items that were changed in the branch since the last update.
- Select Update all.
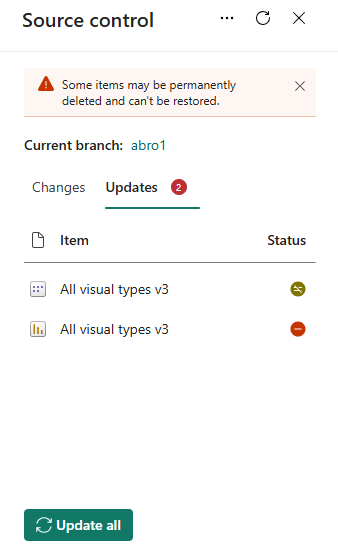
- On the confirmation dialog, select Update.

After it updates successfully, the list of items is removed, and the workspace points to the new workspace that it's synced to.
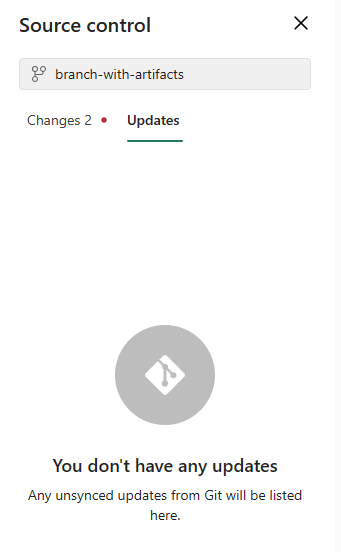
After the update is completed successfully, the status of the items changes to Synced.
Disconnect a workspace from Git
Only a workspace admin can disconnect a workspace from a Git Repo. If you’re not an admin, ask your admin for help with disconnecting. If you’re an admin and want to disconnect your repo, follow these steps:
- Go to Workspace settings
- Select Git integration
- Select Disconnect workspace
- Select Disconnect again to confirm.
Permissions
The actions you can take on a workspace depend on the permissions you have in both the workspace and the Git repo. For a more detailed discussion of permissions, see Permissions.
Considerations and limitations
General Git integration limitations
- The authentication method in Fabric must be at least as strong as the authentication method for Git. For example, if Git requires multifactor authentication, Fabric needs to require multifactor authentication as well.
- Power BI Datasets connected to Analysis Services aren't supported at this time.
- If you use a workspace identity in one artifact and commit it to Git, it can be updated (back to a fabric workspace) only in a workspace connected to the same identity. Be careful, as this also affects features like branch out.
- Submodules aren't supported.
- Sovereign clouds aren't supported.
- If your workspace contains hundreds of items, consider splitting it into smaller sets of artifacts. Each set should be placed in a separate workspace and linked to a different Git branch, or connected to a single branch organized into different folders.
- Azure DevOps isn't supported if Enable IP Conditional Access policy validation is enabled.
- If the workspace and Git repo are in two different geographical regions, the tenant admin must enable cross-geo exports.
- If your organization configured conditional access, make sure the Power BI Service has the same conditions set for authentication to function as expected.
- The following commit size limit is applied:
- 25 MB using the Azure DevOps connector with Service Principal.
- 125 MB using the default single sign-on (SSO) Microsoft Entra ID account and Azure DevOps connector with User Principal.
GitHub Enterprise limitations
Some GitHub Enterprise versions and settings aren't supported. For example:
- GitHub Enterprise Server with a custom domain is not supported, even if the instance is publicly accessible
- GitHub Enterprise Server hosted on a private network
- IP allowlist
Azure DevOps to GitHub Enterprise migration consideration
If your team uses Fabric Git Integration and is evaluating a migration from Azure DevOps to GitHub Enterprise, it’s recommended to run validation tests to ensure Git Integration functionality remains unaffected. Fabric Git Integration relies on the underlying Git provider APIs, which differ in capabilities and limitations between Azure DevOps and GitHub Enterprise, as described above.
Workspace limitations
- Only the workspace admin can manage the connections to the Git Repo such as connecting, disconnecting, or adding a branch.
Once connected, anyone with permission can work in the workspace. - Workspaces with template apps installed can't be connected to Git.
- MyWorkspace can't connect to a Git provider.
- Workspaces can contain a maximum of 1,000 items. If the Git branch contains more than 1,000 items, syncing the content to the workspace will fail. To avoid this limitation, consider splitting your artifacts into smaller sets. Each set should be placed in a separate workspace and linked to a different Git branch, or organized into different folders within a single branch.
Branch and folder limitations
- Maximum length of branch name is 244 characters.
- Maximum length of full path for file names is 250 characters. Longer names fail.
- Maximum file size is 25 MB.
- Folder structure is maintained up to 10 levels deep.
- Downloading a report/dataset as .pbix from the service after deploying them with Git integration is not recommended, as the results are unreliable. We recommend using Power BI Desktop to download reports/datasets as .pbix.
- If the item’s display name has any of these characteristics, The Git folder is renamed to the logical ID (Guid) and type:
- Has more than 256 characters
- Ends with a . or a space
- Contains any forbidden characters as described in directory name limitations
- When you connect a workspace that has folders to Git, you need to commit changes to the Git repo if that folder structure is different.
Directory name limitations
The name of the directory that connects to the Git repository has the following naming restrictions:
- The directory name can't begin or end with a space or tab.
- The directory name can't contain any of the following characters: "/: <>\*?|
The item folder (the folder that contains the item files) can't contain any of the following characters: ":<>\*?|. If you rename the folder to something that includes one of these characters, Git can't connect or sync with the workspace and an error occurs.
Branching out limitations
- Branch out requires permissions listed in permissions table.
- There must be an available capacity for this action.
- All workspace and branch naming limitations apply when branching out to a new workspace.
- Only Git supported items are available in the new workspace.
- The related branches list only shows branches and workspaces you have permission to view.
- Git integration must be enabled.
- When branching out, a new branch is created and the settings from the original branch aren't copied. Adjust any settings or definitions to ensure that the new meets your organization's policies.
- When branching out to an existing workspace:
- The target workspace must support a Git connection.
- The user must be an admin of the target workspace.
- The target workspace must have capacity.
- The workspace can't have template apps.
- Note that when you branch out to a workspace, any items that aren't saved to Git can get lost. We recommend that you commit any items you want to keep before branching out.
Sync and commit limitations
- You can only sync in one direction at a time. You can’t commit and update at the same time.
- Sensitivity labels aren't supported and exporting items with sensitivity labels might be disabled. To commit items that have sensitivity labels without the sensitivity label, ask your administrator for help.
- Works with limited items. Unsupported items in the folder are ignored.
- Duplicating names isn't allowed. Even if Power BI allows name duplication, the update, commit, or undo action fails.
- B2B isn’t supported.
- Conflict resolution is partially done in Git.
- During the Commit to Git process, the Fabric service deletes files inside the item folder that aren't part of the item definition. Unrelated files not in an item folder aren't deleted.
- After you commit changes, you might notice some unexpected changes to the item that you didn't make. These changes are semantically insignificant and can happen for several reasons. For example:
- Manually changing the item definition file. These changes are valid, but might be different than if done through the editors. For example, if you rename a semantic model column in Git and import this change to the workspace, the next time you commit changes to the semantic model, the bim file will register as changed and the modified column pushed to the back of the
columnsarray. This is because the AS engine that generates the bim files pushes renamed columns to the end of the array. This change doesn't affect the way the item operates. - Committing a file that uses CRLF line breaks. The service uses LF (line feed) line breaks. If you had item files in the Git repo with CRLF line breaks, when you commit from the service these files are changed to LF. For example, if you open a report in desktop, save the project file (.pbip) and upload it to Git using CRLF.
- Manually changing the item definition file. These changes are valid, but might be different than if done through the editors. For example, if you rename a semantic model column in Git and import this change to the workspace, the next time you commit changes to the semantic model, the bim file will register as changed and the modified column pushed to the back of the
- Refreshing a semantic model using the Enhanced refresh API causes a Git diff after each refresh.
