Configure Defender for Identity detection exclusions in Microsoft Defender XDR
This article explains how to configure Microsoft Defender for Identity detection exclusions in Microsoft Defender XDR.
Microsoft Defender for Identity enables the exclusion of specific IP addresses, computers, domains, or users from a number of detections.
For example, a DNS Reconnaissance alert could be triggered by a security scanner that uses DNS as a scanning mechanism. Creating an exclusion helps Defender for Identity ignore such scanners and reduce false positives.
Uwaga
We recommend you to Tune an alert instead of using exclusions. Alert tuning rules allow more granular conditions than exclusions, and allow you to review the alerts which were tuned.
Uwaga
Of the most common domains with Suspicious communication over DNS alerts opened on them, we observed the domains that customers most excluded from the alert. These domains are added to the exclusions list by default, but you have the option to easily remove them.
In Microsoft Defender XDR, go to Settings and then Identities.
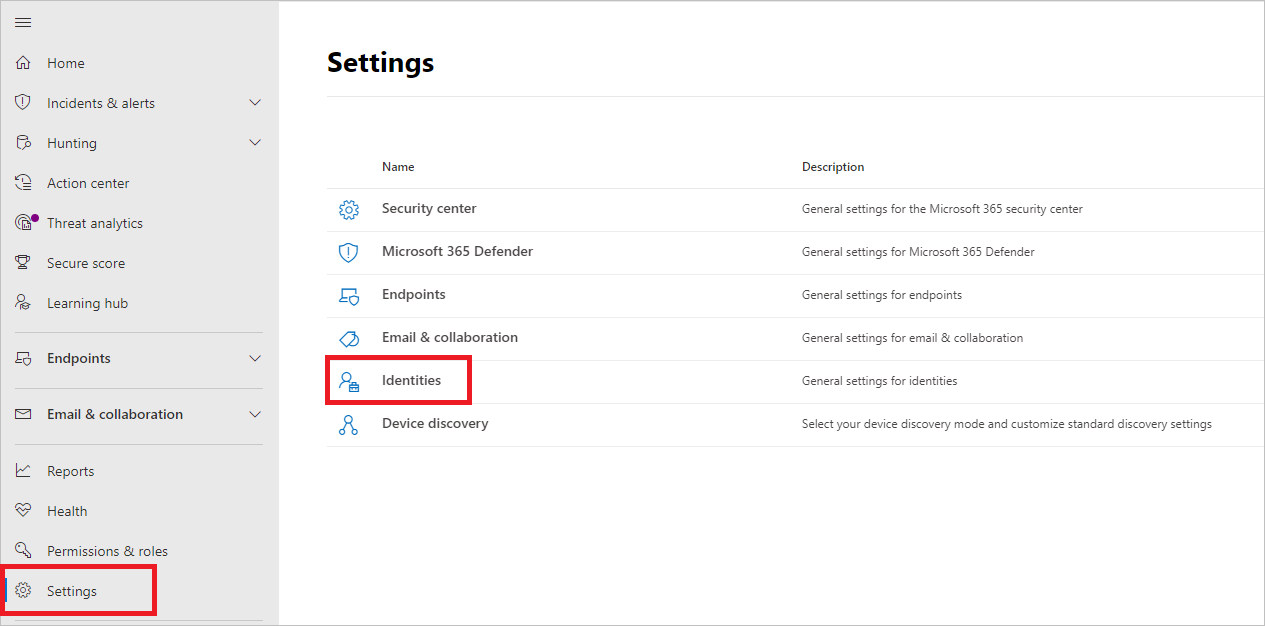
You'll then see Excluded entities in the left-hand menu.
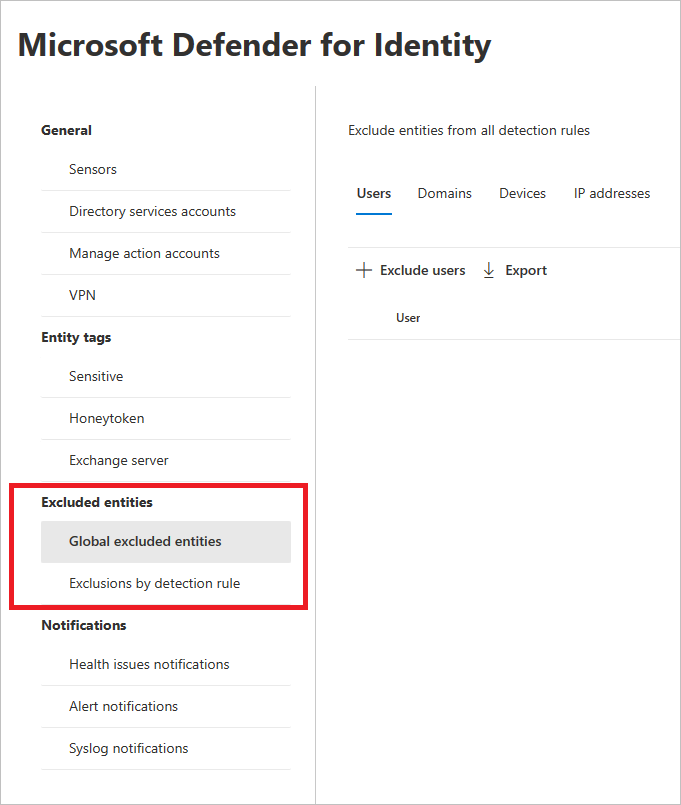
You can then set exclusions by two methods: Exclusions by detection rule and Global excluded entities.
In the left-hand menu, select Exclusions by detection rule. You'll see a list of detection rules.
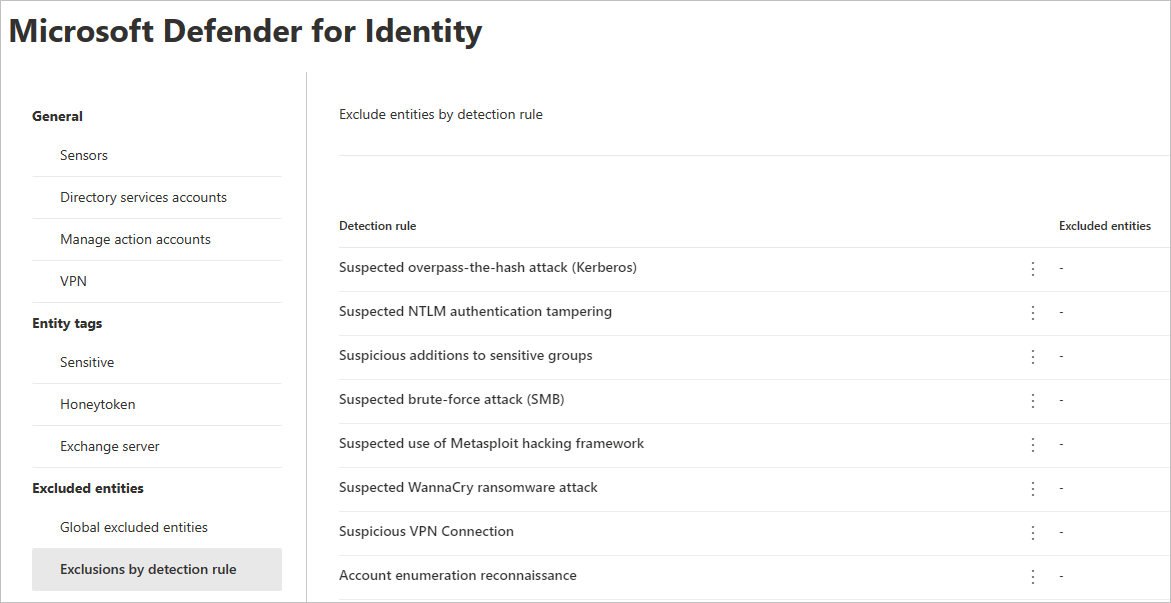
For each detection you want to configure, do the following steps:
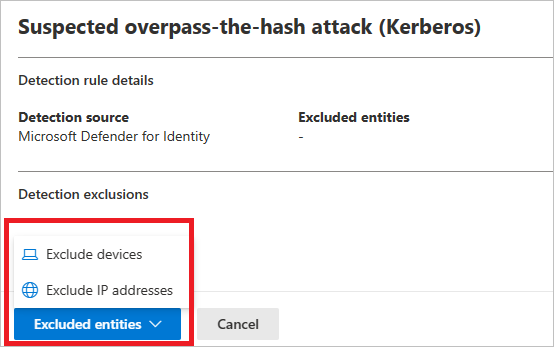
Select the rule. You can search for detections using the search bar. Once selected, a pane will open with the detection rule details.

To add an exclusion, select the Excluded entities button, and then choose the exclusion type. Different excluded entities are available for each rule. They include users, devices, domains and IP addresses. In this example, the choices are Exclude devices and Exclude IP addresses.
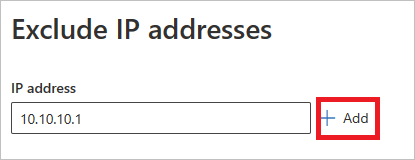
After choosing the exclusion type, you can add the exclusion. In the pane that opens, select the + button to add the exclusion.

Then add the entity to be excluded. Select + Add to add the entity to the list.
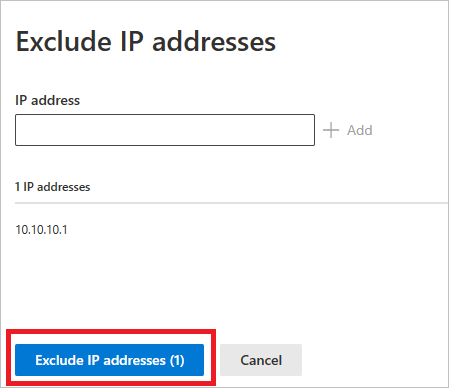
Then select Exclude IP addresses (in this example) to complete the exclusion.
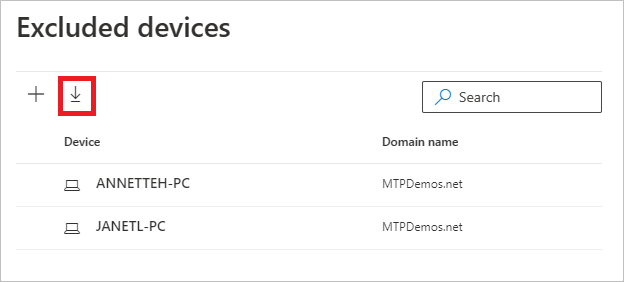
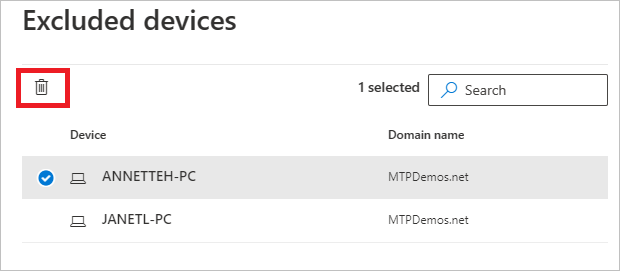
Once you've added exclusions, you can export the list or remove the exclusions by returning to the Excluded entities button. In this example, we've returned to Exclude devices. To export the list, select the down arrow button.
To delete an exclusion, select the exclusion and select the trash icon.
You can now also configure exclusions by Global excluded entities. Global exclusions allow you to define certain entities (IP addresses, subnets, devices, or domains) to be excluded across all of the detections Defender for Identity has. So for example, if you exclude a device, it will only apply to those detections that have device identification as part of the detection.
In the left-hand menu, select Global excluded entities. You'll see the categories of entities that you can exclude.
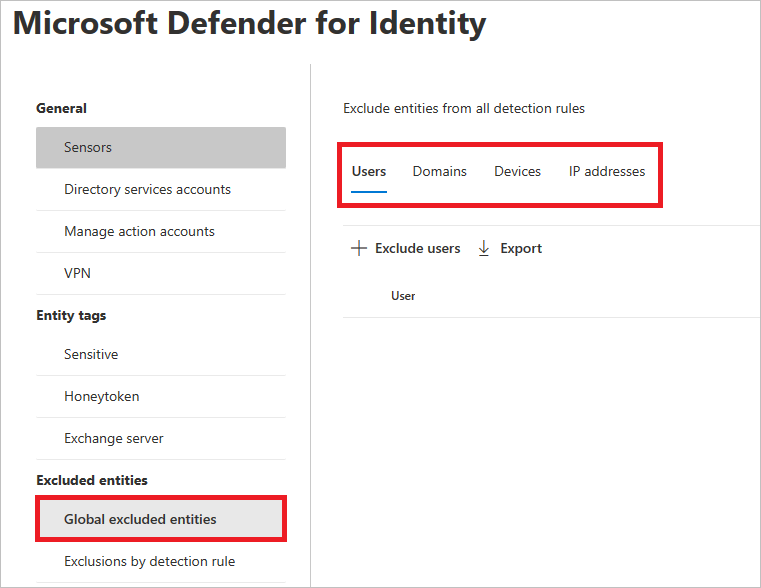
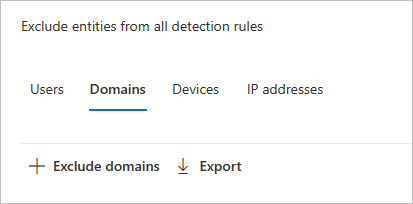
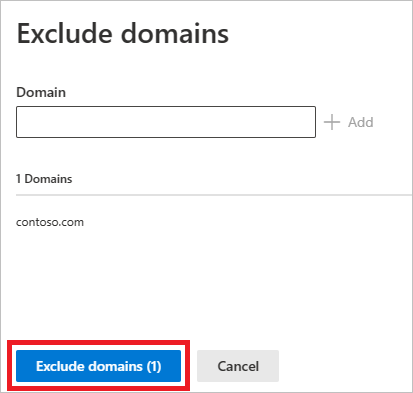
Choose an exclusion type. In this example, we selected Exclude domains.
A pane will open where you can add a domain to be excluded. Add the domain you want to exclude.
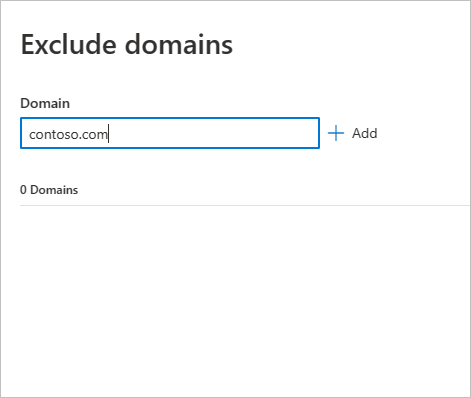
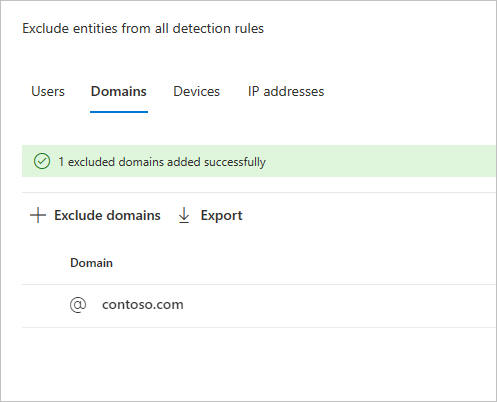
The domain will be added to the list. Select Exclude domains to complete the exclusion.
You'll then see the domain in the list of entities to be excluded from all detection rules. You can export the list, or remove the entities by choosing them and selecting the Remove button.
