教學課程:使用 Azure 地圖服務尋找並顯示不同移動模式的路線
本教學課程會展現如何使用 Azure 地圖服務路線規劃服務和地圖控制項,以 USHazmatClass2 貨物類型顯示私人車輛和商用車輛 (卡車) 的路線指示。
在本教學課程中,您會了解如何:
- 在網頁上建立和顯示地圖控制項
- 在地圖上呈現即時流量資料
- 在地圖上要求並顯示私人和商用車輛路線
必要條件
注意
如需 Azure 地圖服務中驗證的詳細資訊,請參閱管理 Azure 地圖服務中的驗證。
使用地圖控制項 API 建立新的網頁
下列步驟示範如何在網頁中建立和顯示地圖控制項。
在您的本機機器上建立新檔案,並將其命名為 MapTruckRoute.html。
將下列 HTML 新增至檔案:
<!DOCTYPE html>
<html>
<head>
    <title>Map Route</title>
    <meta charset="utf-8">
    <meta name="viewport" content="width=device-width, initial-scale=1, shrink-to-fit=no">

    <!-- Add references to the Azure Maps Map control JavaScript and CSS files. -->
    <link rel="stylesheet" href="https://atlas.microsoft.com/sdk/javascript/mapcontrol/3/atlas.min.css" type="text/css">
    <script src="https://atlas.microsoft.com/sdk/javascript/mapcontrol/3/atlas.min.js"></script>

    <script>
        var map, datasource, client;

        function GetMap() {
            //Add Map Control JavaScript code here.
        }
    </script>
    <style>
        html,
        body {
            width: 100%;
            height: 100%;
            padding: 0;
            margin: 0;
        }

        #myMap {
            width: 100%;
            height: 100%;
        }
    </style>
</head>
<body onload="GetMap()">
    <div id="myMap"></div>
</body>
</html>
與上述 HTML 相關的一些須知事項:
- HTML 標頭包含 Azure 地圖控制項程式庫所裝載的 CSS 和 JavaScript 資源檔案。
- 頁面主體載入後,頁面主體的
onload事件會呼叫GetMap函式。 GetMap函式會包含內嵌 JavaScript 程式碼,可用來存取 Azure 地圖服務 API。
接下來,將下列 JavaScript 程式碼新增至
GetMap函式,其會在上一個步驟所新增的程式碼下方。 此程式碼會建立地圖控制項,並使用您提供的 Azure 地圖服務訂用帳戶金鑰將其初始化。 請確定並將字串<Your Azure Maps Subscription Key>取代為您從地圖服務帳戶中複製的 Azure 地圖服務訂用帳戶金鑰。//Instantiate a map object var map = new atlas.Map("myMap", { // Replace <Your Azure Maps Subscription Key> with your Azure Maps subscription key. https://aka.ms/am-primaryKey authOptions: { authType: 'subscriptionKey', subscriptionKey: '<Your Azure Maps Subscription Key>' } });與上述 JavaScript 相關的一些須知事項:
儲存檔案並在瀏覽器中將其開啟。 瀏覽器會使用您的 Azure 地圖服務訂用帳戶金鑰來呼叫
atlas.Map,以顯示基本地圖。
在地圖上呈現即時流量資料
在
GetMap函式中,在地圖完成初始化之後新增下列 JavaScript 程式碼。 此程式碼會實作地圖控制項的ready事件處理常式。map.events.add("ready", function() { // Add Traffic Flow to the Map map.setTraffic({ flow: "relative" }); });與上述 JavaScript 相關的一些須知事項:
- 此程式碼會實作地圖控制項的
ready事件處理常式。 本教學課程中的其餘程式碼將放在ready事件處理常式內。 - 在地圖
ready事件處理常式中,地圖上的流量設定會設為relative,這是相對於自由流量的道路速度。 - 如需更多流量選項,請參閱 TrafficOptions 介面。
- 此程式碼會實作地圖控制項的
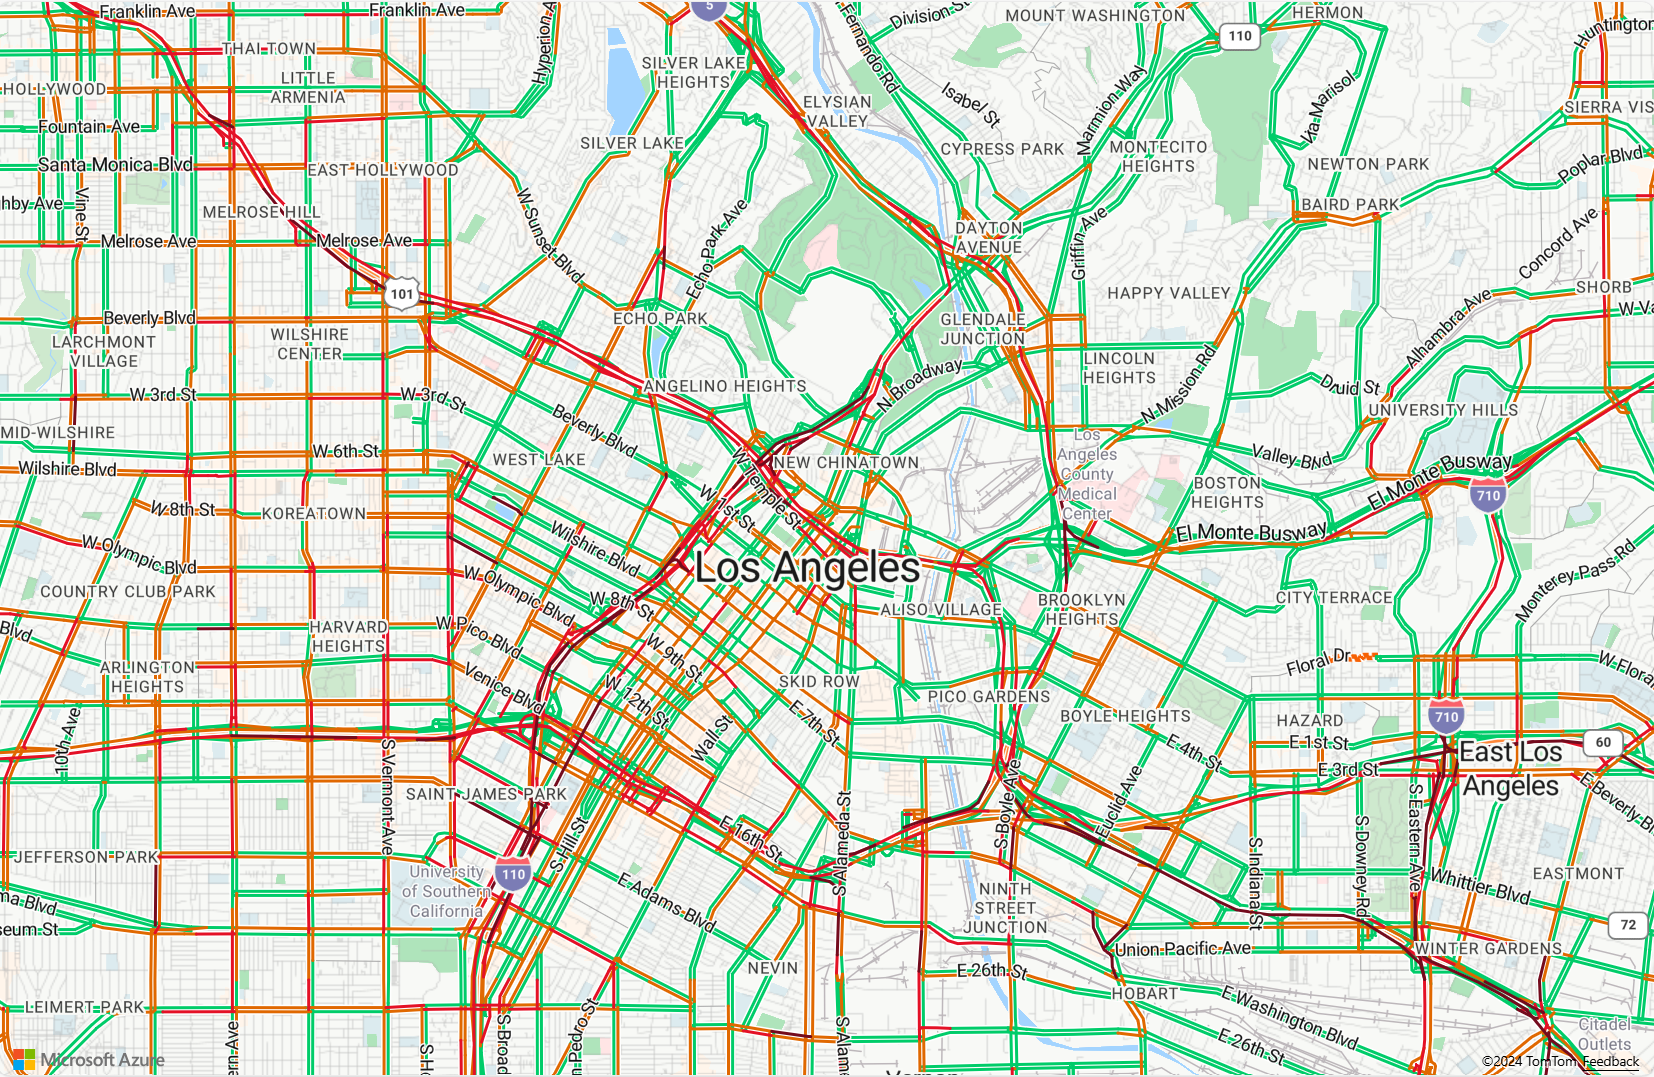
儲存 MapTruckRoute.html 檔案,並重新整理瀏覽器頁面。 如果您放大任何城市 (例如洛杉磯),街道會顯示目前的交通流量資料。

定義路線顯示呈現
在本教學課程中,會在地圖上計算兩個路線。 第一條路線是針對私人車輛 (汽車) 進行計算。 第二條路線是針對商用車輛 (卡車) 進行計算,以顯示結果之間的差異。 在呈現時,地圖針對路線的起點和終點顯示符號圖示,並以不同的色彩表示每個路線路徑的路線幾何。 如需新增線條圖層的詳細資訊,請參閱將線條圖層新增至地圖。 若要深入了解符號圖層,請參閱將符號圖層新增至地圖。
在地圖控制項的
ready事件處理常式中,附加下列程式碼。//Create a data source and add it to the map. datasource = new atlas.source.DataSource(); map.sources.add(datasource); //Add a layer for rendering the route lines and have it render under the map labels. map.layers.add(new atlas.layer.LineLayer(datasource, null, { strokeColor: ['get', 'strokeColor'], strokeWidth: ['get', 'strokeWidth'], lineJoin: 'round', lineCap: 'round' }), 'labels'); //Add a layer for rendering point data. map.layers.add(new atlas.layer.SymbolLayer(datasource, null, { iconOptions: { image: ['get', 'icon'], allowOverlap: true }, textOptions: { textField: ['get', 'title'], offset: [0, 1.2] }, filter: ['any', ['==', ['geometry-type'], 'Point'], ['==', ['geometry-type'], 'MultiPoint']] //Only render Point or MultiPoints in this layer. }));與上述 JavaScript 相關的一些須知事項:
- 在地圖控制項的
ready事件處理常式中,系統會建立資料來源以儲存路線起點和終點。 - 此外也會使用運算式,從路線特性的屬性中擷取線條的寬度和色彩。
- 為了確保路線不會涵蓋道路標籤,我們傳遞了第二個參數,其值為
'labels'。
接下來系統會建立符號圖層,並將其附加至資料來源。 此圖層會指定起點和終點的呈現方式。 已新增運算式,用以從每個點物件的屬性中擷取圖示影像和文字標籤資訊。 若要深入了解運算式,請參閱資料驅動樣式運算式一文。
- 在地圖控制項的
接下來,將起點設在西雅圖的一家虛構公司 Fabrikam,並將終點設在 Microsoft 辦公室。 在地圖控制項的
ready事件處理常式中,附加下列程式碼。//Create the GeoJSON objects which represent the start and end point of the route. var startPoint = new atlas.data.Feature(new atlas.data.Point([-122.356099, 47.580045]), { title: 'Fabrikam, Inc.', icon: 'pin-blue' }); var endPoint = new atlas.data.Feature(new atlas.data.Point([-122.201164, 47.616940]), { title: 'Microsoft - Lincoln Square', icon: 'pin-round-blue' }); //Add the data to the data source. datasource.add([startPoint, endPoint]); //Fit the map window to the bounding box defined by the start and end positions. map.setCamera({ bounds: atlas.data.BoundingBox.fromData([startPoint, endPoint]), padding: 100 });關於上述 JavaScript:
- 此程式碼會建立兩個 GeoJSON 點物件,代表起點和終點,此資訊也會新增到資料來源。
- 最後一個程式碼區塊會使用起點和終點的經緯度設定相機檢視。
- 起點和終點會新增至資料來源。
- 系統會使用
atlas.data.BoundingBox.fromData函式計算起點和終點的週框方塊。 此週框方塊會用來透過map.setCamera函式設定整個路線的地圖相機檢視。 - 系統會加入邊框間距,以補償符號圖示的像素維度。
- 如需詳細資訊,請參閱 Microsoft 技術文件中的 setCamera 函式。
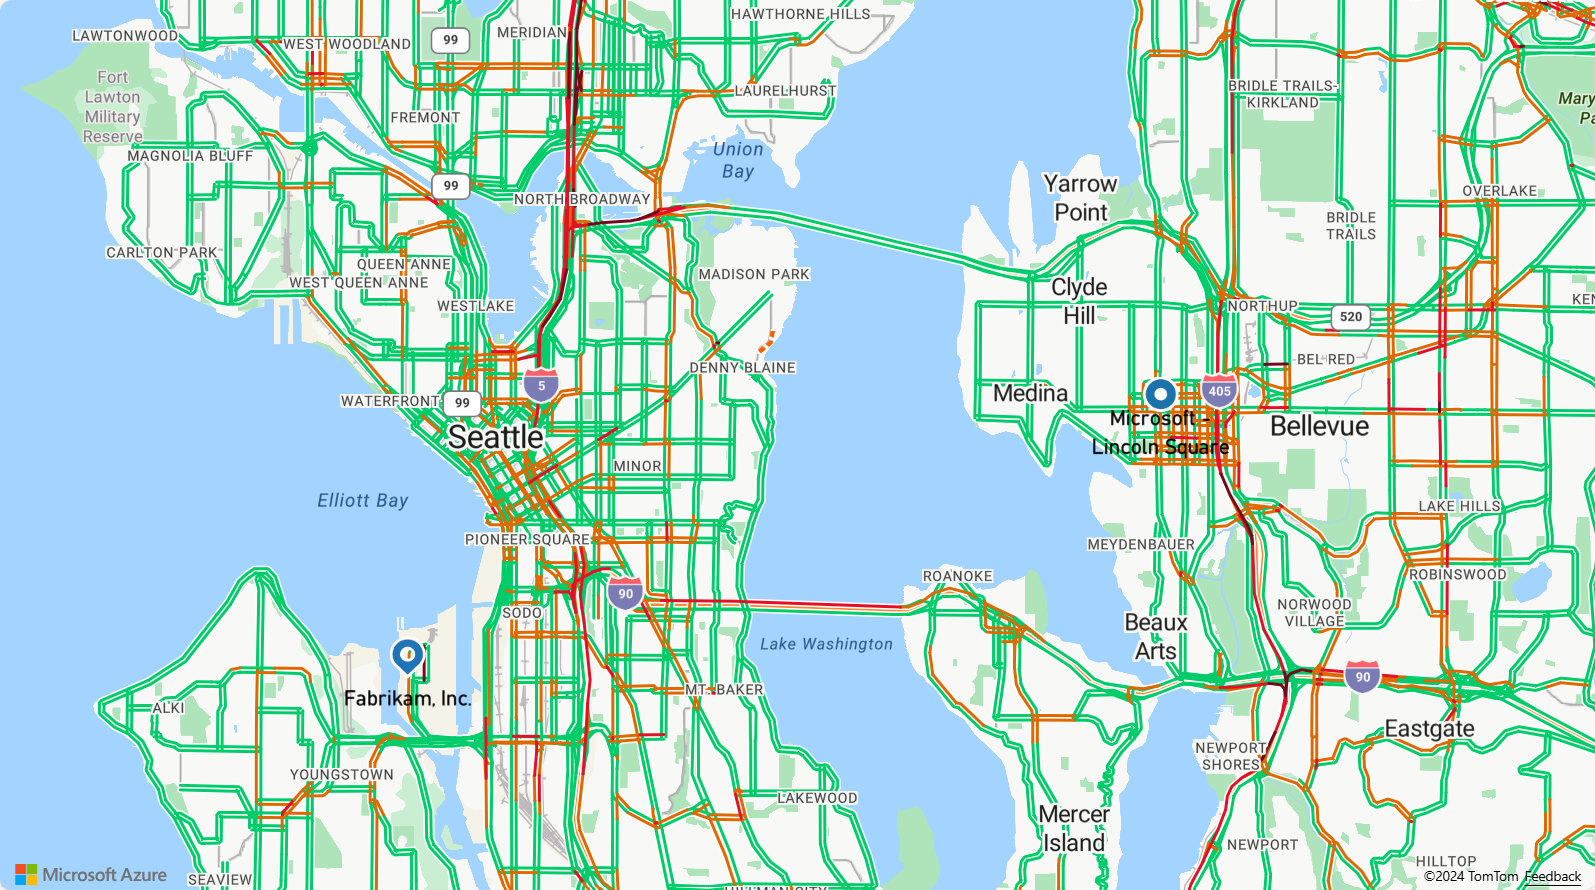
儲存 TruckRoute.html 並重新整理瀏覽器。 現在地圖會以西雅圖作為中心。 藍色的淚珠形圖釘會標示起點。 圓形藍色圖釘會標示終點。

在地圖上要求並顯示私人和商用車輛路線
本節說明如何使用 Azure 地圖服務路線規劃服務,根據您的運輸模式,取得從某個點到另一個點的方向。 使用兩種運輸模式:卡車和汽車。
提示
路線規劃服務會提供 API,根據距離、交通流量條件和使用的運輸模式,來規劃「最快速」、「最短」、「最環保」或「驚心動魄」的路線。 服務也可讓使用者根據歷程記錄交通流量條件來規劃未來的路由。 使用者可以查看任何指定時間的路由持續期間預測。 如需詳細資訊,請參閱取得路線方向 API。
在函式
GetMap中,於控件的ready事件處理程式內,新增下列JavaScript程式碼,以從起點到終點建構貨車路線。 此路線是針對裝載USHazmatClass2類別貨物的卡車而建立和顯示。//Start and end point input to the search route request var query = startPoint.geometry.coordinates[1] + "," + startPoint.geometry.coordinates[0] + ":" + endPoint.geometry.coordinates[1] + "," + endPoint.geometry.coordinates[0]; //Make a search route request for a truck vehicle type var truckRouteUrl = `https://atlas.microsoft.com/route/directions/json?api-version=1.0&travelMode=truck&vehicleWidth=2&vehicleHeight=2&vehicleLength=5&vehicleLoadType=USHazmatClass2&query=${query}`; fetch(truckRouteUrl, { headers: { "Subscription-Key": map.authentication.getToken() } }) .then((response) => response.json()) .then((response) => { var route = response.routes[0]; //Create an array to store the coordinates of each turn var routeCoordinates = []; route.legs.forEach((leg) => { var legCoordinates = leg.points.map((point) => { return [point.longitude, point.latitude]; }); //Add each turn to the array routeCoordinates = routeCoordinates.concat(legCoordinates); }); //Add the route line to the data source. We want this to render below the car route which will likely be added to the data source faster, so insert it at index 0. datasource.add( new atlas.data.Feature(new atlas.data.LineString(routeCoordinates), { strokeColor: "#2272B9", strokeWidth: 9 }), 0 ); });關於上述 JavaScript:
- 此程式碼會透過 Azure 地圖服務路線指示 API 來查詢 Azure 地圖服務路線規劃服務。
- 然後,從回應的每個回合座標建立路由線。
- 路線隨後會新增至資料來源。
- 系統會將兩個屬性新增至卡車路線:一個呈現為藍色的筆觸色彩
#2272B9,和一個寬度為九個像素的筆觸。 - 路線會提供 0 的索引,以確保貨車路線會呈現在資料來源的任何其他路線前面。 這是因為卡車路線計算的速度通常比汽車路線計算較慢。 如果卡車路線在汽車路線之後新增至資料來源,則會呈現於汽車路線之上。
提示
若要查看 Azure 地圖服務路線指示 API 的所有可能選項和值,請參閱 Post 路線指示的 URI 參數。
接下來,附加下列 JavaScript 程式碼以建立汽車的行車路線。
var carRouteUrl = `https://atlas.microsoft.com/route/directions/json?api-version=1.0&query=${query}`;
fetch(carRouteUrl, {
    headers: {
        "Subscription-Key": map.authentication.getToken()
    }
})
.then((response) => response.json())
.then((response) => {
    var route = response.routes[0];
    //Create an array to store the coordinates of each turn
    var routeCoordinates = [];
    route.legs.forEach((leg) => {
        var legCoordinates = leg.points.map((point) => {
            return [point.longitude, point.latitude];
        });
        //Add each turn to the array
        routeCoordinates = routeCoordinates.concat(legCoordinates);
    });

    //Add the route line to the data source. This will add the car route after the truck route.
    datasource.add(
        new atlas.data.Feature(new atlas.data.LineString(routeCoordinates), {
            strokeColor: "#B76DAB",
            strokeWidth: 5
        })
    );
});
關於上述 JavaScript:
- 此程式碼會透過 Azure 地圖服務路線指示 API 方法來查詢 Azure 地圖服務路線規劃服務。
- 然後,會從每個回合的座標建立路由線,並新增至數據源。
- 系統會將兩個屬性新增至卡車路線:一個呈現為紫色的筆觸色彩
#B76DAB,和一個寬度為五個像素的筆觸。
儲存 TruckRoute.html 檔案並重新整理網頁瀏覽器。 地圖現在應該會同時顯示卡車和汽車路線。
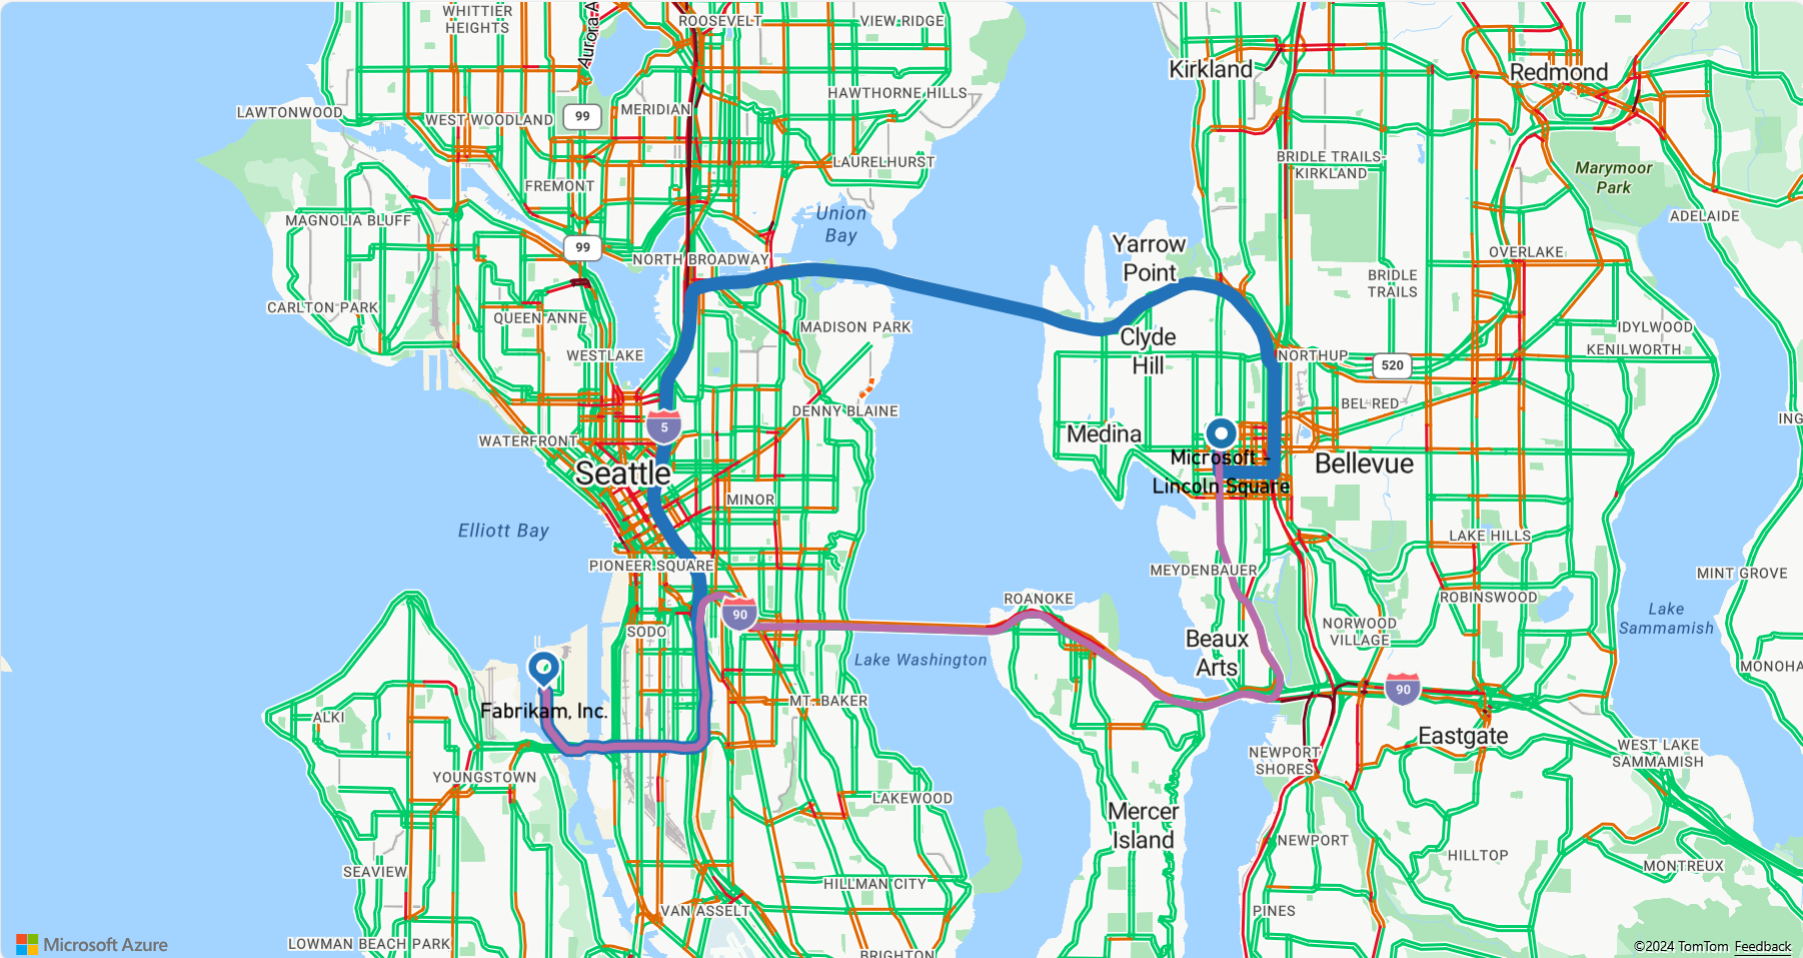
- 貨車路線會使用粗的藍色線條顯示,而汽車路線則會使用細的紫色線條顯示。
- 汽車路線會透過 I-90 穿越華盛頓湖,期間會經由隧道穿過住宅區底下。 因為隧道是在居住區域,因此不得載運有害廢棄物。 卡車路線 (指定了
USHazmatClass2貨物類型) 則會引導使用不會有此限制的不同路線。

- 如需本教學課程中使用的完整程式碼,請參閱 GitHub 上的追蹤路由教學課程。
- 若要即時檢視此範例,請參閱 Azure 地圖服務程式碼範例網站上的依旅遊方式區分的多個路線。
- 您也可以使用資料驅動樣式運算式。
下一步
下一個教學課程示範使用 Azure 地圖服務來建立簡單存放區定位器的程序。