Configure customer-managed keys for your Azure Cosmos DB account with Azure Key Vault
APPLIES TO:
NoSQL
MongoDB
Cassandra
Gremlin
Table
Data stored in your Azure Cosmos DB account is automatically and seamlessly encrypted with keys managed by Microsoft (service-managed keys). Optionally, you can choose to add a second layer of encryption with keys you manage (customer-managed keys or CMK).
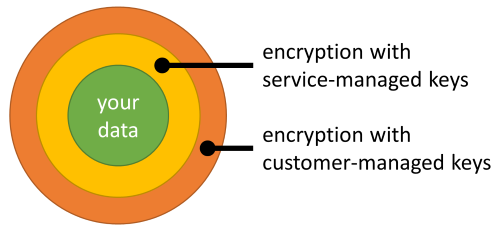
You must store customer-managed keys in Azure Key Vault and provide a key for each Azure Cosmos DB account that is enabled with customer-managed keys. This key is used to encrypt all the data stored in that account.
Note
If you wish to enable customer-managed keys on your existing Azure Cosmos DB accounts then you can refer to the link here for more details
Warning
The following field names are reserved on Cassandra API tables in accounts using Customer-managed Keys:
idttl_ts_etag_rid_self_attachments_epk
When Customer-managed Keys are not enabled, only field names beginning with __sys_ are reserved.
- An Azure account with an active subscription. Create an account for free.
If the Microsoft.DocumentDB resource provider isn't already registered, you should register this provider as a first step.
Sign in to the Azure portal, go to your Azure subscription, and select Resource providers under the Settings tab:
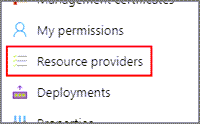
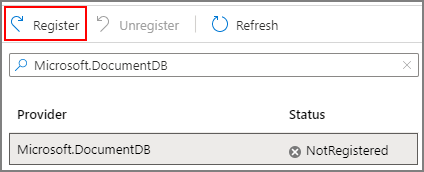
Search for the Microsoft.DocumentDB resource provider. Verify if the resource provider is already marked as registered. If not, choose the resource provider and select Register:
Important
Your Azure Key Vault instance must be accessible through public network access or allow trusted Microsoft services to bypass its firewall. An instance that is exclusively accessible through private endpoints cannot be used to host your customer-managed keys.
Using customer-managed keys with Azure Cosmos DB requires you to set two properties on the Azure Key Vault instance that you plan to use to host your encryption keys: Soft Delete and Purge Protection.
If you create a new Azure Key Vault instance, enable these properties during creation:
If you're using an existing Azure Key Vault instance, you can verify that these properties are enabled by looking at the Properties section on the Azure portal. If any of these properties isn't enabled, see the "Enabling soft-delete" and "Enabling Purge Protection" sections in one of the following articles:
Once purge protection and soft-delete have been enabled, on the access policy tab, you can choose your preferred permission model to use. Access policies are set by default, but Azure role-based access control is supported as well.
The necessary permissions must be given for allowing Cosmos DB to use your encryption key. This step varies depending on whether the Azure Key Vault is using either Access policies or role-based access control.
Note
It is important to note that only one security model can be active at a time, so there is no need to seed the role based access control if the Azure Key Vault is set to use access policies and vice versa)
In this variation, use the Azure Cosmos DB principal to create an access policy with the appropriate permissions.
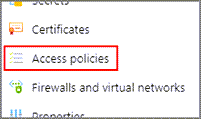
From the Azure portal, go to the Azure Key Vault instance that you plan to use to host your encryption keys. Select Access Policies from the left menu:
Select + Add Access Policy.
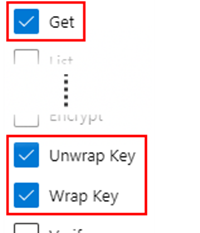
Under the Key permissions drop-down menu, select Get, Unwrap Key, and Wrap Key permissions:
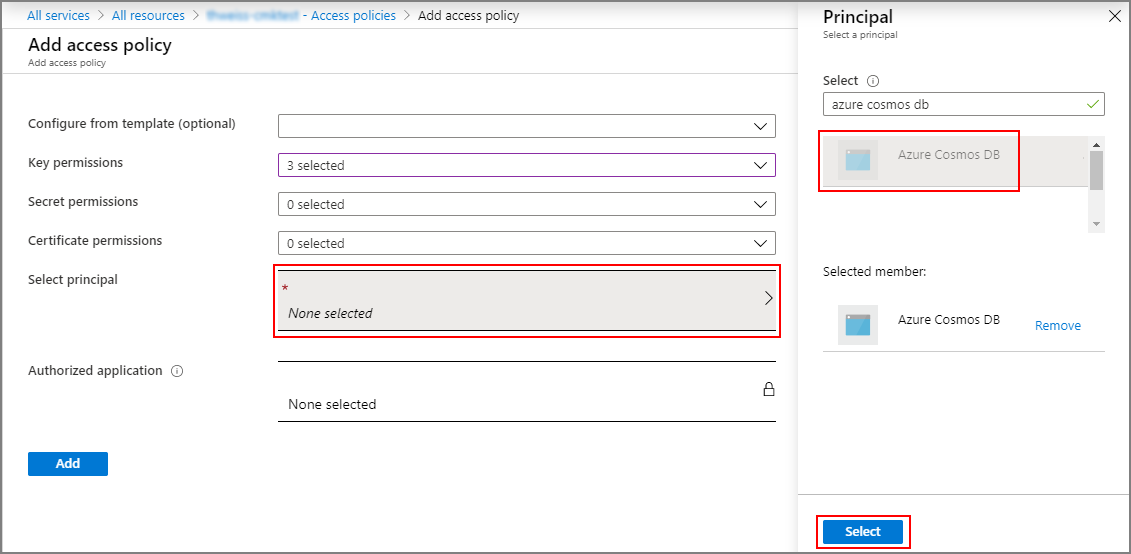
Under Select principal, select None selected.
Search for Azure Cosmos DB principal and select it (to make it easier to find, you can also search by application ID:
00001111-aaaa-2222-bbbb-3333cccc4444for any Azure region except Azure Government regions where the application ID is11112222-bbbb-3333-cccc-4444dddd5555).Tip
This registers the Azure Cosmos DB first-party-identity in your Azure Key Vault access policy. If the Azure Cosmos DB principal isn't in the list, you might need to re-register the Microsoft.DocumentDB resource provider.
Choose Select at the bottom.
Select Add to add the new access policy.
Select Save on the Key Vault instance to save all changes.
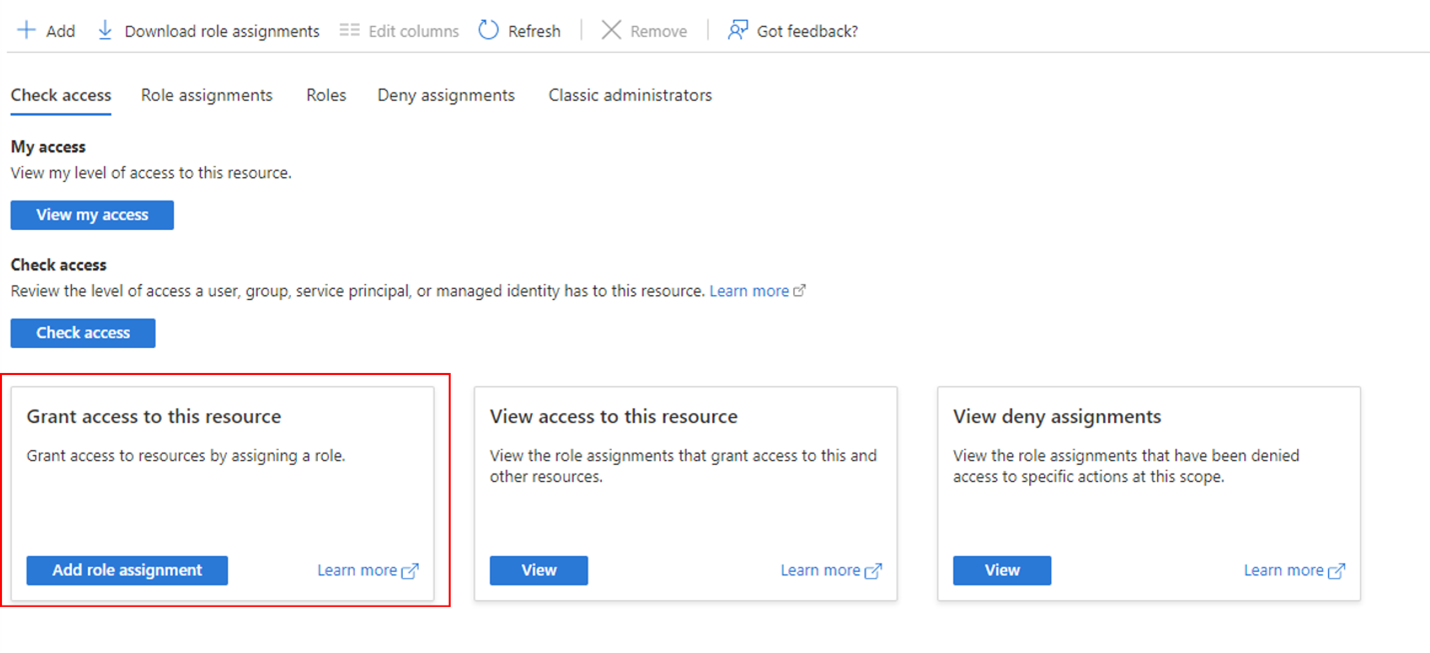
From the Azure portal, go to the Azure Key Vault instance that you plan to use to host your encryption keys. Select Access control (IAM) from the left menu and select Grant access to this resource.
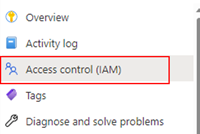
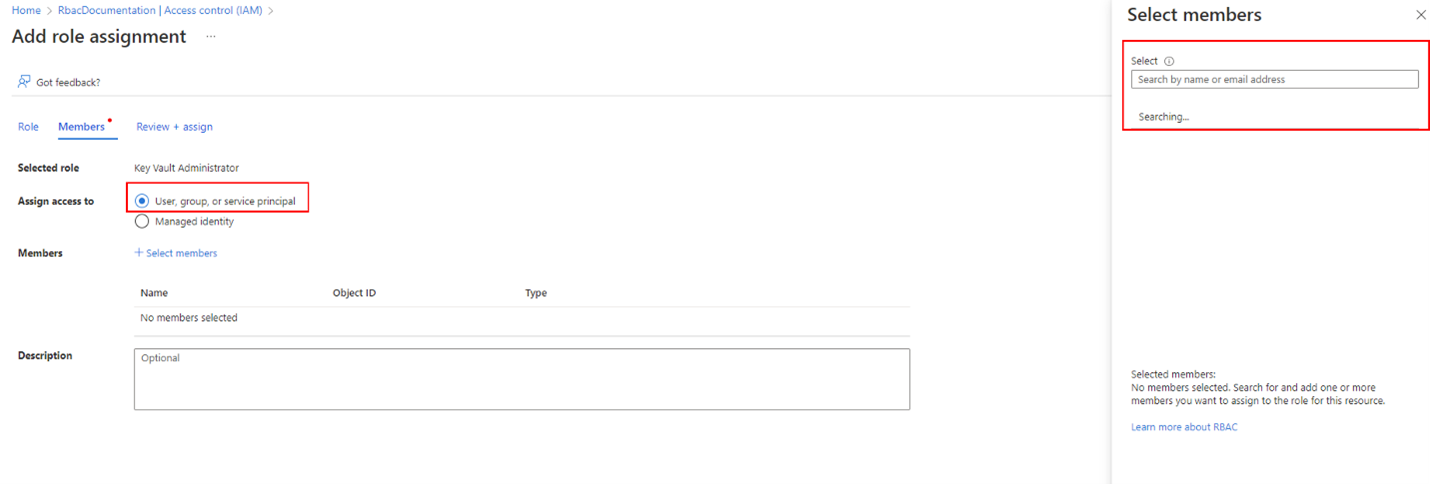
Search the Key Vault Administrator role and assign it to yourself. This assignment is done by first searching the role name from the list and then clicking on the “Members” tab. Once on the tab, select the “User, group or service principal” option from the radio and then look up your Azure account. Once the account has been selected, the role can be assigned.
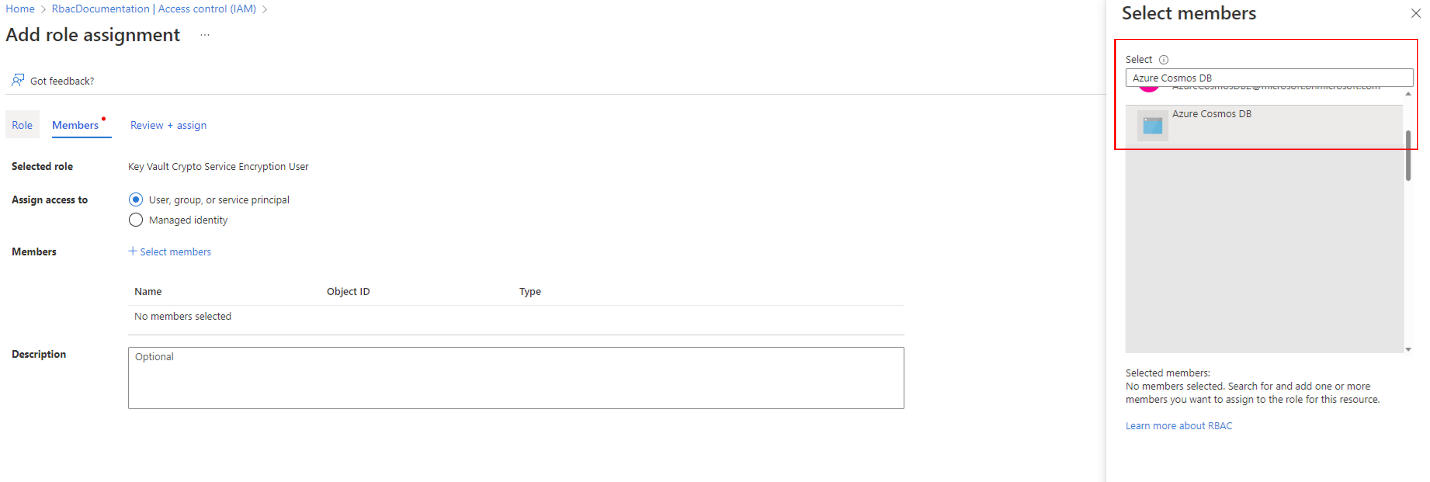
Then, the necessary permissions must be assigned to Cosmos DB’s principal. So, like the last role assignment, go to the assignment page but this time look for the “Key Vault Crypto Service Encryption User” role and on the members tab look for Cosmos DB’s principal. To find the principal, search for Azure Cosmos DB principal and select it.
Important
In the Azure Government region, the application ID is
11112222-bbbb-3333-cccc-4444dddd5555.Select Review + assign and the role will be assigned to Cosmos DB.
Next, use the access control page to confirm that all roles have been configured correctly.
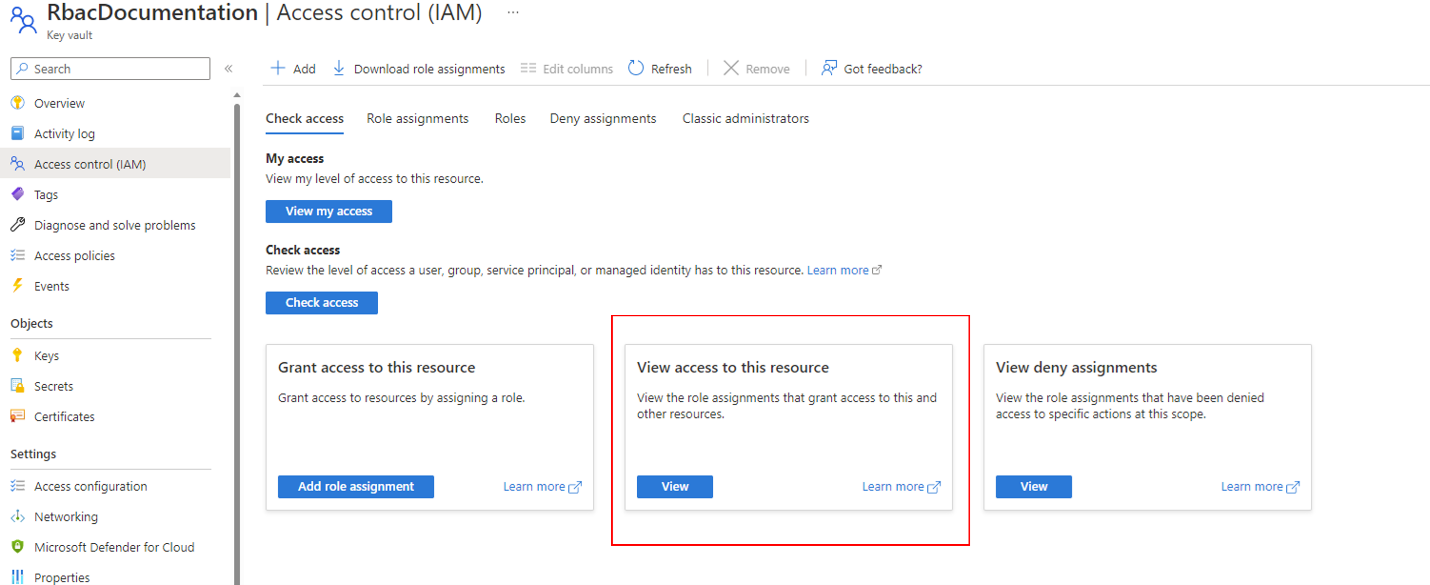
Once the roles have been assigned, select “View access to this resource” on the Access Control IAM page to verify that everything has been set correctly.
On the page, set the scope to “this resource” and verify that you have the Key Vault Administrator role, and the Cosmos DB principal has the Key Vault Crypto Encryption User role.
Here, create a new key using Azure Key Vault and retrieve the unique identifier.
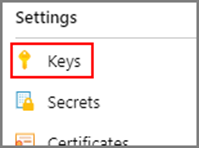
From the Azure portal, go the Azure Key Vault instance that you plan to use to host your encryption keys. Then, select Keys from the left menu:
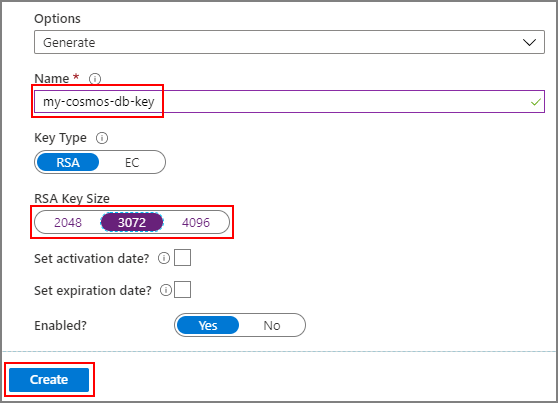
Select Generate/Import, provide a name for the new key, and select an RSA key size. A minimum of 3072 is recommended for best security. Then select Create:
Tip
Alternatively, you can use the Azure CLI to generate a key with:
az keyvault key create \
    --vault-name <name-of-key-vault> \
    --name <name-of-key>
For more information on managing a key vault with the Azure CLI, see manage Azure Key Vault with the Azure CLI.
After the key is created, select the newly created key and then its current version.
Copy the key's Key Identifier, except the part after the last forward slash:
Create a new Azure Cosmos DB account using the Azure portal or Azure CLI.
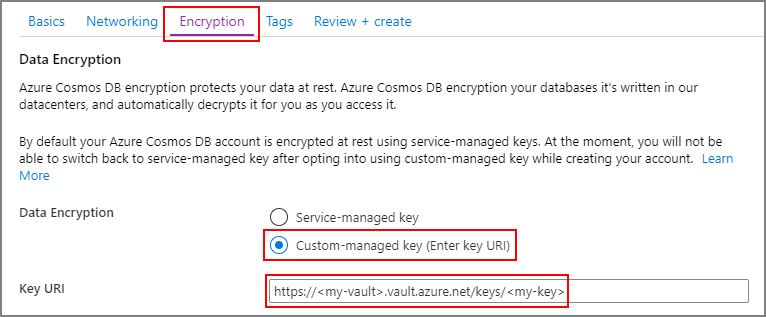
When you create a new Azure Cosmos DB account from the Azure portal, choose Customer-managed key in the Encryption step. In the Key URI field, paste the URI/key identifier of the Azure Key Vault key that you copied from the previous step:
Important
Depending on your network configuration, you may need to allow access to Azure Cosmos DB from other Azure services.
This access policy ensures that your encryption keys can be accessed by your Azure Cosmos DB account. The access policy is implemented by granting access to a specific Microsoft Entra identity. Two types of identities are supported:
- Azure Cosmos DB's first-party identity can be used to grant access to the Azure Cosmos DB service.
- Your Azure Cosmos DB account's managed identity can be used to grant access to your account specifically.
You can create a continuous backup account by using the Azure CLI or an Azure Resource Manager template.
Currently, only user-assigned managed identity is supported for creating continuous backup accounts.
Once the account has been created, you can update the identity to system-assigned managed identity.
Alternatively, user can also create a system identity with periodic backup mode first, then migrate the account to Continuous backup mode using these instructions Migrate an Azure Cosmos DB account from periodic to continuous backup mode
A user-assigned identity is required in the restore request because the source account managed identity (User-assigned and System-assigned identities) can't be carried over automatically to the target database account.
The data you store in your Azure Cosmos DB account when using customer-managed keys ends up being encrypted twice:
- Once through the default encryption performed with Microsoft-managed keys.
- Once through the extra encryption performed with customer-managed keys.
Double encryption only applies to the main Azure Cosmos DB transactional storage. Some features involve internal replication of your data to a second tier of storage where double encryption isn't provided, even with customer-managed keys. These features include:
Rotating the customer-managed key used by your Azure Cosmos DB account can be done in two ways.
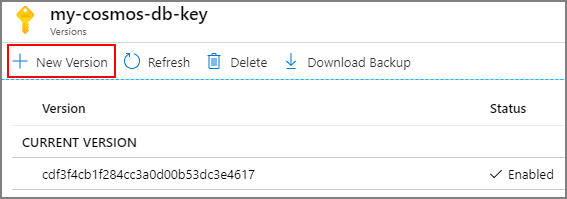
Create a new version of the key currently used from Azure Key Vault:
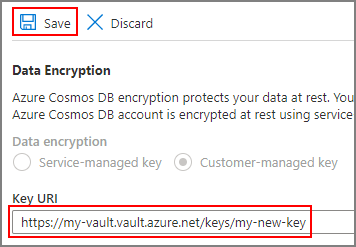
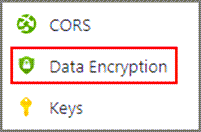
Swap the key currently used with a different one by updating the key URI on your account. From the Azure portal, go to your Azure Cosmos DB account and select Data Encryption from the left menu:
Then, replace the Key URI with the new key you want to use and select Save:
Here's how to do achieve the same result in PowerShell:
# Variable for resource group name
$RESOURCE_GROUP_NAME = "<resource-group-name>"

# Variable for account name
$ACCOUNT_NAME = "<globally-unique-account-name>"

# Variable for new key URI in the key vault
$NEW_KEY_VAULT_KEY_URI="https://<key-vault-name>.vault.azure.net/keys/<new-key-name>"

$parameters = @{
    ResourceGroupName = $RESOURCE_GROUP_NAME
    Name = $ACCOUNT_NAME
    ResourceType = "Microsoft.DocumentDb/databaseAccounts"
}
$ACCOUNT = Get-AzResource @parameters

$ACCOUNT.Properties.keyVaultKeyUri = $NEW_KEY_VAULT_KEY_URI

$ACCOUNT | Set-AzResource -Force
The previous key or key version can be disabled after the Azure Key Vault audit logs don't show activity from Azure Cosmos DB on that key or key version anymore. No more activity should take place on the previous key or key version after 24 hours of key rotation.
Key auto-rotation in Azure Key Vault is supported as long as the previous key is not disabled or deleted. The internal systems need some time to catch up with the new version of the key after validating that the account is not in revoked state or in transition to enable customer-managed keys.
If there are any errors with customer-managed keys in Azure Cosmos DB, Azure Cosmos DB returns the error details along with an HTTP substatus code in the response. You can use the HTTP substatus code to debug the root cause of the issue. See the HTTP Status Codes for Azure Cosmos DB article to get the list of supported HTTP substatus codes.
Included here are frequently asked questions about setting up customer-managed keys in Azure Cosmos DB.
No, there's no charge to enable this feature.
Request Units consumed by your database operations see an increase to reflect the extra processing required to perform encryption and decryption of your data when using customer-managed keys. The extra RU consumption may lead to slightly higher utilization of your provisioned capacity. Use this table for guidance:
| Operation type | Request Unit increase |
|---|---|
| Point-reads (fetching items by their ID) | + 5% per operation |
| Any write operation | + 6% per operation | Approximately + 0.06 RU per indexed property |
| Queries, reading change feed, or conflict feed | + 15% per operation |
All the data stored in your Azure Cosmos DB account is encrypted with the customer-managed keys, except for the following metadata:
The names of your Azure Cosmos DB accounts, databases, and containers
The names of your stored procedures
The property paths declared in your indexing policies
The values of your containers' partition keys
Yes. You can refer to How to setup customer-managed keys for your existing Azure Cosmos DB accounts
Is it possible to use customer-managed keys with the Azure Cosmos DB analytical store?
Yes, Azure Synapse Link only supports configuring customer-managed keys using your Azure Cosmos DB account's managed identity. You must use your Azure Cosmos DB account's managed identity in your Azure Key Vault access policy before enabling Azure Synapse Link on your account. For a how-to guide on how to enable managed identity and use it in an access policy, see access Azure Key Vault from Azure Cosmos DB using a managed identity.
Not currently, but container-level keys are being considered.
From the Azure portal, go to your Azure Cosmos DB account and watch for the Data Encryption entry in the left menu; if this entry exists, customer-managed keys are enabled on your account:

You can also programmatically fetch the details of your Azure Cosmos DB account and look for the presence of the keyVaultKeyUri property.
Azure Cosmos DB takes regular and automatic backups of the data stored in your account. This operation backs up the encrypted data.
The following conditions are necessary to successfully restore a periodic backup:
- The encryption key that you used at the time of the backup is required and must be available in Azure Key Vault. This condition requires that no revocation was made and the version of the key that was used at the time of the backup is still enabled.
- If you used a system-assigned managed identity in the access policy, temporarily grant access to the Azure Cosmos DB first-party identity before restoring your data. This requirement exists because a system-assigned managed identity is specific to an account and can't be reused in the target account. Once the data is fully restored to the target account, you can set your desired identity configuration and remove the first-party identity from the Key Vault access policy.
Azure Cosmos DB gives you the option to configure continuous backups on your account. With continuous backups, you can restore your data to any point in time within the past 30 days. To use continuous backups on an account where customer-managed keys are enabled, you must use a system-assigned or user-assigned managed identity in the Key Vault access policy. Azure Cosmos DB first-party identities are not currently supported on accounts using continuous backups.
Prerequisite steps for Customer Managed Keys enabled accounts to update user assigned identity.
- Add a user-assigned identity to the Cosmos DB account, and grant permissions in key vault access policy.
- Set the user-assigned as default identity via Azure CLI or ARM.
az cosmosdb update --resource-group MyResourceGroup --name MyAccountName --default-identity UserAssignedIdentity=/subscriptions/MySubscriptionId/resourcegroups/MyResourceGroup/providers/Microsoft.ManagedIdentity/userAssignedIdentities/MyUserAssignedIdentity
The following conditions are necessary to successfully perform a point-in-time restore:
- The encryption key that you used at the time of the backup is required and must be available in Azure Key Vault. This requirement means that no revocation was made and the version of the key that was used at the time of the backup is still enabled.
- You must ensure that the user-assigned managed identity originally used on the source account is still declared in the Key Vault access policy.
Important
If you revoke the encryption key before deleting your account, your account's backup may miss the data written up to 1 hour before the revocation was made.
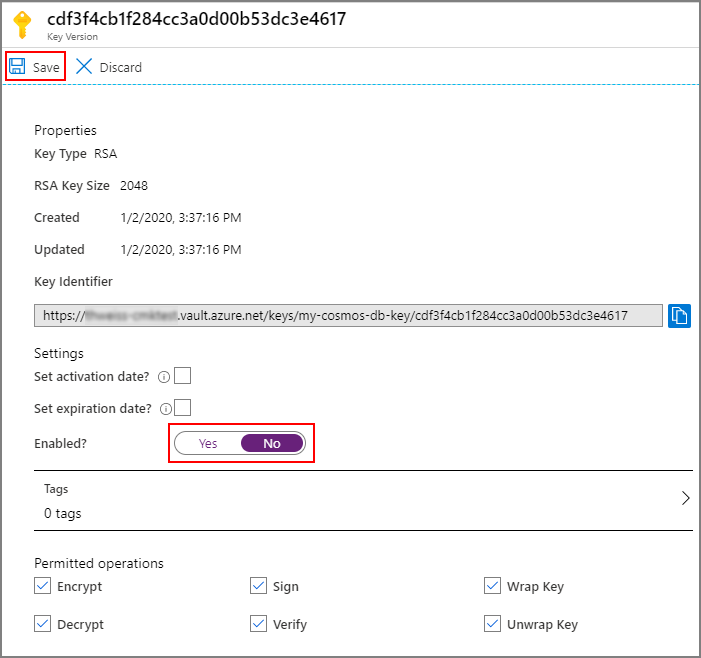
Key revocation is done by disabling the latest version of the key:
Alternatively, to revoke all keys from an Azure Key Vault instance, you can delete the access policy granted to the Azure Cosmos DB principal:
The only operation possible when the encryption key has been revoked is account deletion.
Assign a new managed-identity to the restored database account to continue accessing or recover access to the database account
User-Assigned Identity is tied to a specified Cosmos DB account, whenever we assign a User-Assigned Identity to an account, ARM forwards the request to managed service identities to make this connection. Currently we carry over user-identity information from the source database account to the target database account during the restore (for both Continuous and Periodic backup restore) of CMK + User-Assigned Identity,
Since the identity metadata is bound with the source database account and restore workflow doesn't re-scope identity to the target database account. This will cause the restored database accounts to be in a bad state, and become inaccessible after the source account is deleted and identity’s renew time is expired.
Steps to assign a new managed-identity:
- Create a new user-assigned managed identity.
- Grant KeyVault key access to this identity.
- Assign this new identity to your restored database account.
- Learn more about data encryption in Azure Cosmos DB.
