Note
Access to this page requires authorization. You can try signing in or changing directories.
Access to this page requires authorization. You can try changing directories.
Clarity supports the use of Google Tag Manager (GTM) to update the Clarity tracking code on your website. When you publish your tags through GTM, Clarity automatically updates the tracking code if it needs to change.
Our recommended installation method is quick and doesn't require much knowledge of tag management. However, if something goes wrong, there are a couple of alternative methods you can try.
Note
You can only link one tag to a single Clarity project at a time.
Option 1: Install Clarity on GTM (recommended method)
Step 1
Go to the Clarity Settings page, select Setup -> Google Tag Manager -> Finish setup.
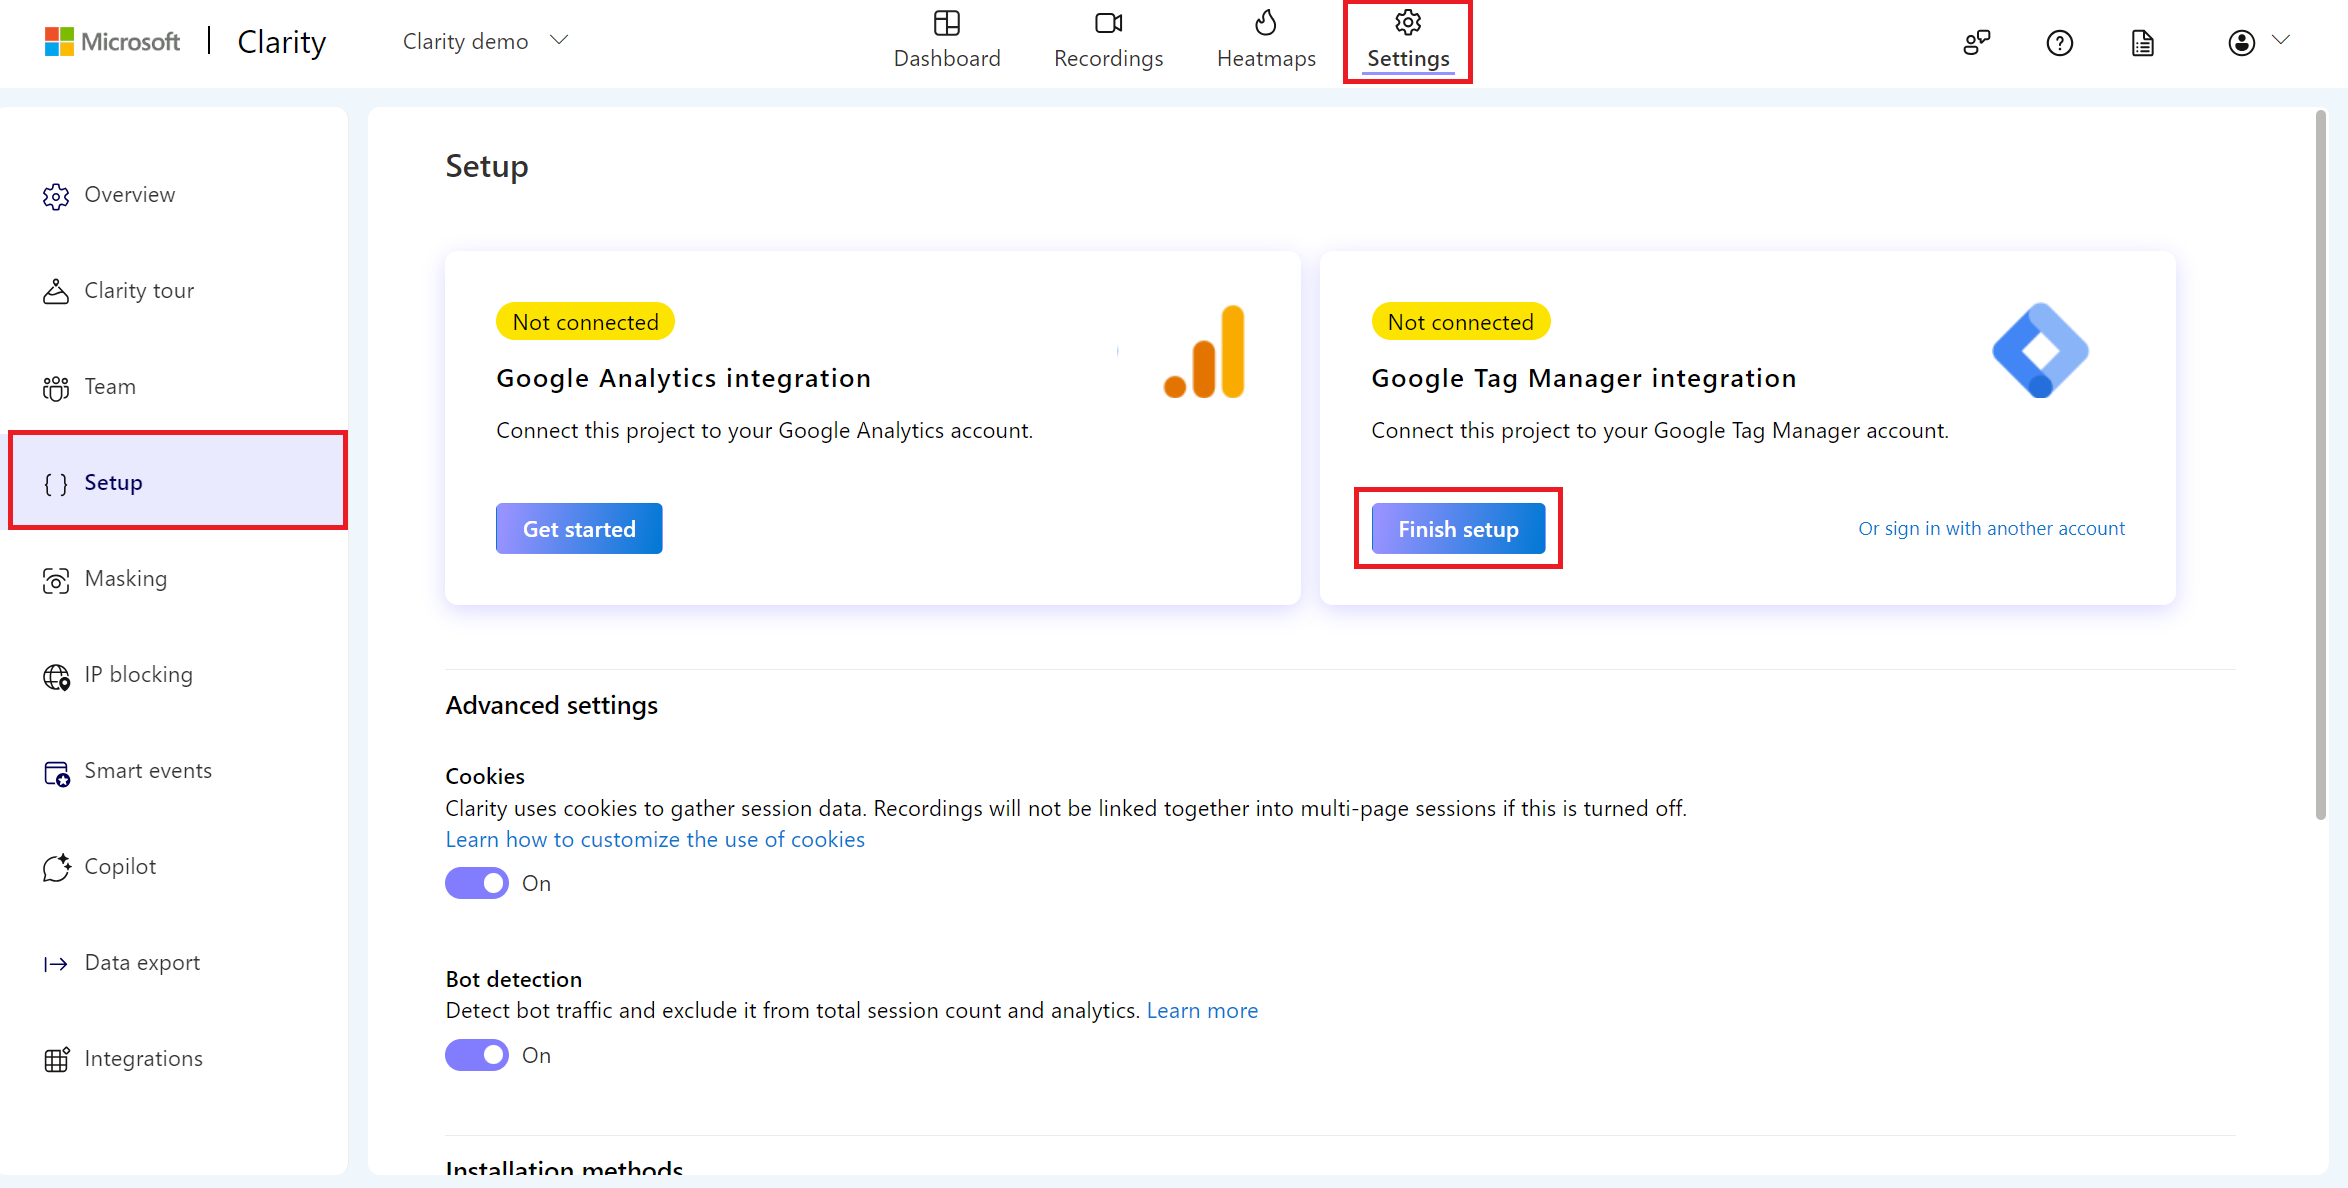
Clarity's page for Google Tag Manager appears.
Step 2
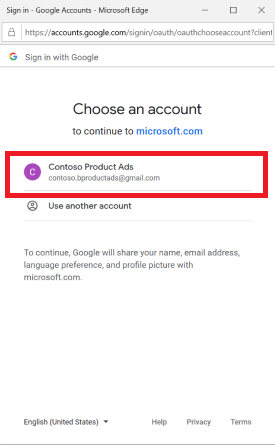
Sign in to GTM with a Google Account, and complete the verification steps when Clarity asks for permission to publish with GTM, select Allow to grant permission.
Step 3
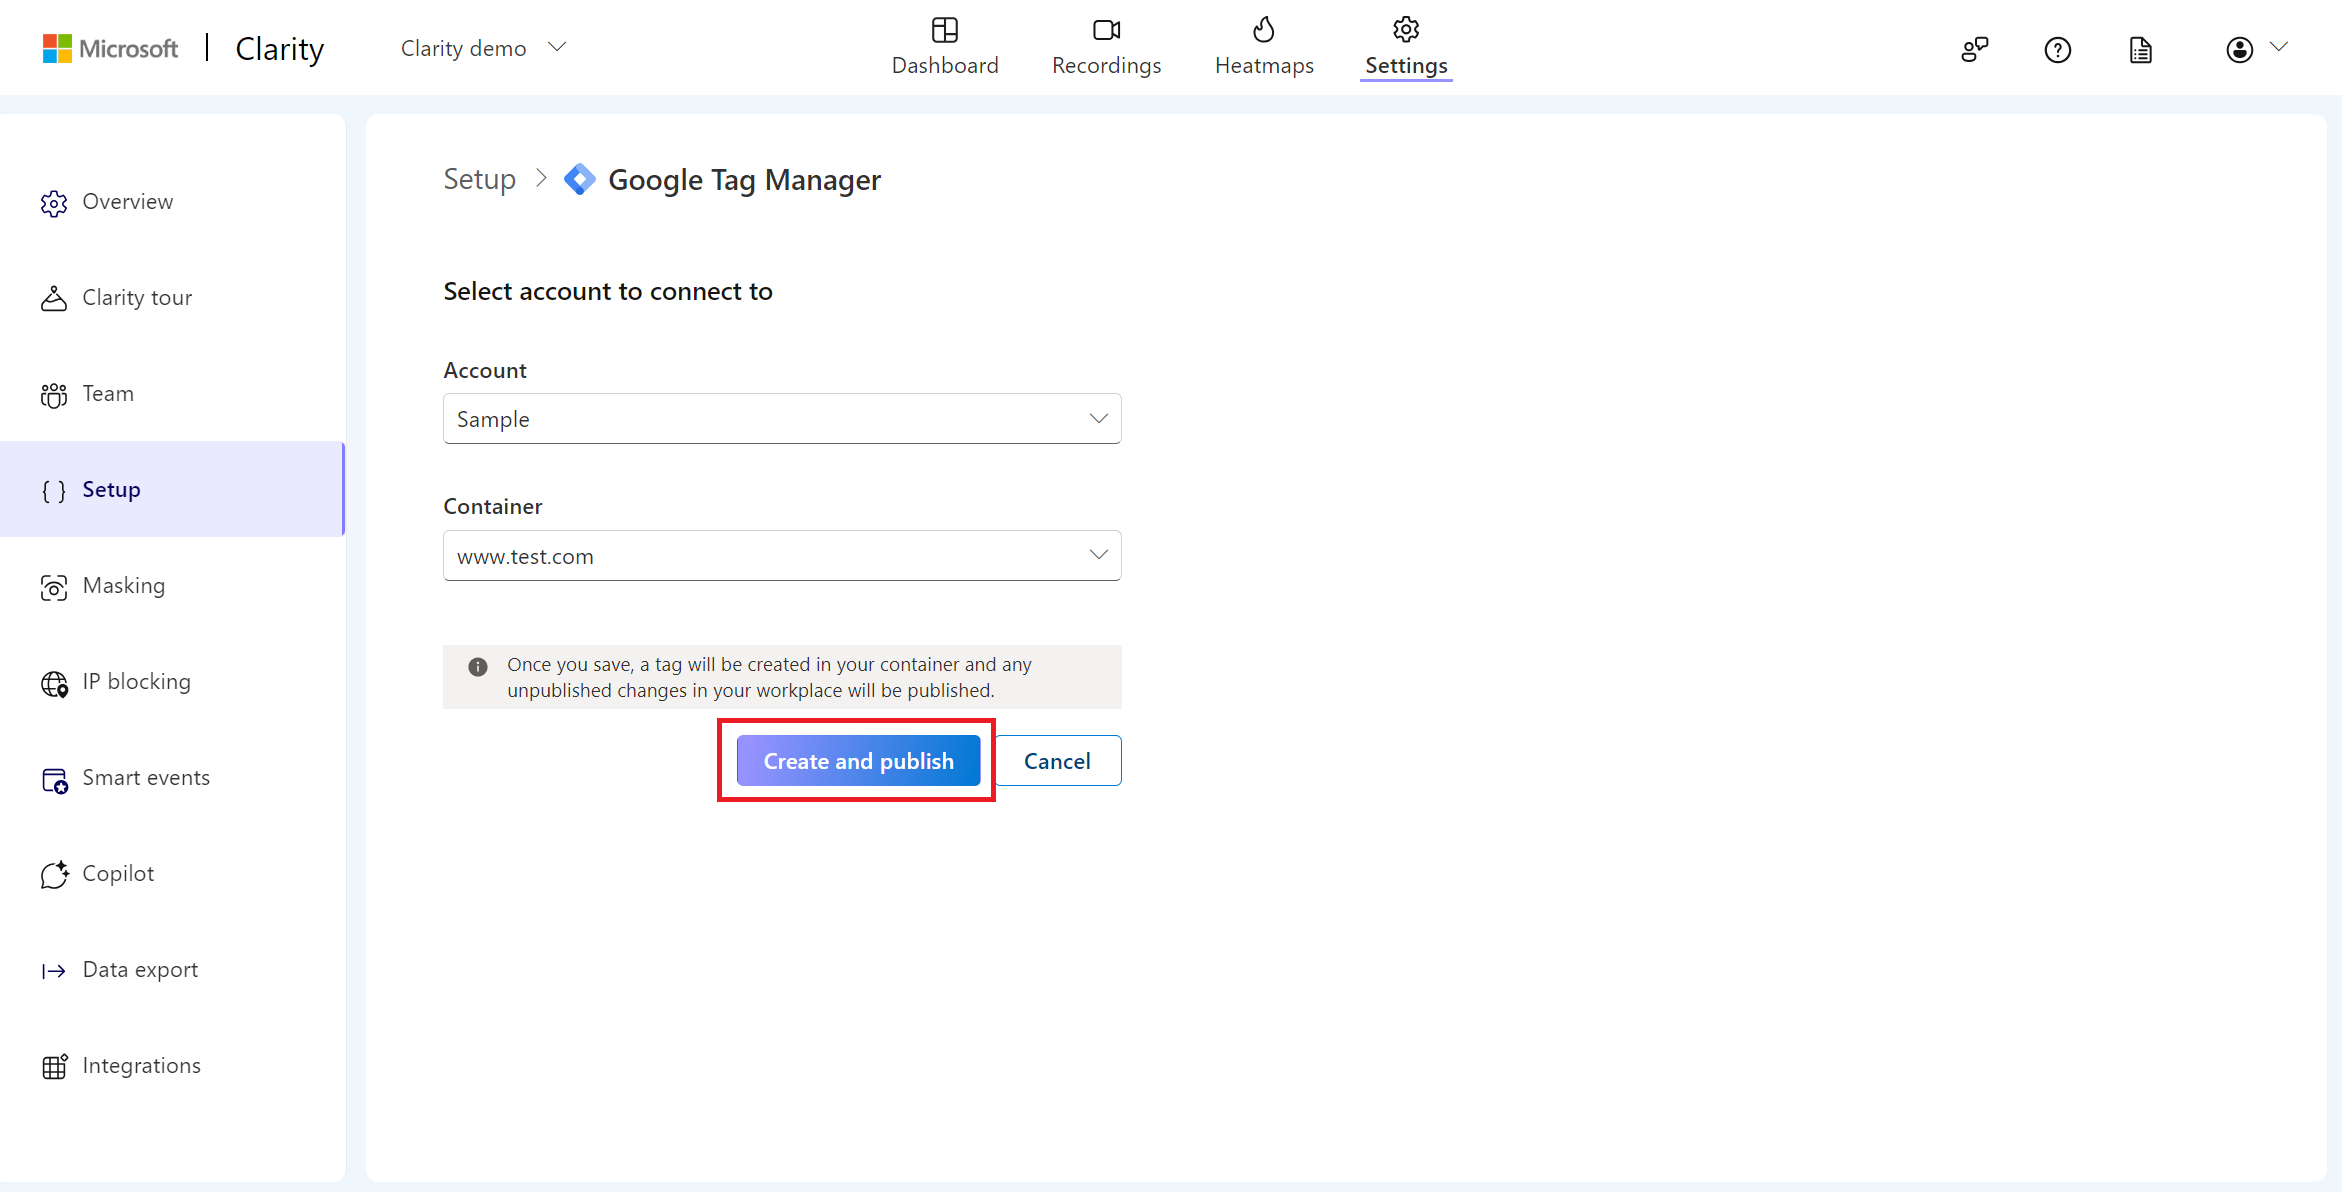
In the Google Tag Manager panel, choose an account from the drop-down.
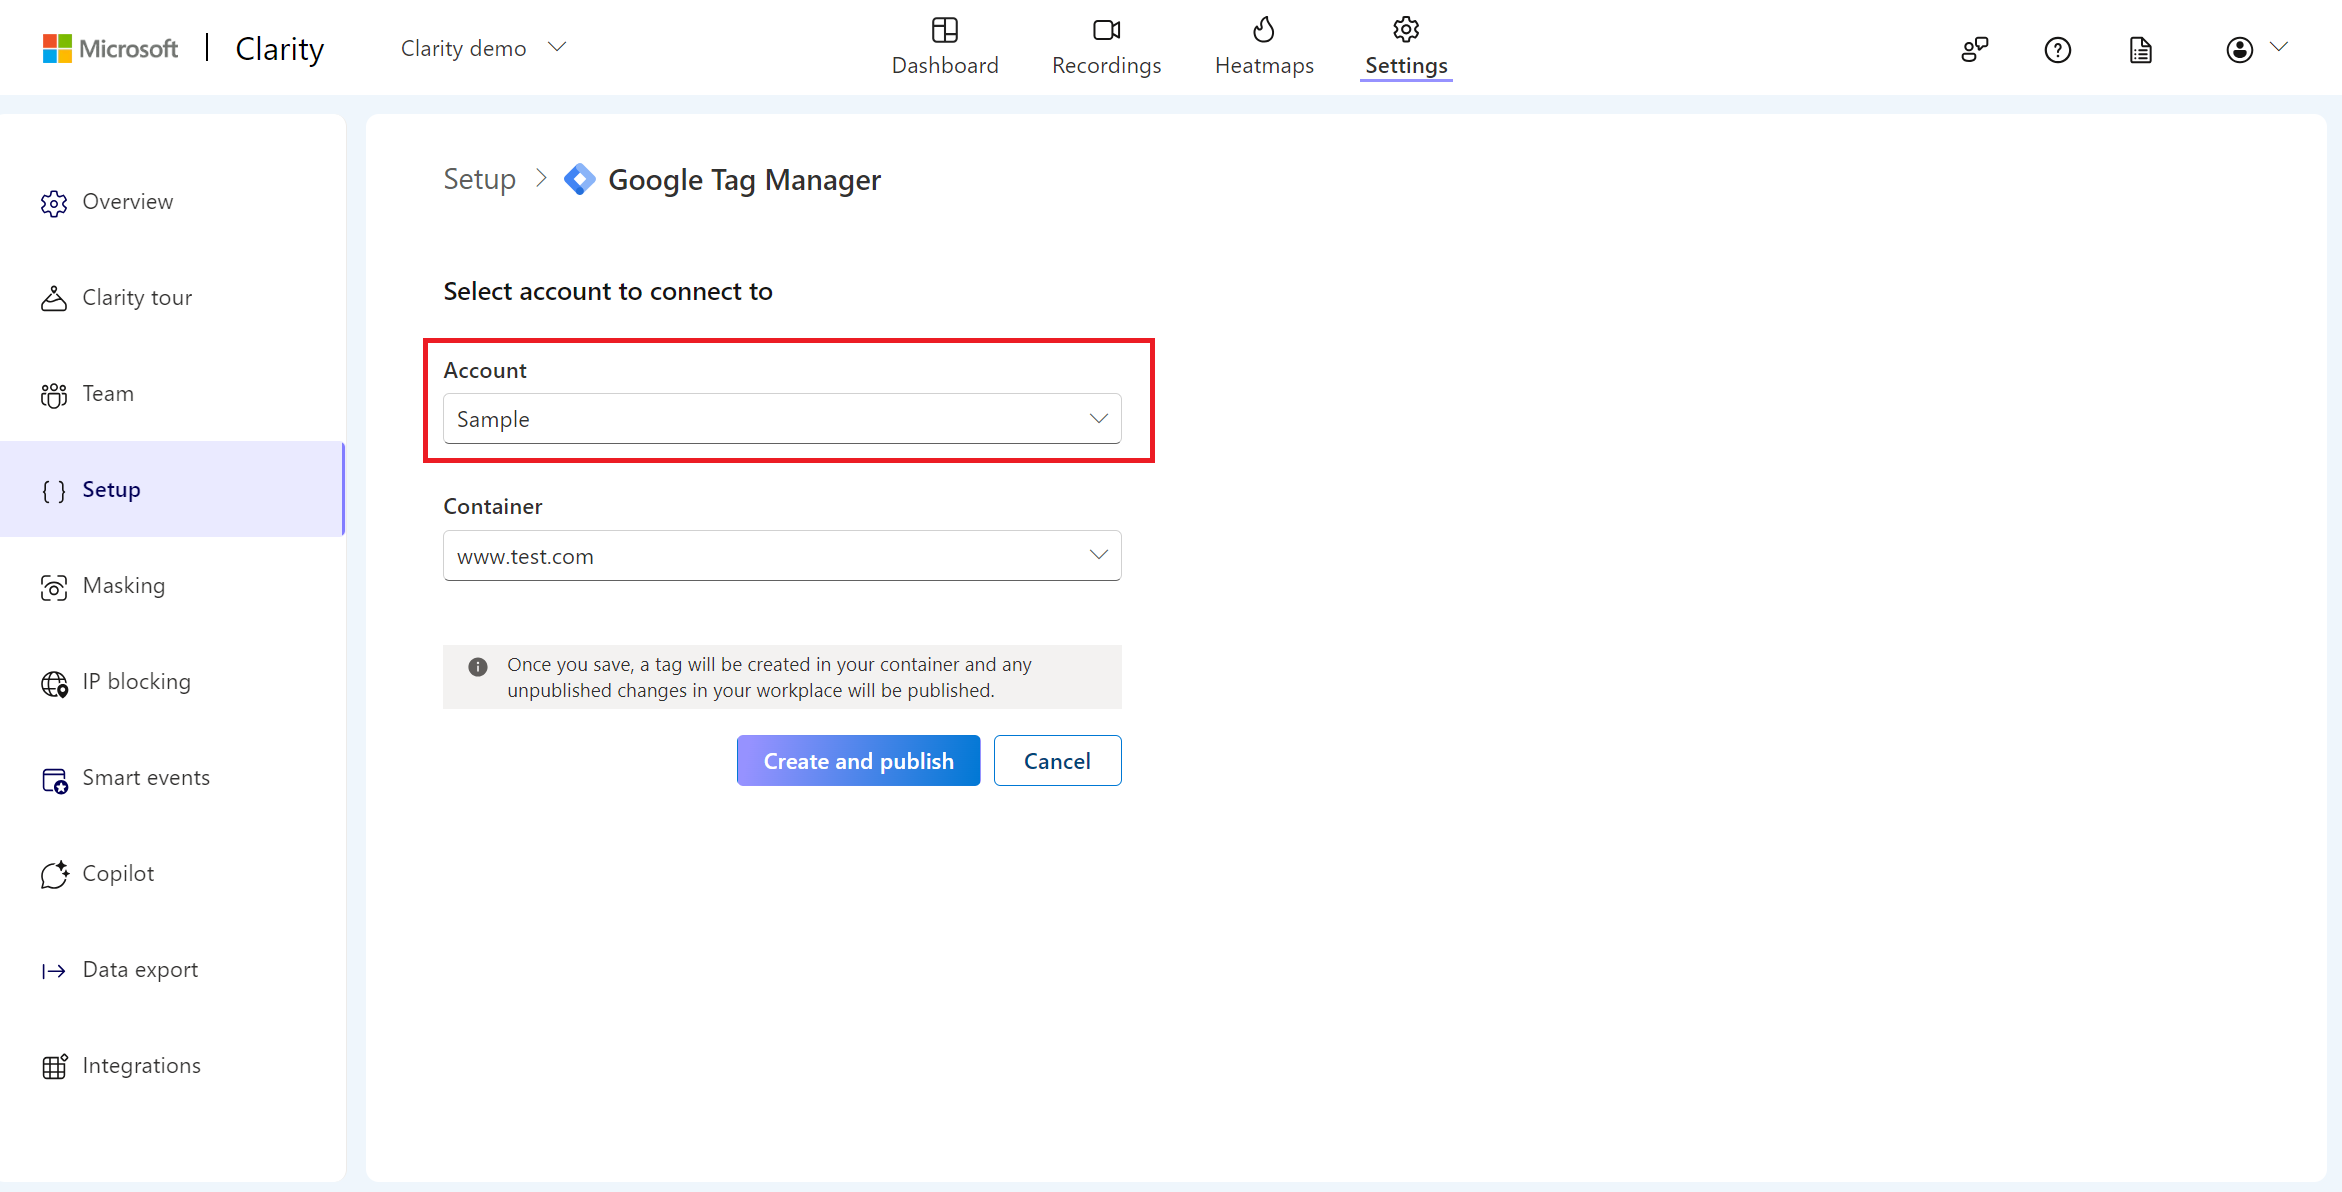
Note
If you don't have a GTM account, you need to set one up first and start again.
Step 4
From the Container drop-down, select a container.
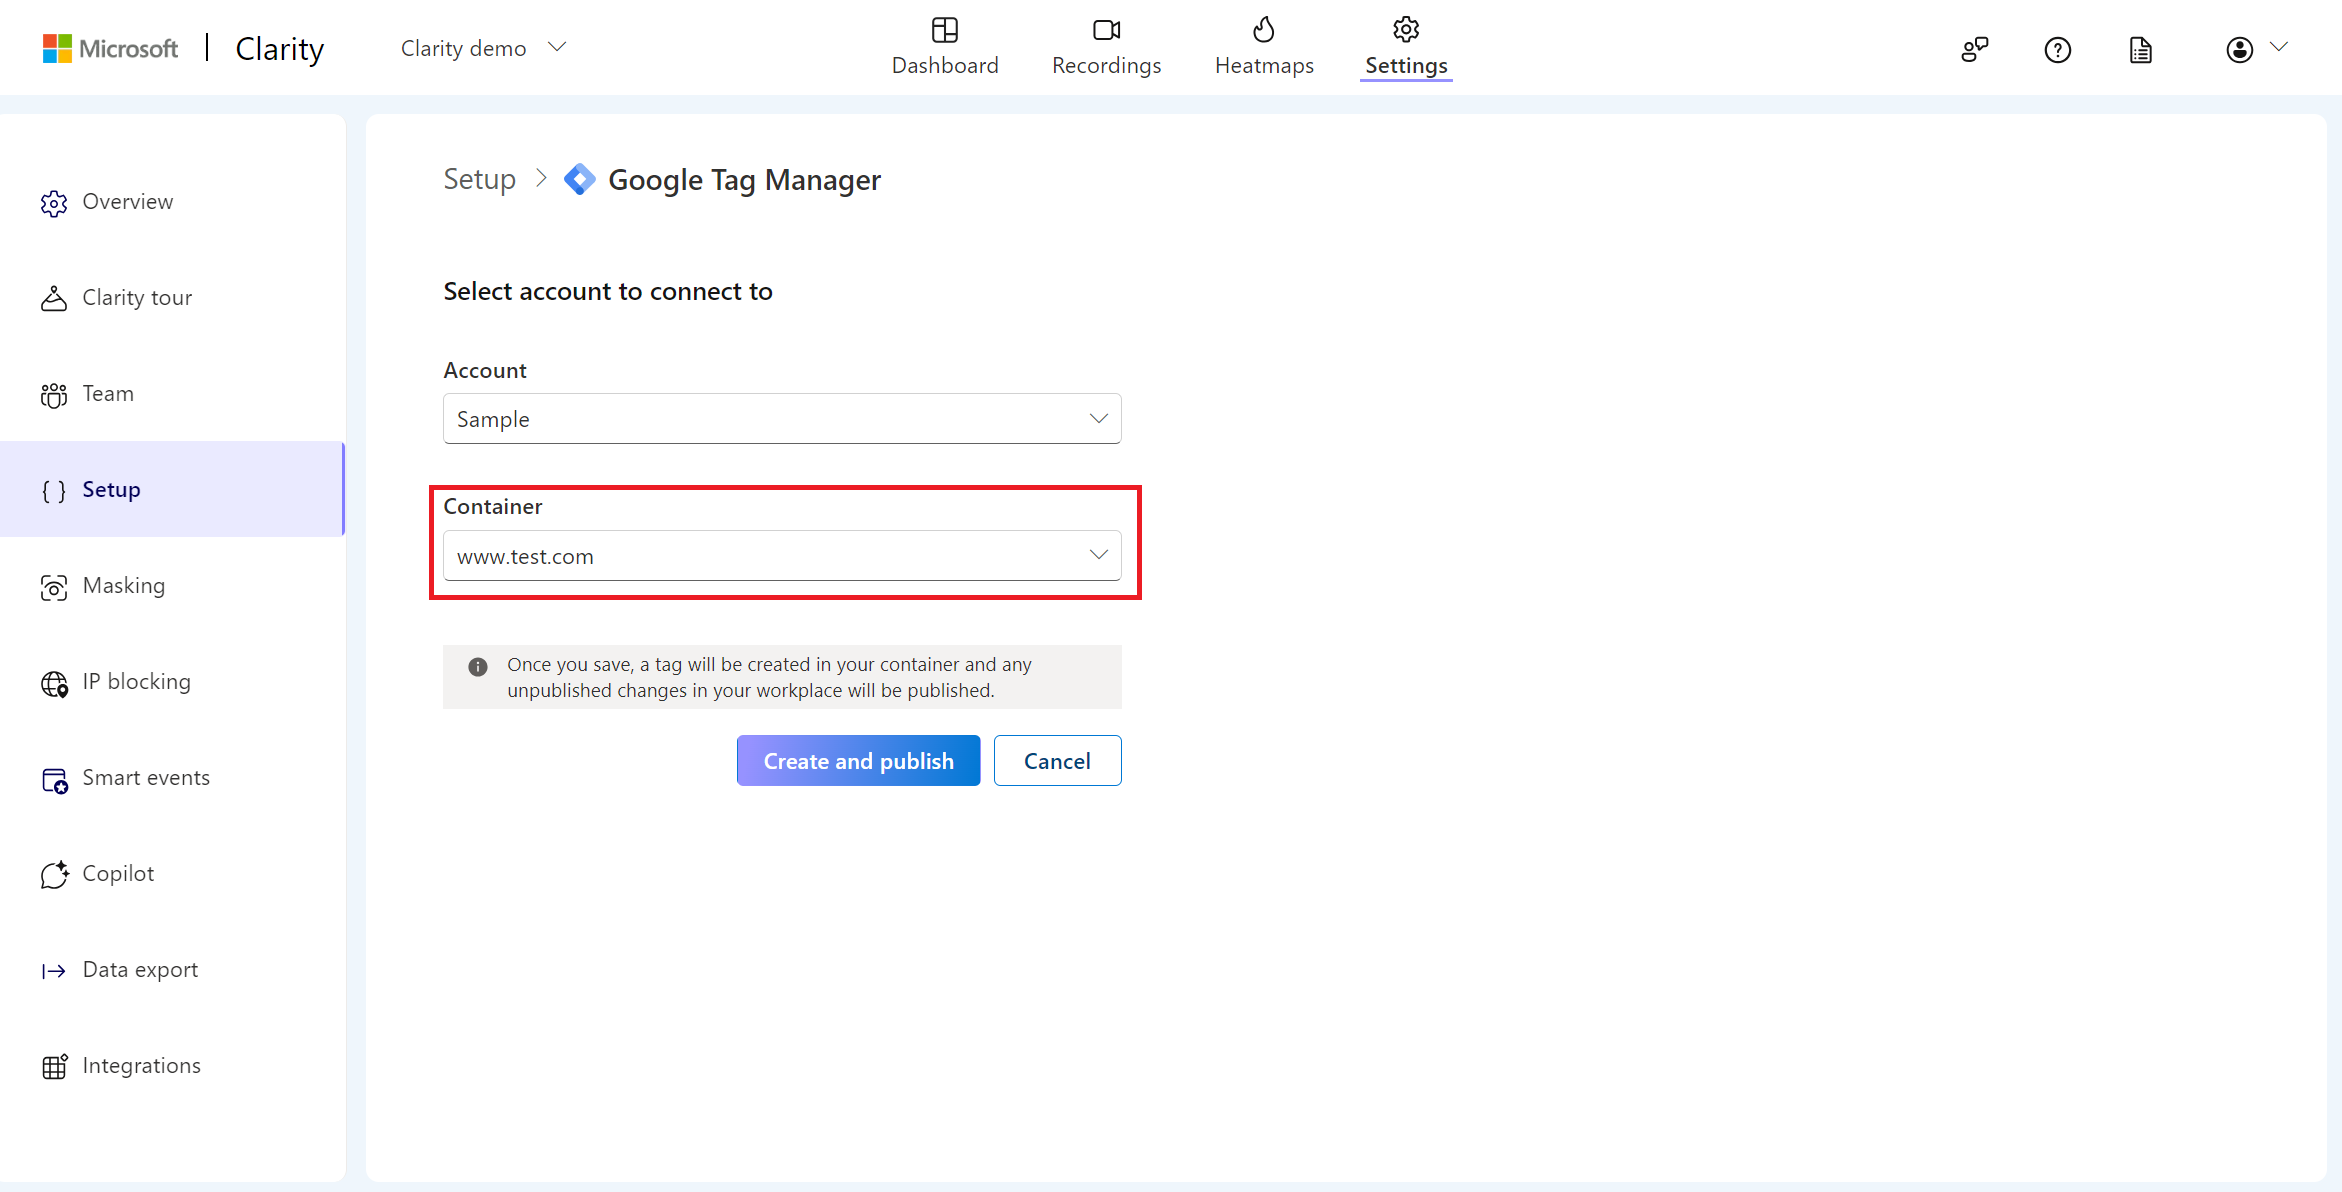
Note
If you don't have a container, you need to set one up first.
Step 5
Select Create and publish. The setup process is complete, and the Clarity Settings page appears.
Option 2: Install using the Clarity GTM template
Step 1
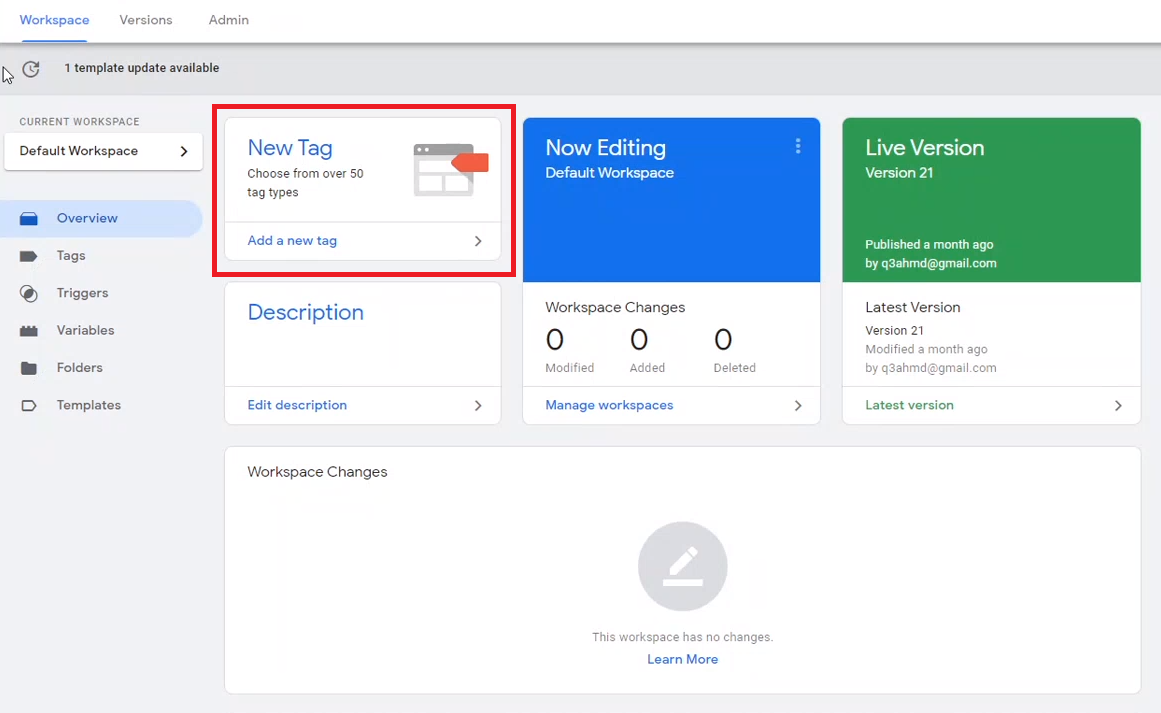
Sign in to Google Tag Manager.
Step 2
On Google Tag Manager, select New Tag.
Step 3
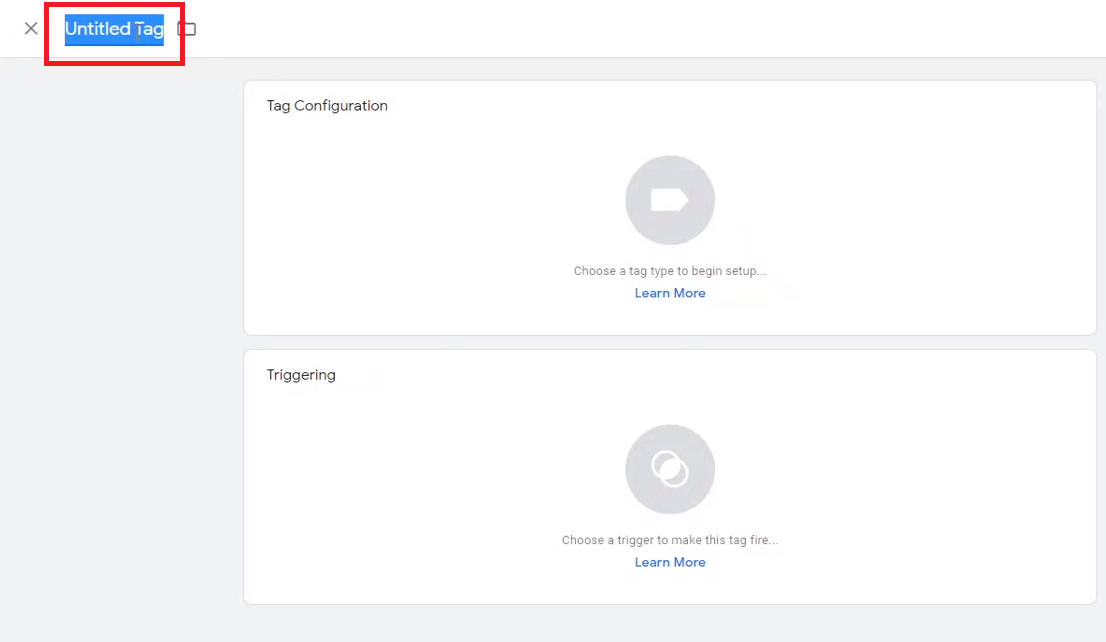
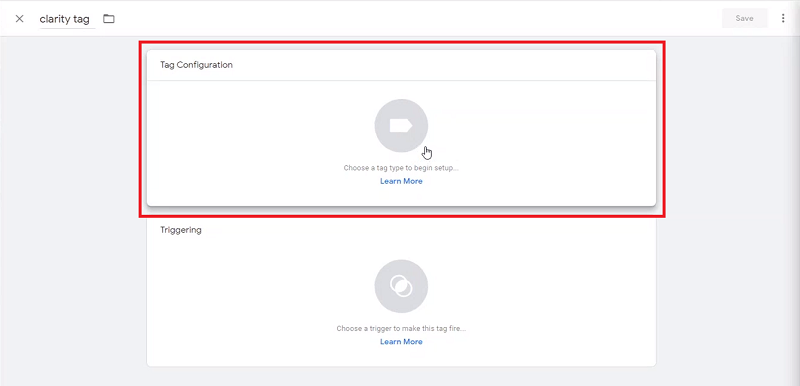
In the name field, give your tag any name. For example, Clarity Tag.
Step 4
Select the Tag Configuration panel.
Step 5
On the Chosen tag type panel, select the Discover more tags in the Community Template Library option.
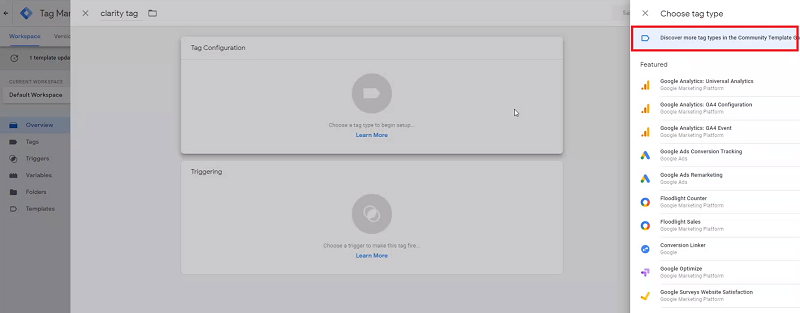
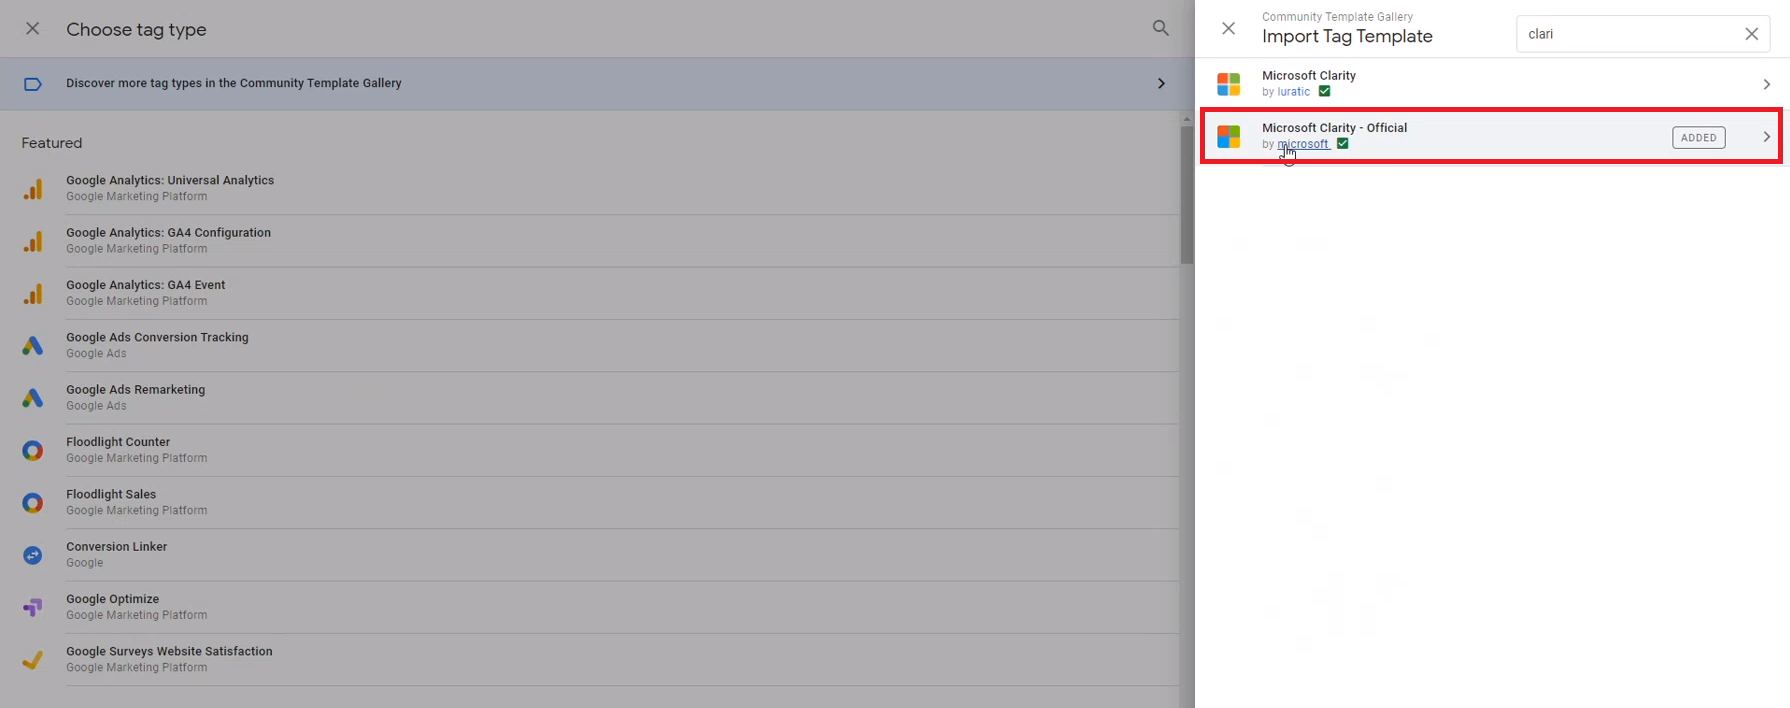
Step 6
On the Import tag template page, search for Clarity, and choose the option for Microsoft Clarity - Official.
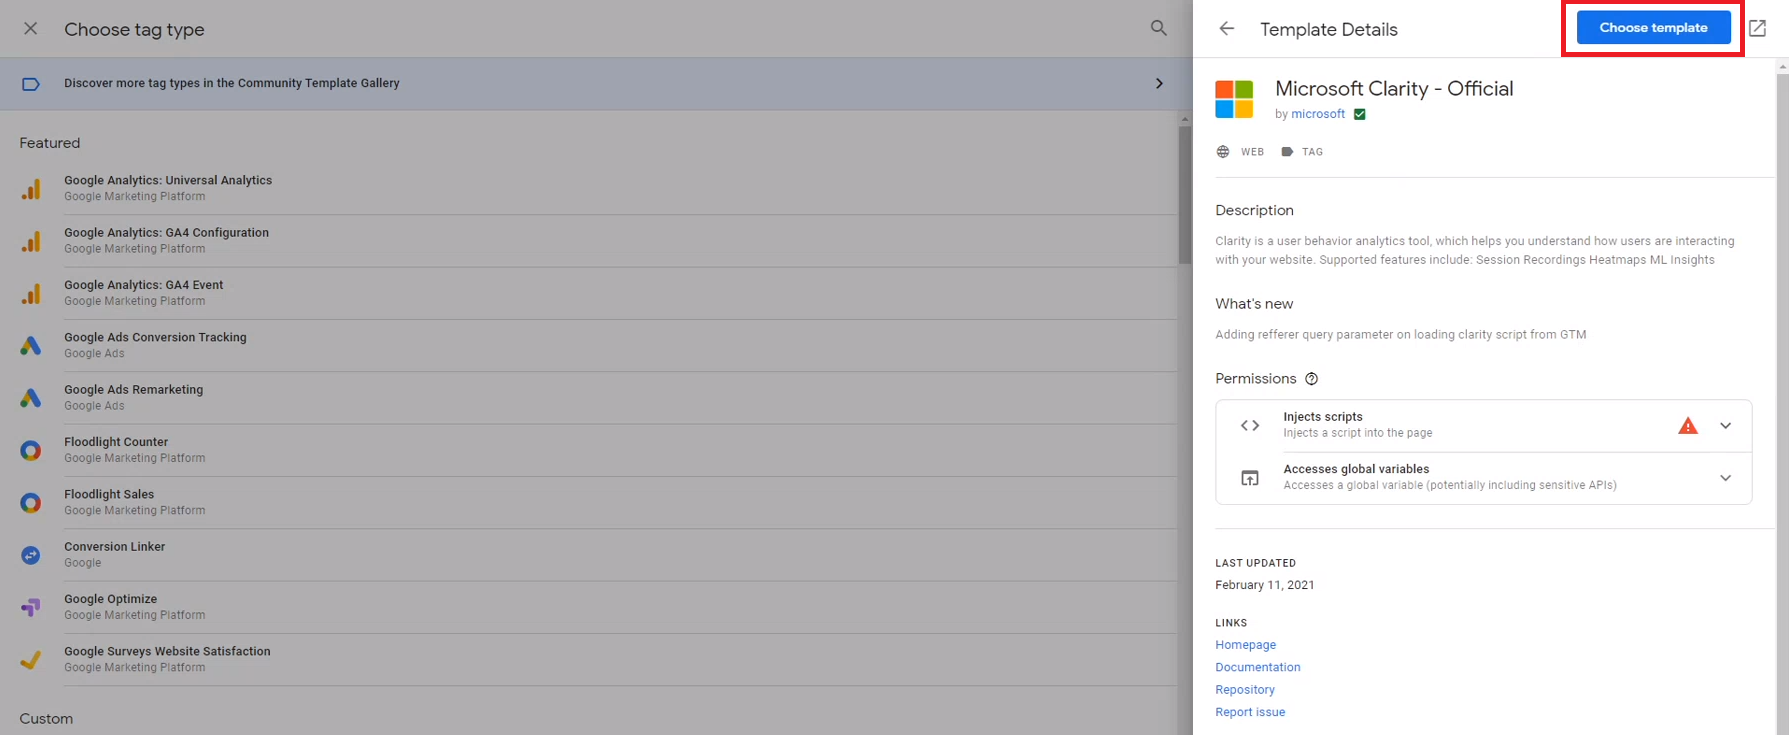
Step 7
On the Template Details page, select Add to workspace.
Step 8
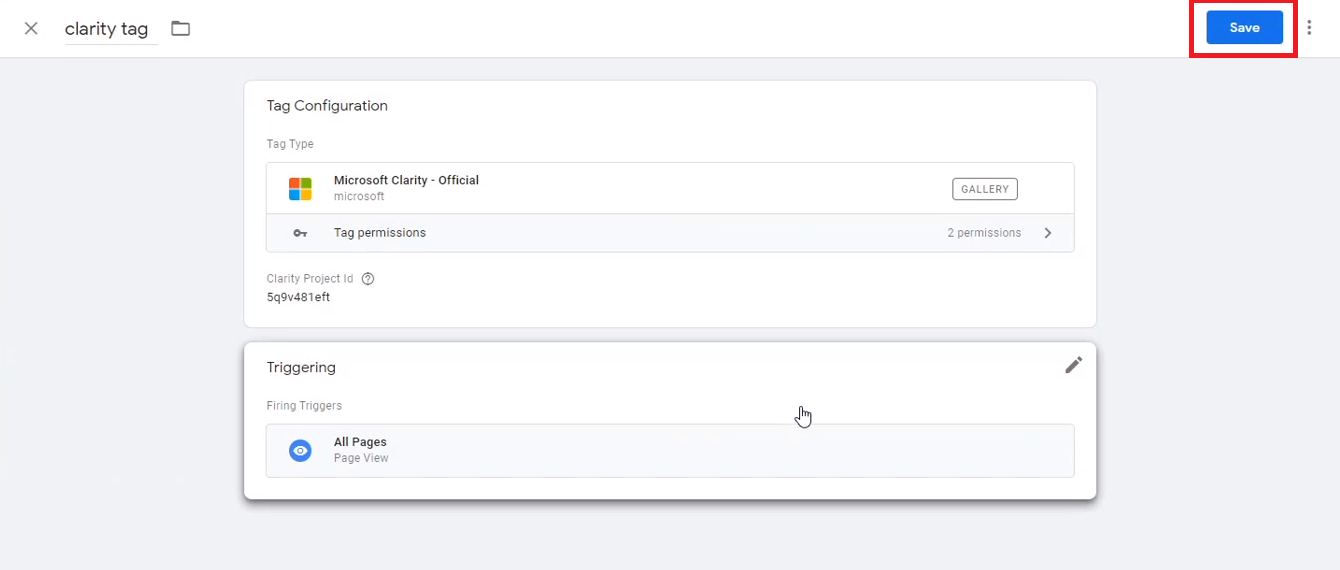
On the Tag Configuration page, enter your Clarity project ID.
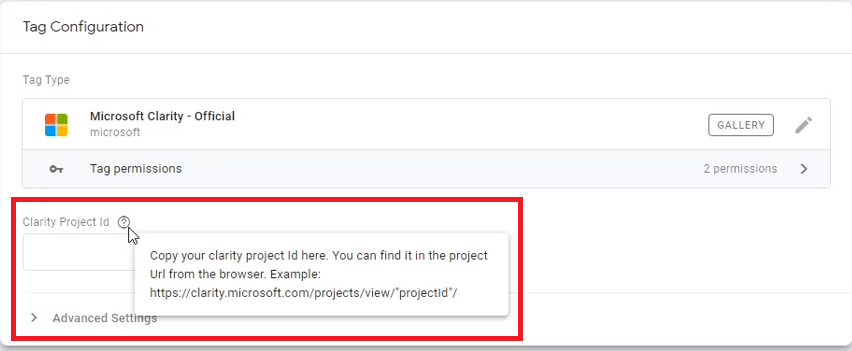
You can find the ID in the project URL in your browser's address bar. For example, https://clarity.microsoft.com/projects/view/"projectid"/
Step 9
On the Choose a trigger panel, select All pages.
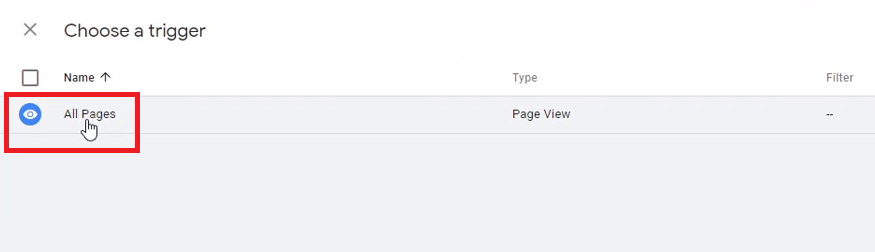
Step 10
The trigger is added. Review and select Save.
Step 11
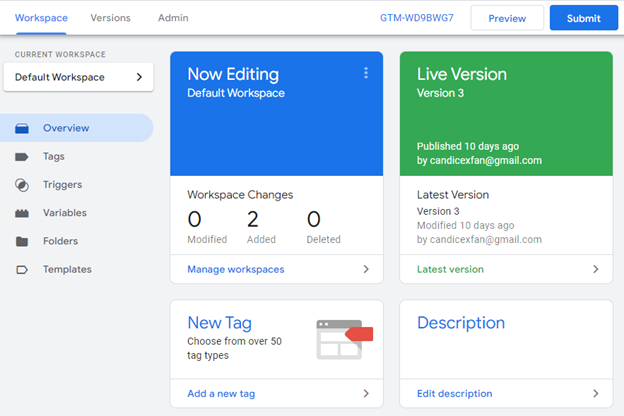
In the Submit Changes panel, select Publish.
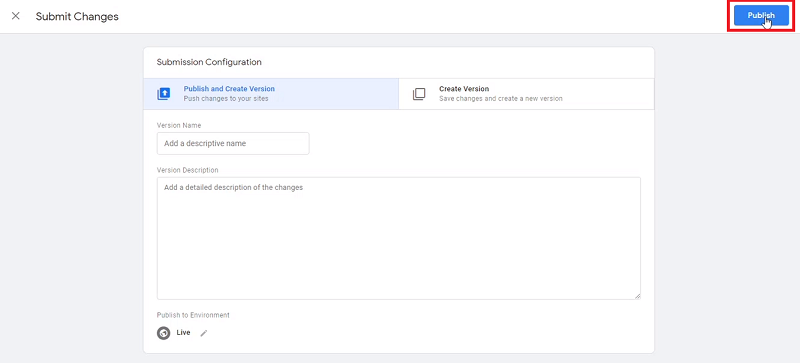
Your GTM integration with Clarity is now complete.
Option 3: Install manually
Step 1
Sign in to Google Tag Manager.
Step 2
On Google Tag Manager, select New Tag.
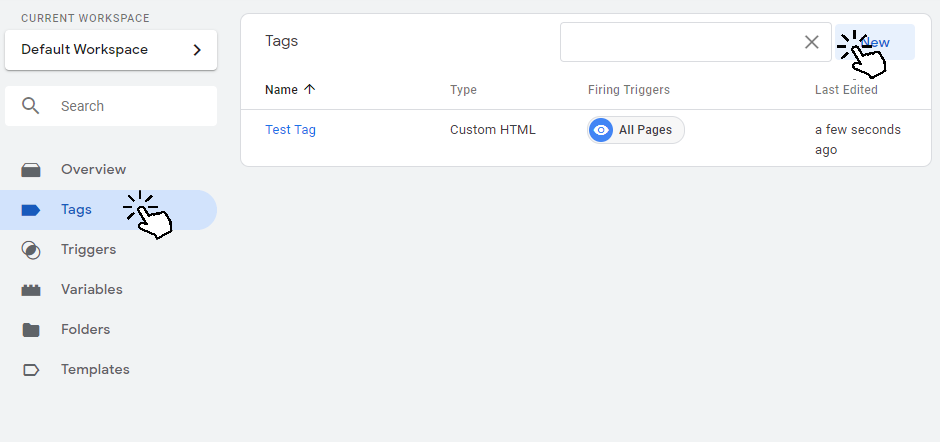
Step 3
Name the tag as Clarity Tag, and then select Edit on Tag Configuration.
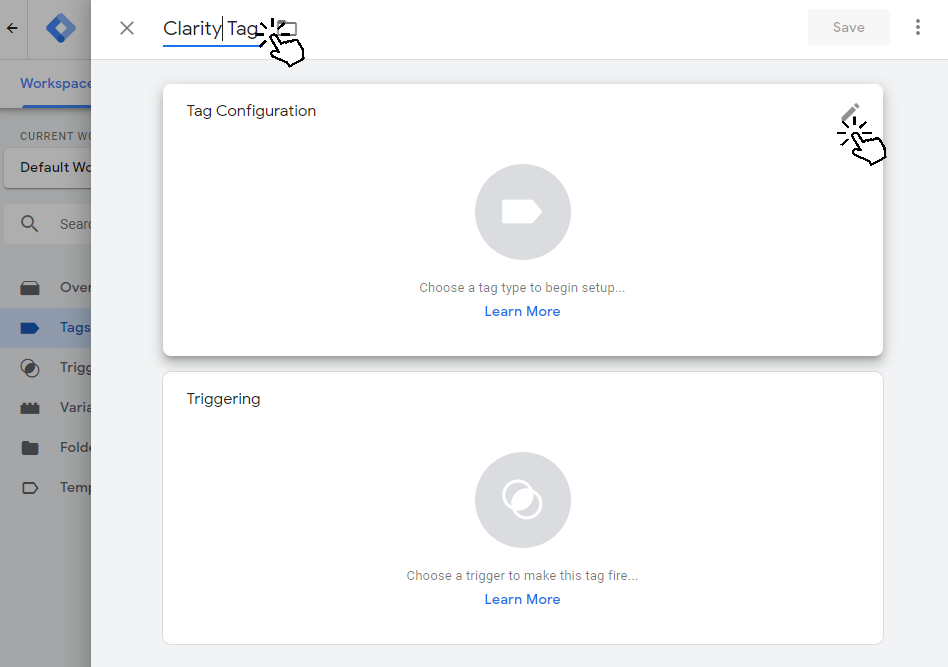
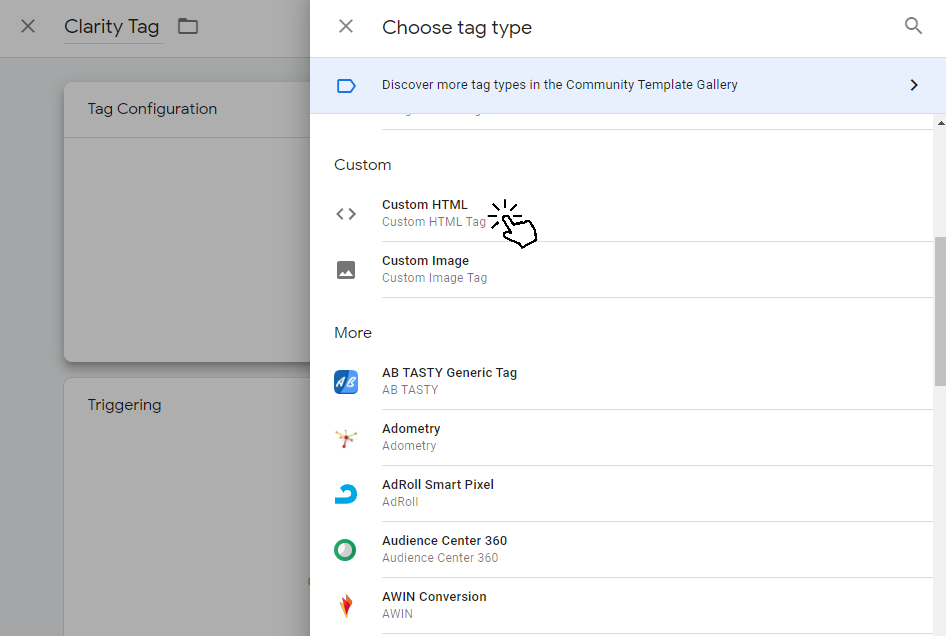
Step 4
Under Choose tag type, select Custom HTML.
Step 5
Go to a Project. Go to Settings -> Setup -> Installation methods -> Install manually -> Get tracking code.
![]()
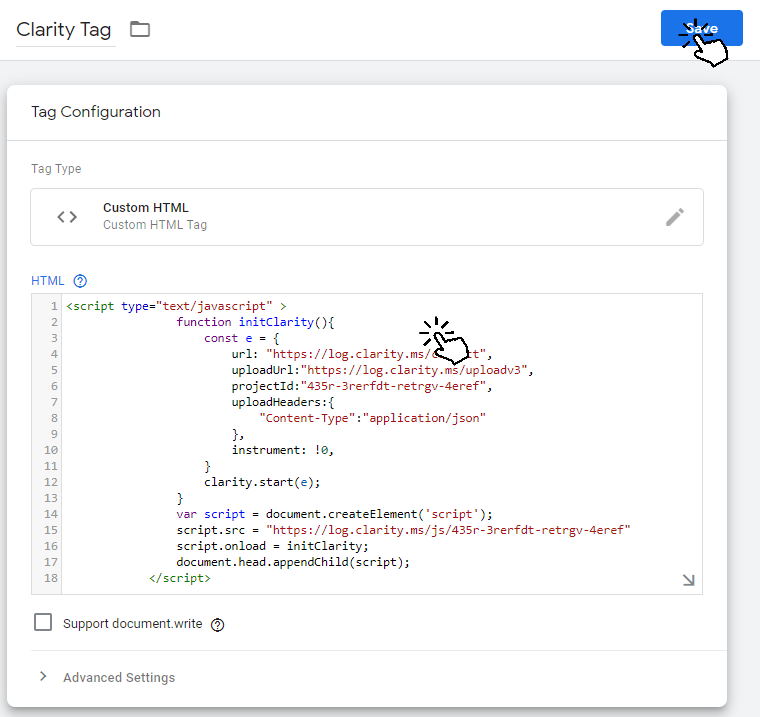
Step 6
On the GTM Tag Configuration page, paste the code in the HTML field, and then select Save.
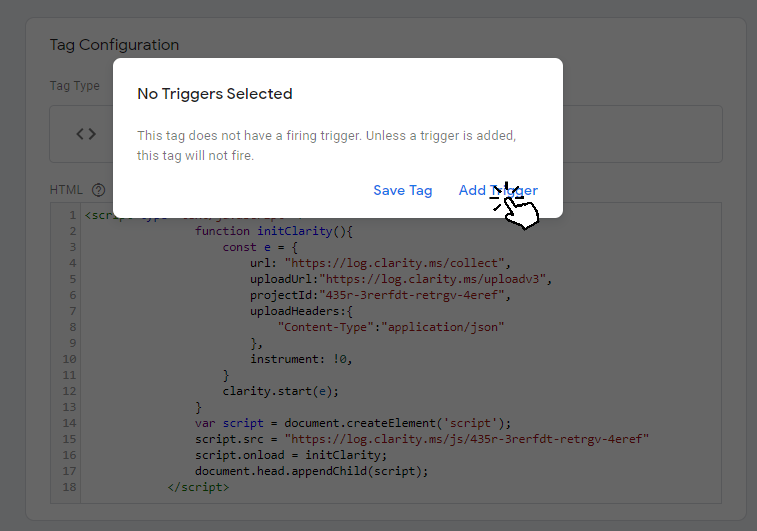
Step 7
In the No Triggers Selected pop-up window, select Add Trigger.
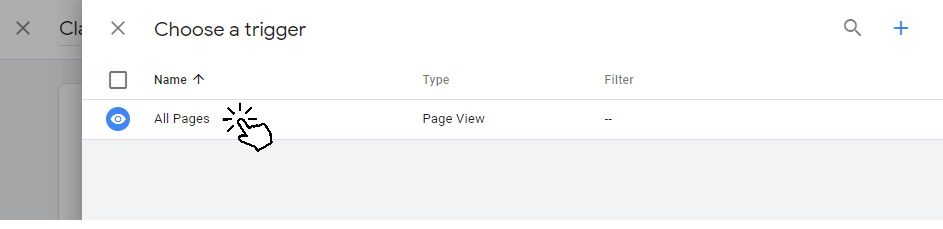
Step 8
On the Choose a trigger page, select All pages.
Note
If you don't want to install Clarity on every page of your site, consult the Google Tag Manager documentation for instructions on how to do so.
Step 9
The trigger is added. Review and select Save.
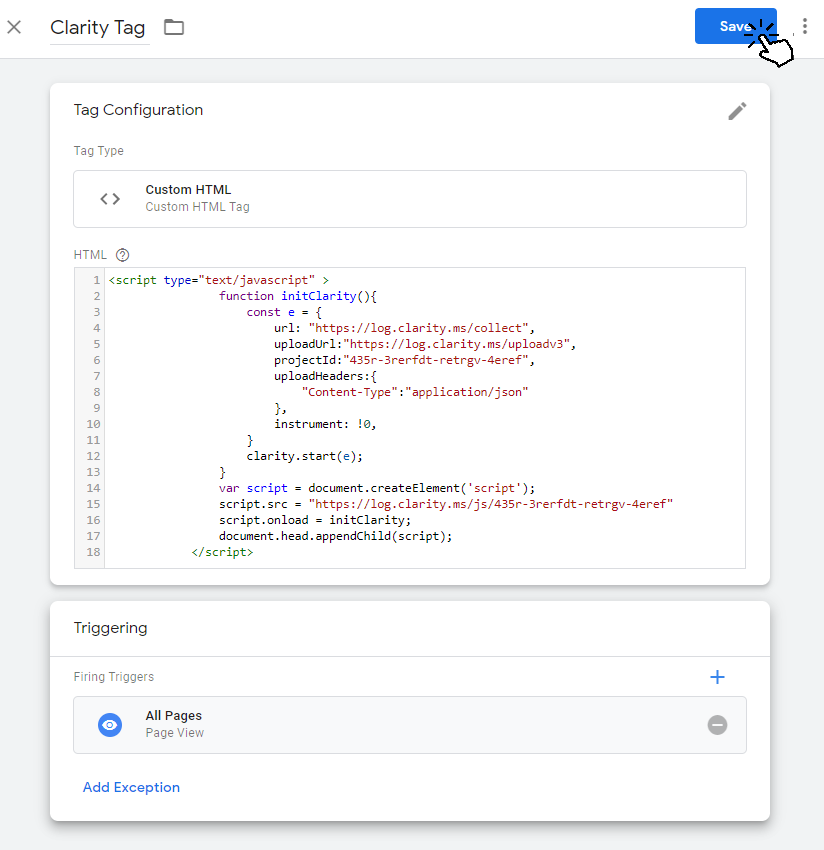
The Clarity tracking code is now installed.
Add Custom tags
Note
You need to have an active Clarity tag on Google Tag Manager. Learn more about Custom tags and Identify API.
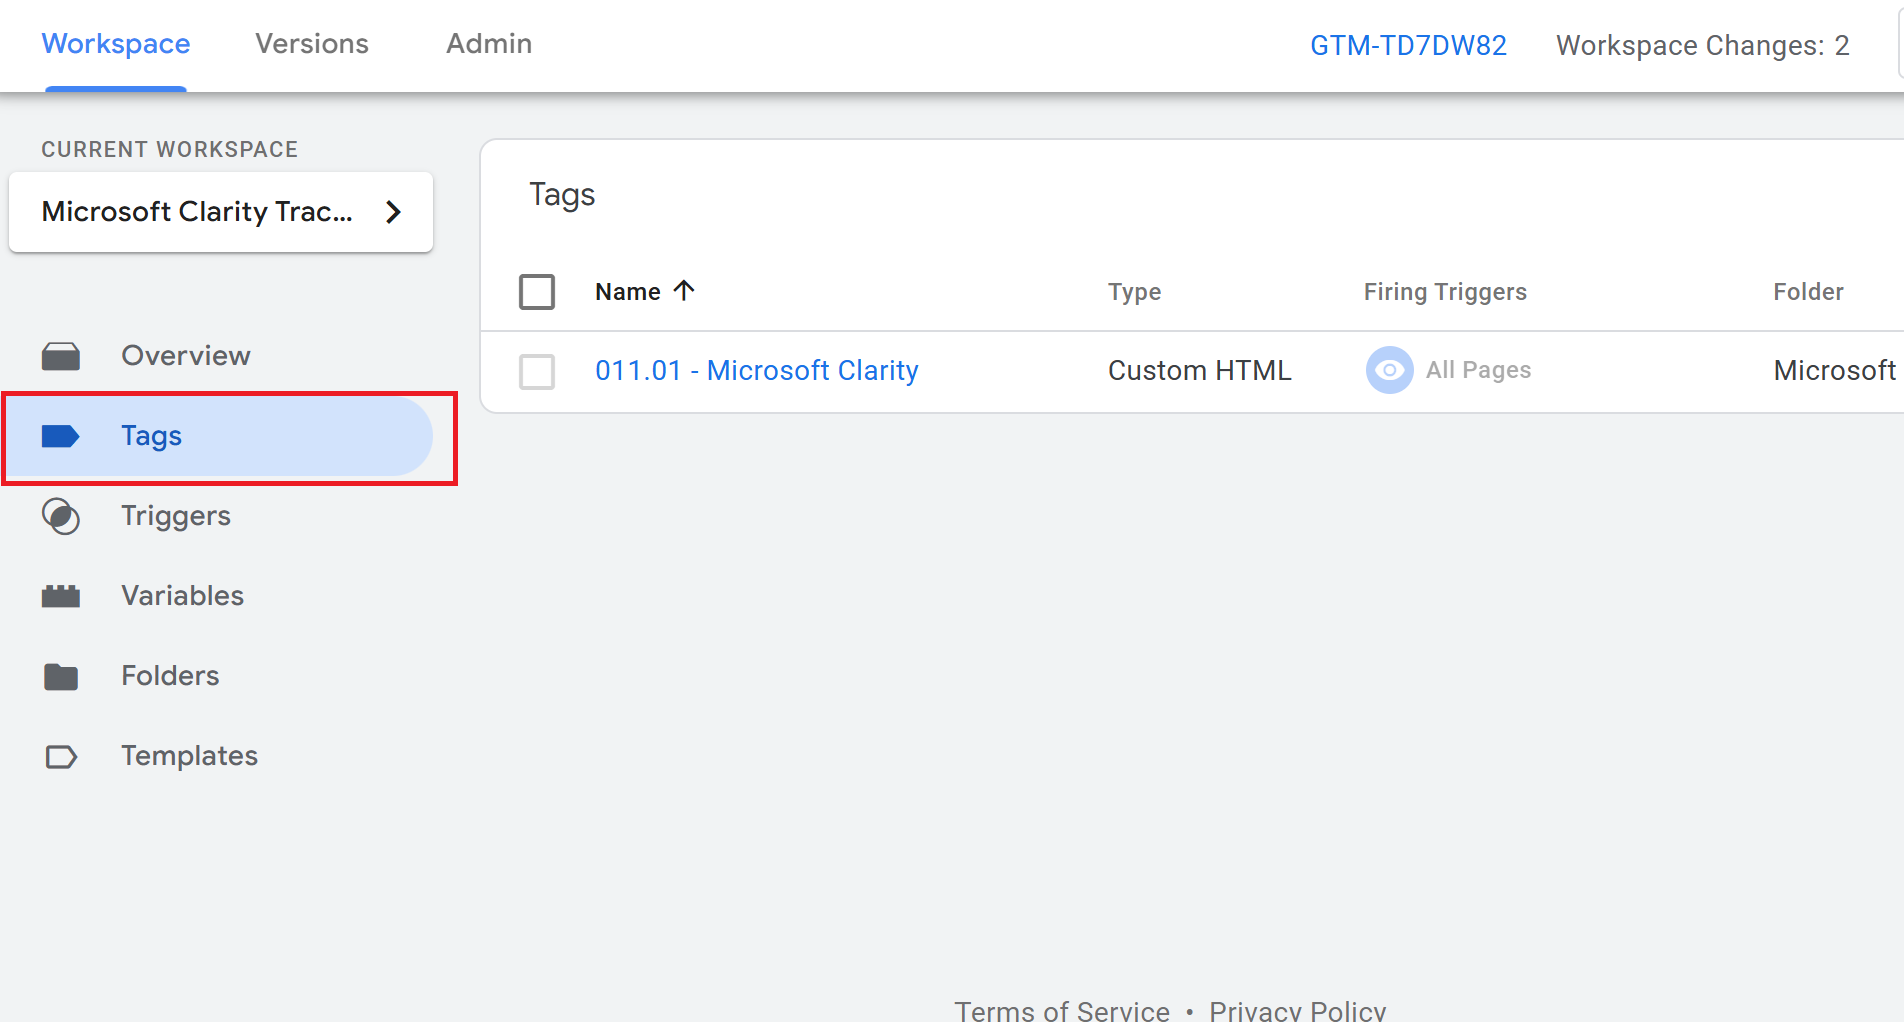
Step 1
Go to Google Tag Manager -> Tags and select the Clarity tag.
Step 2
Expand the Custom options and add Custom ID, Session ID, Page ID, Friendly name, and Custom tag Key and Value. You can add more than one key and value.
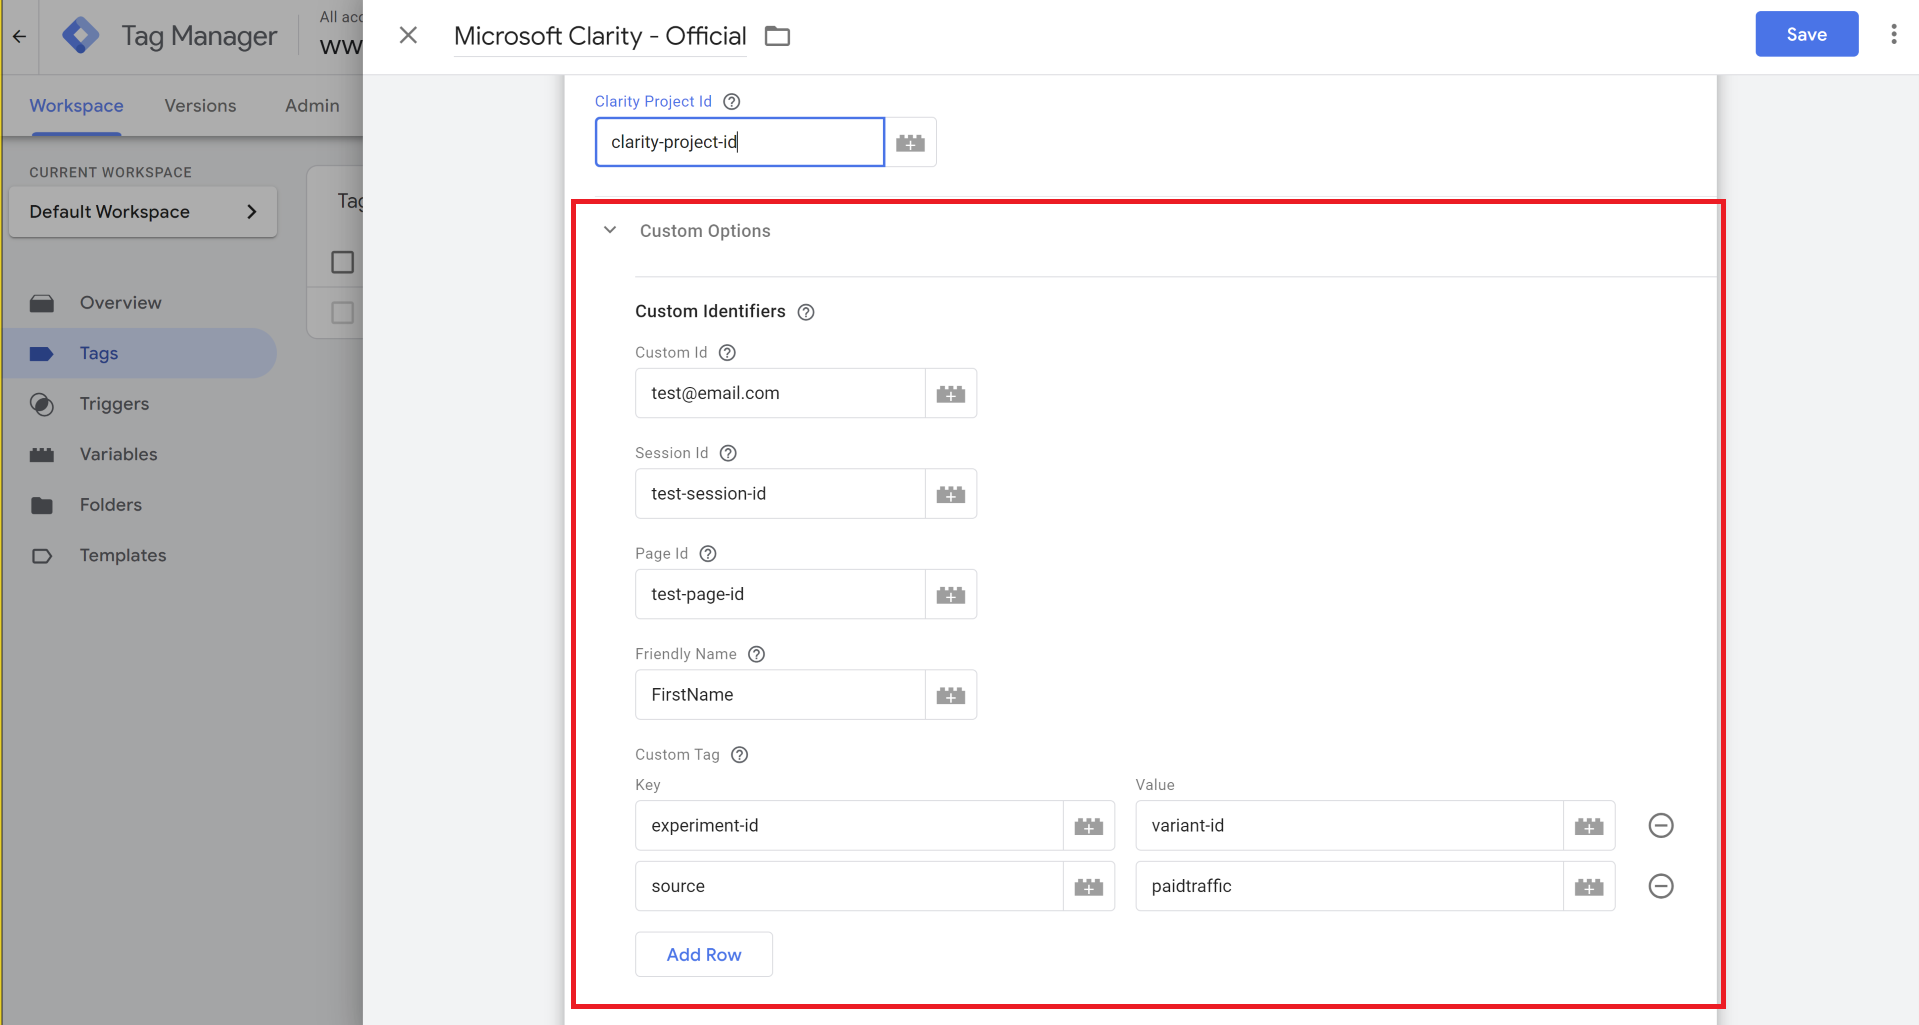
Step 3
Save the changes and Publish it.
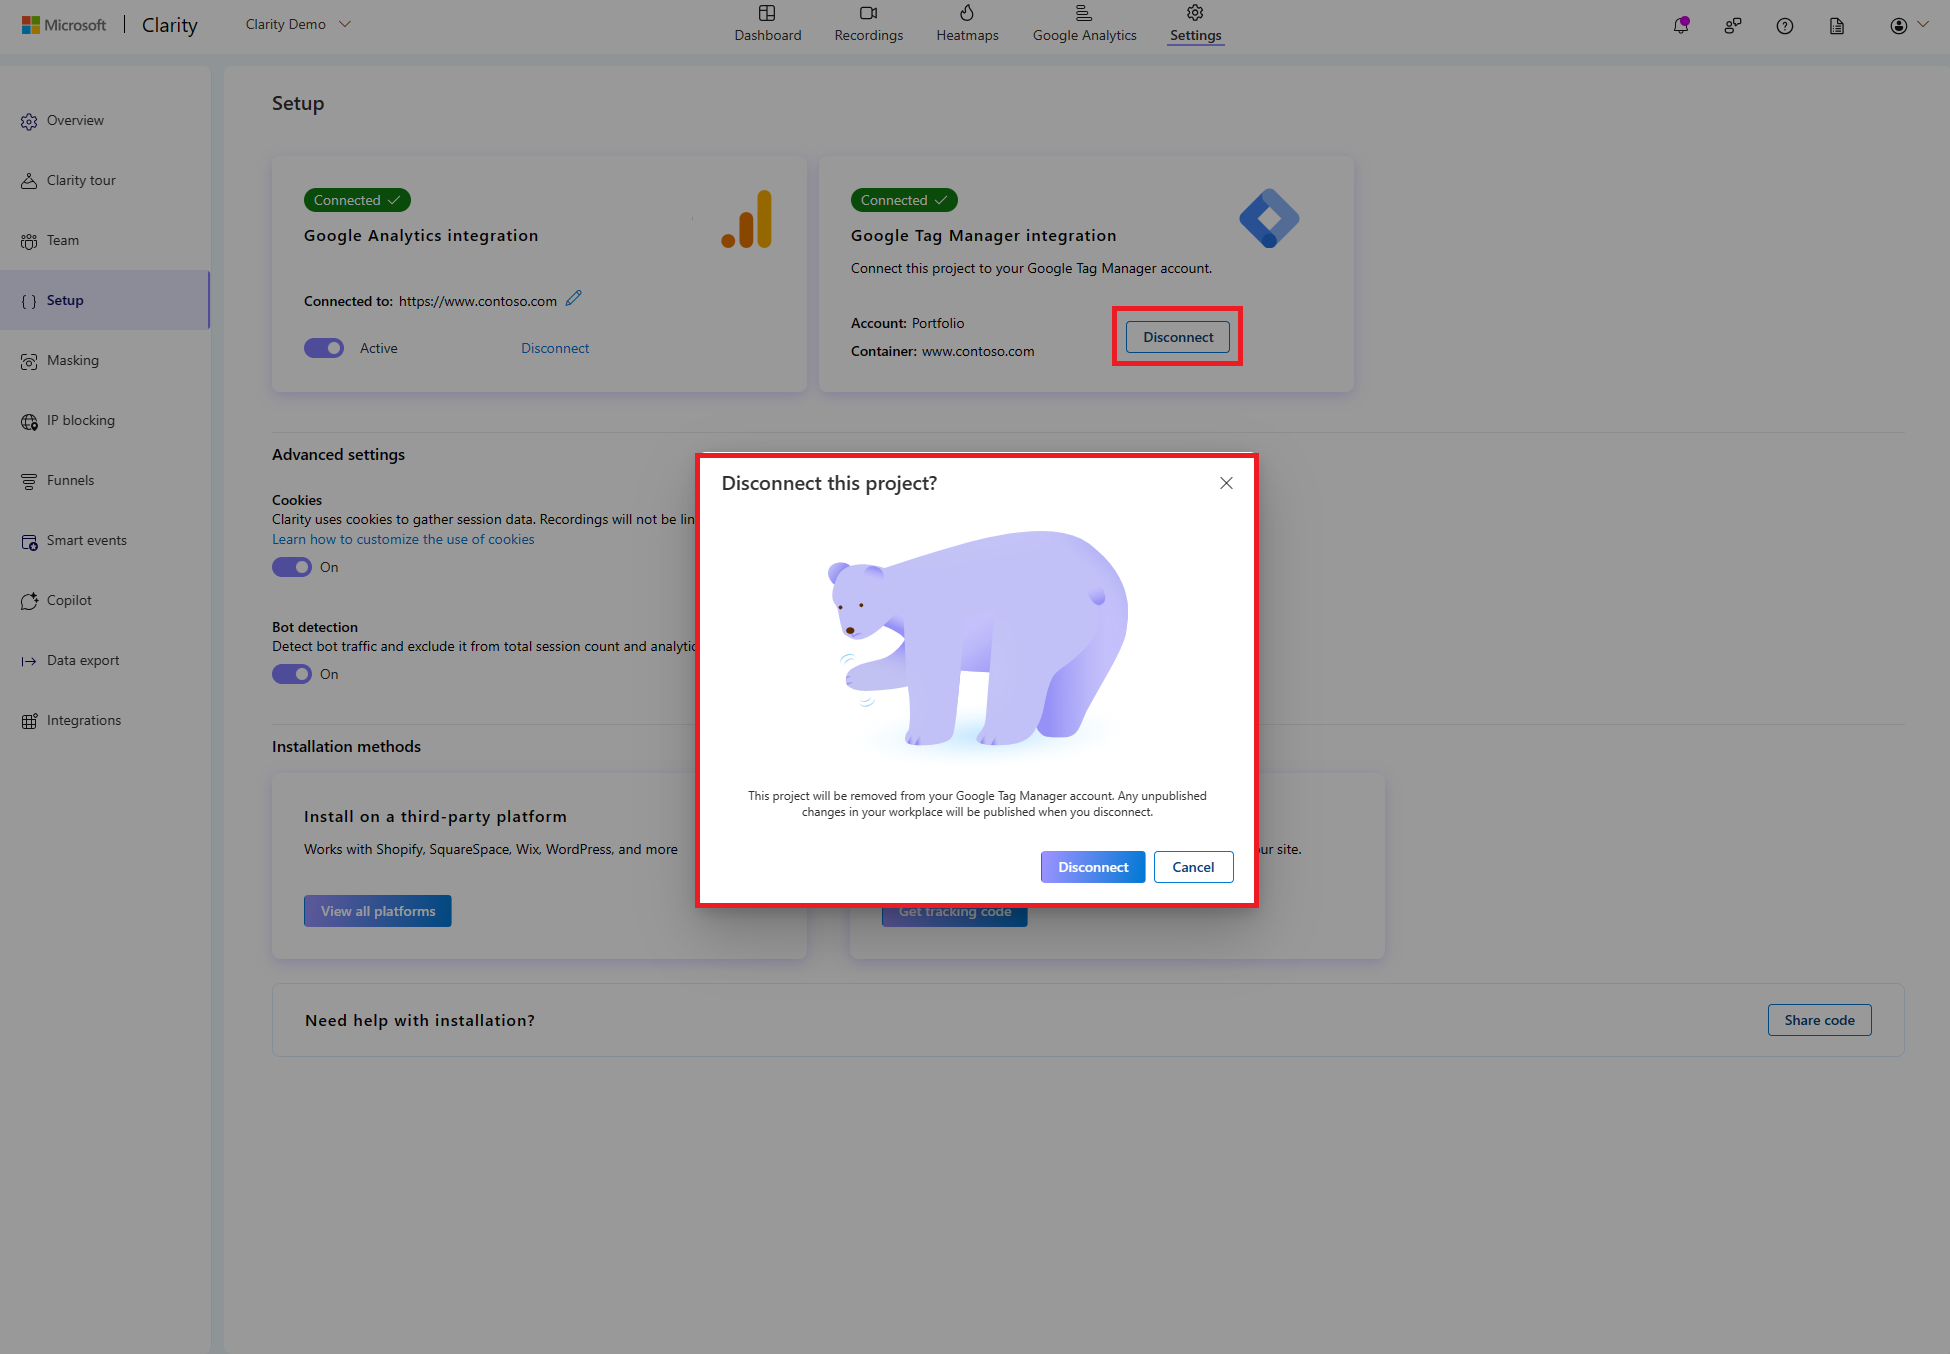
Disconnect project from GTM
Follow one of these steps to disconnect Clarity from Google Tag Manager.
If you used the recommended method for installing GTM
Step 1
Go to the Clarity Settings page. Select Setup -> Google Tag Manager -> Disconnect.
Step 2
On the Disconnect this project pop-up window, select Disconnect.
If you used a different method for installing GTM
Use Google Tag Manager to pause or delete your tags.
FAQ
For more answers, refer to Setup FAQ.