Note
Access to this page requires authorization. You can try signing in or changing directories.
Access to this page requires authorization. You can try changing directories.
Power Automate enables users to automate repetitive desktop tasks through a collection of premade actions.
Using the available actions and built-in recorder, you can automate any business procedure, such as filling forms, retrieving data from the web or desktop applications, and sending standardized emails.
Combining these features allows you to create robust flows that disengage humans from repetitive, unproductive procedures. Tasks like copying data across different systems are common in business environments, and Power Automate can entirely handle them.
Apart from third-party applications, Power Automate automates integrated Windows applications and features. Creating backups of critical files and running diagnostics or custom scripts can be performed effectively through desktop flows.
Using Power Automate with a work or school account is available at no extra cost. To use Power Automate for desktop, your default environment must contain a Dataverse database. To unlock more RPA features, such as running flows automatically, premium cloud connectors, and flow sharing and monitoring, start a trial or upgrade to an Organization premium account.
To start a trial, select Go premium on the Power Automate console.
Flow example
To become familiar with the available features of Power Automate, follow the steps below to create a desktop flow.
The presented flow copies all the files located in the documents folder and creates a backup to a secondary drive. The original location of each file is appended to an existing log file.
Note
To implement this example, a secondary drive has to be connected to your machine. If a secondary drive isn't available, select a different destination folder for the files.
To create the desktop flow:
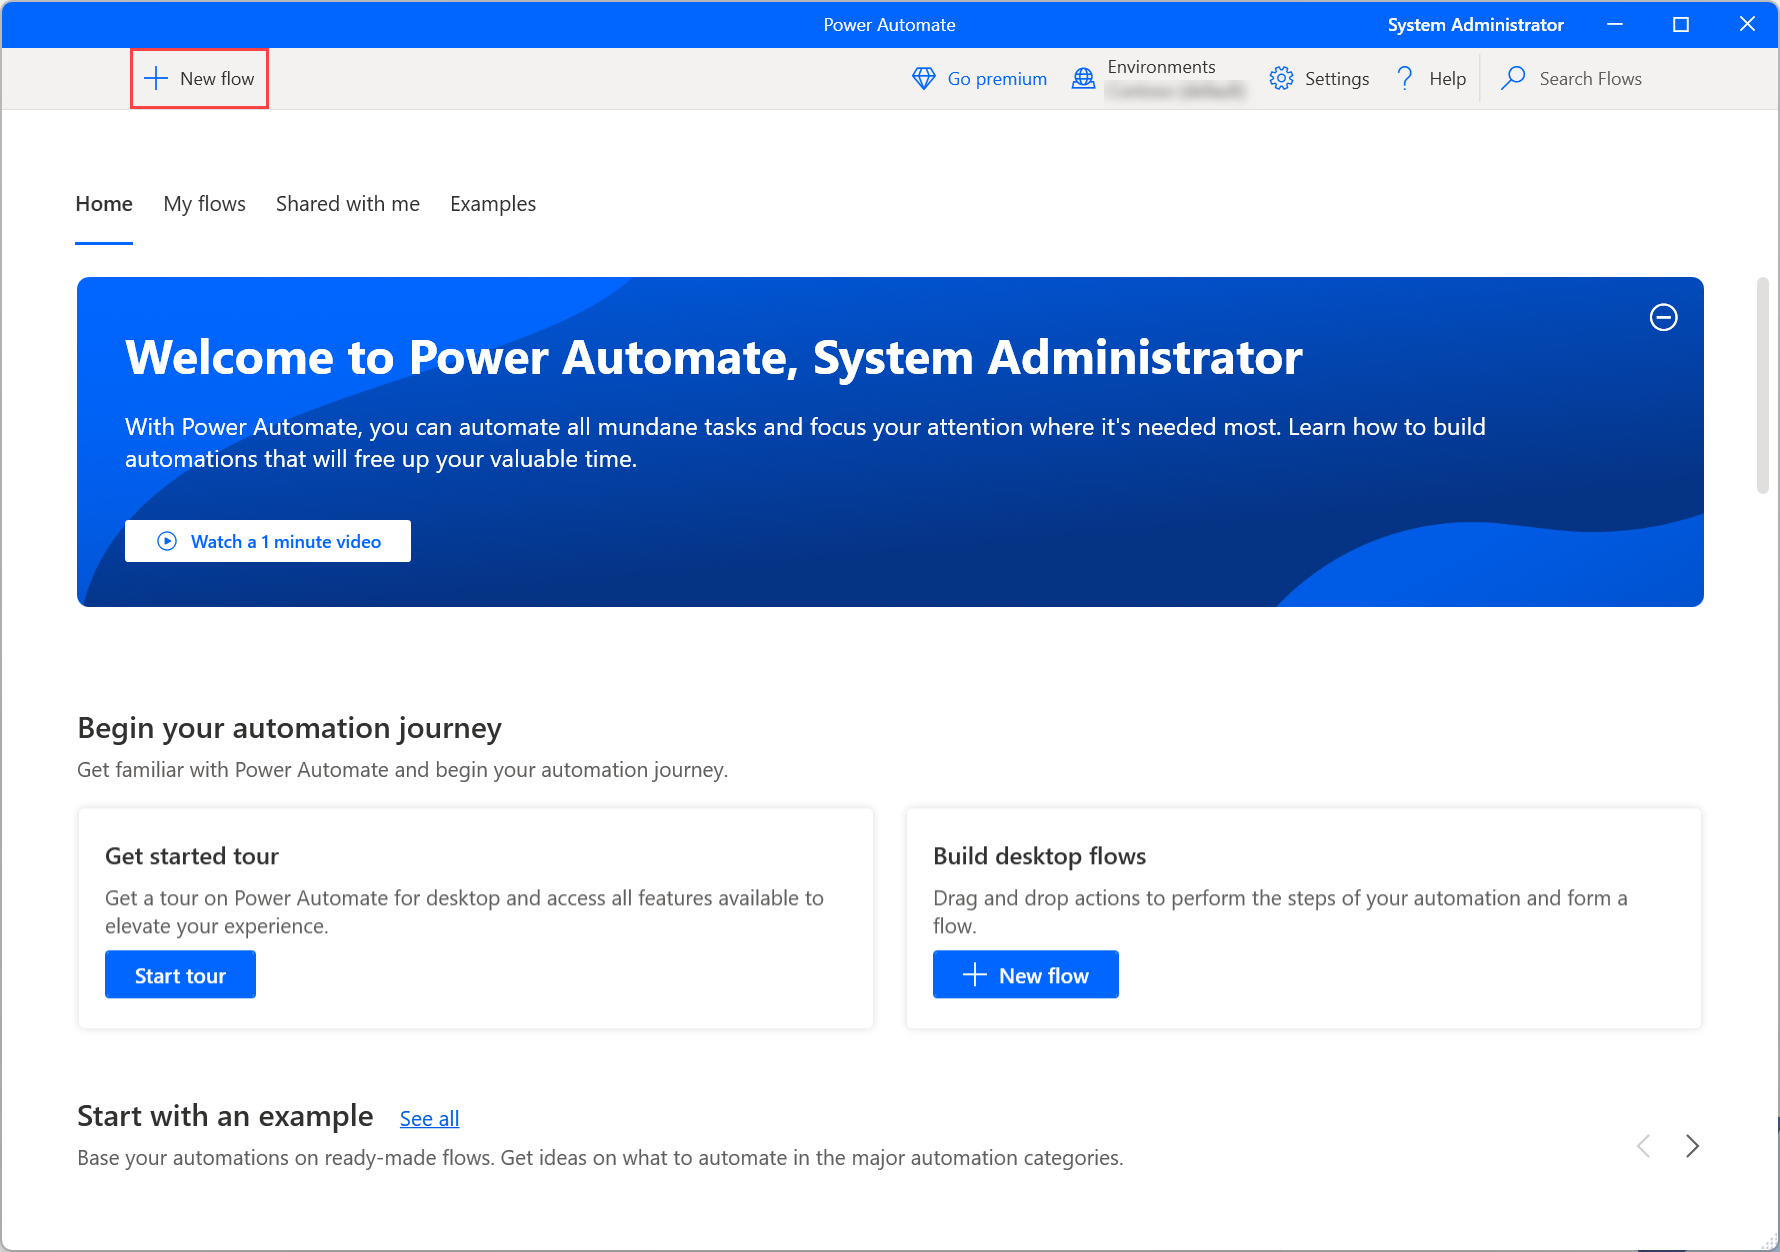
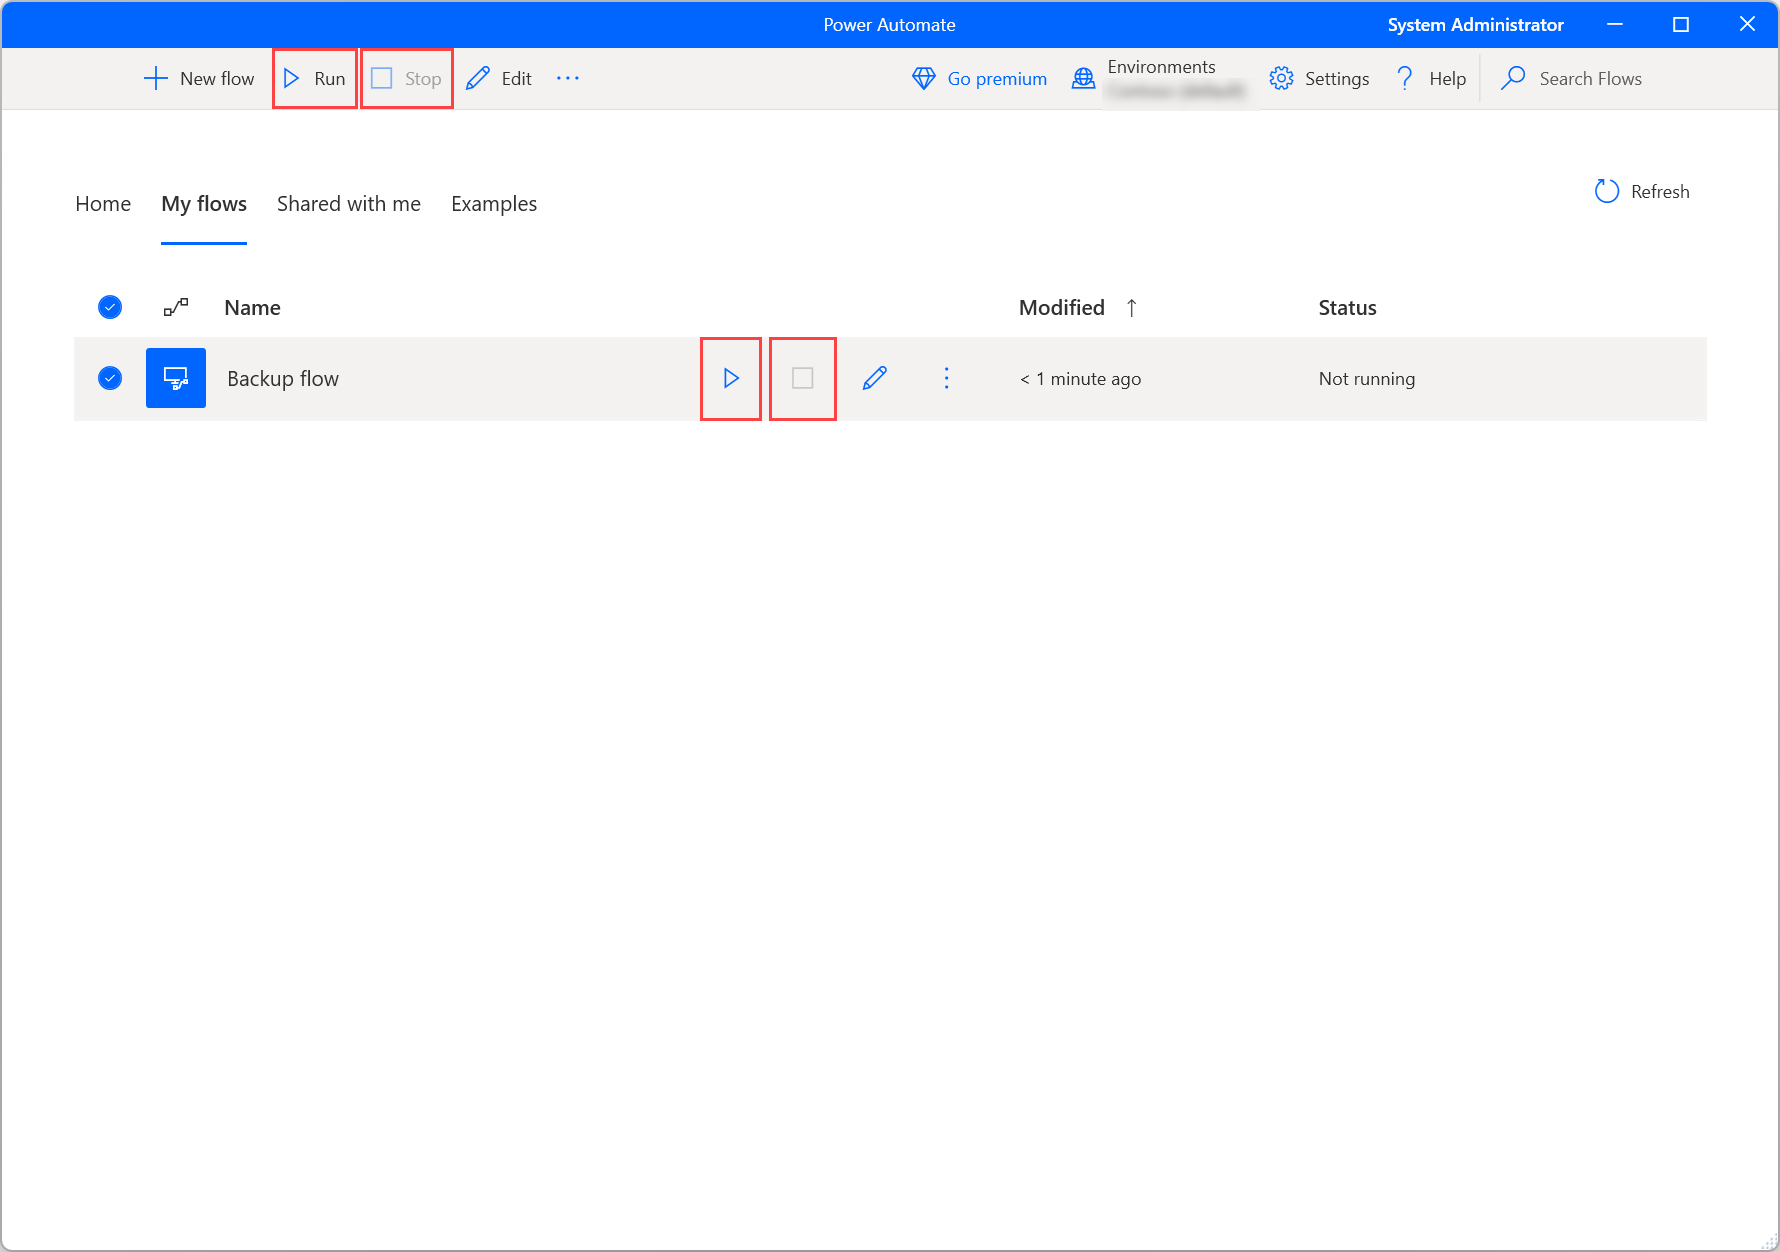
Launch Power Automate and select the New flow button in the Console.
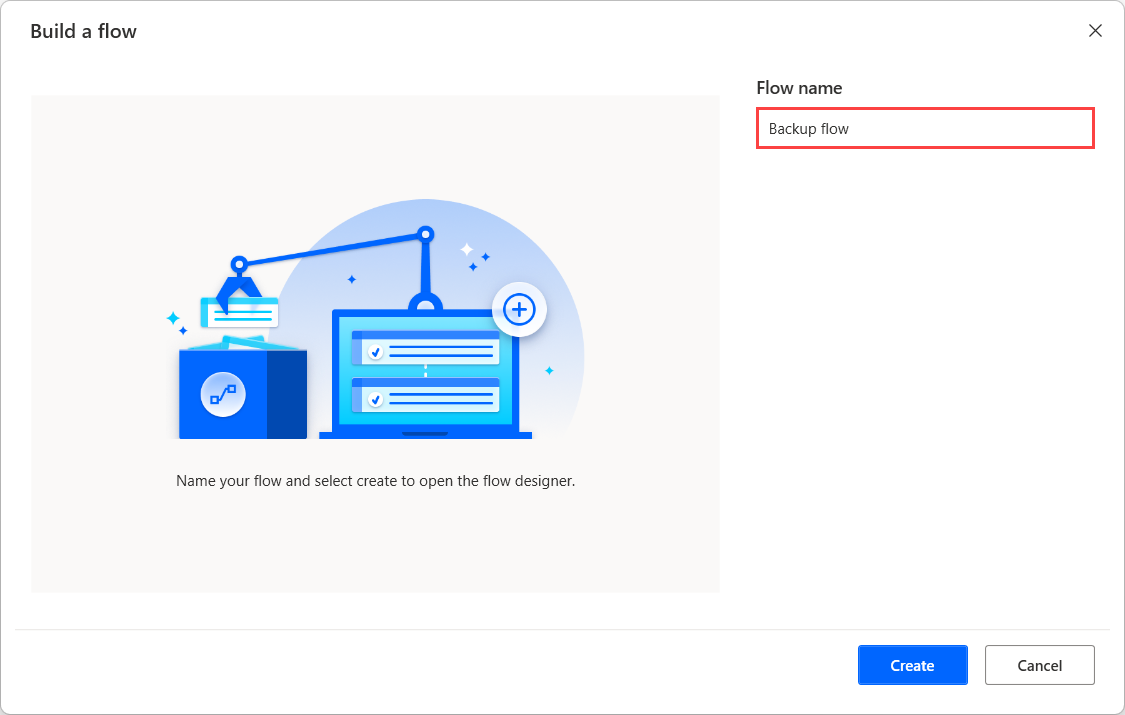
Enter a name for the flow and then select Create. In this example, the name of the flow is Backup flow.
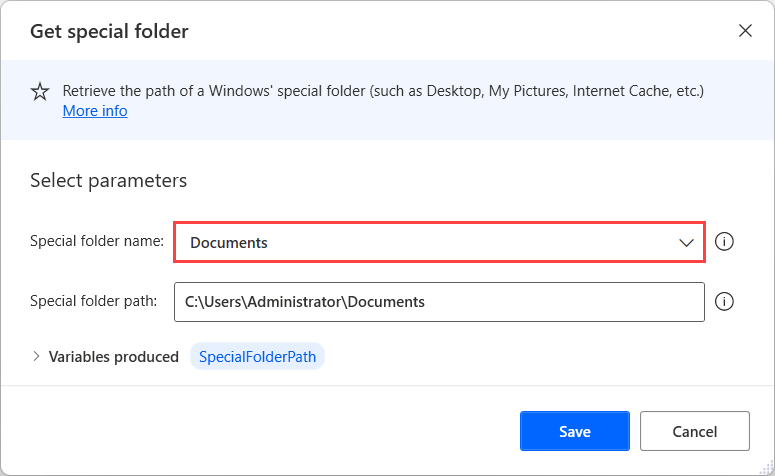
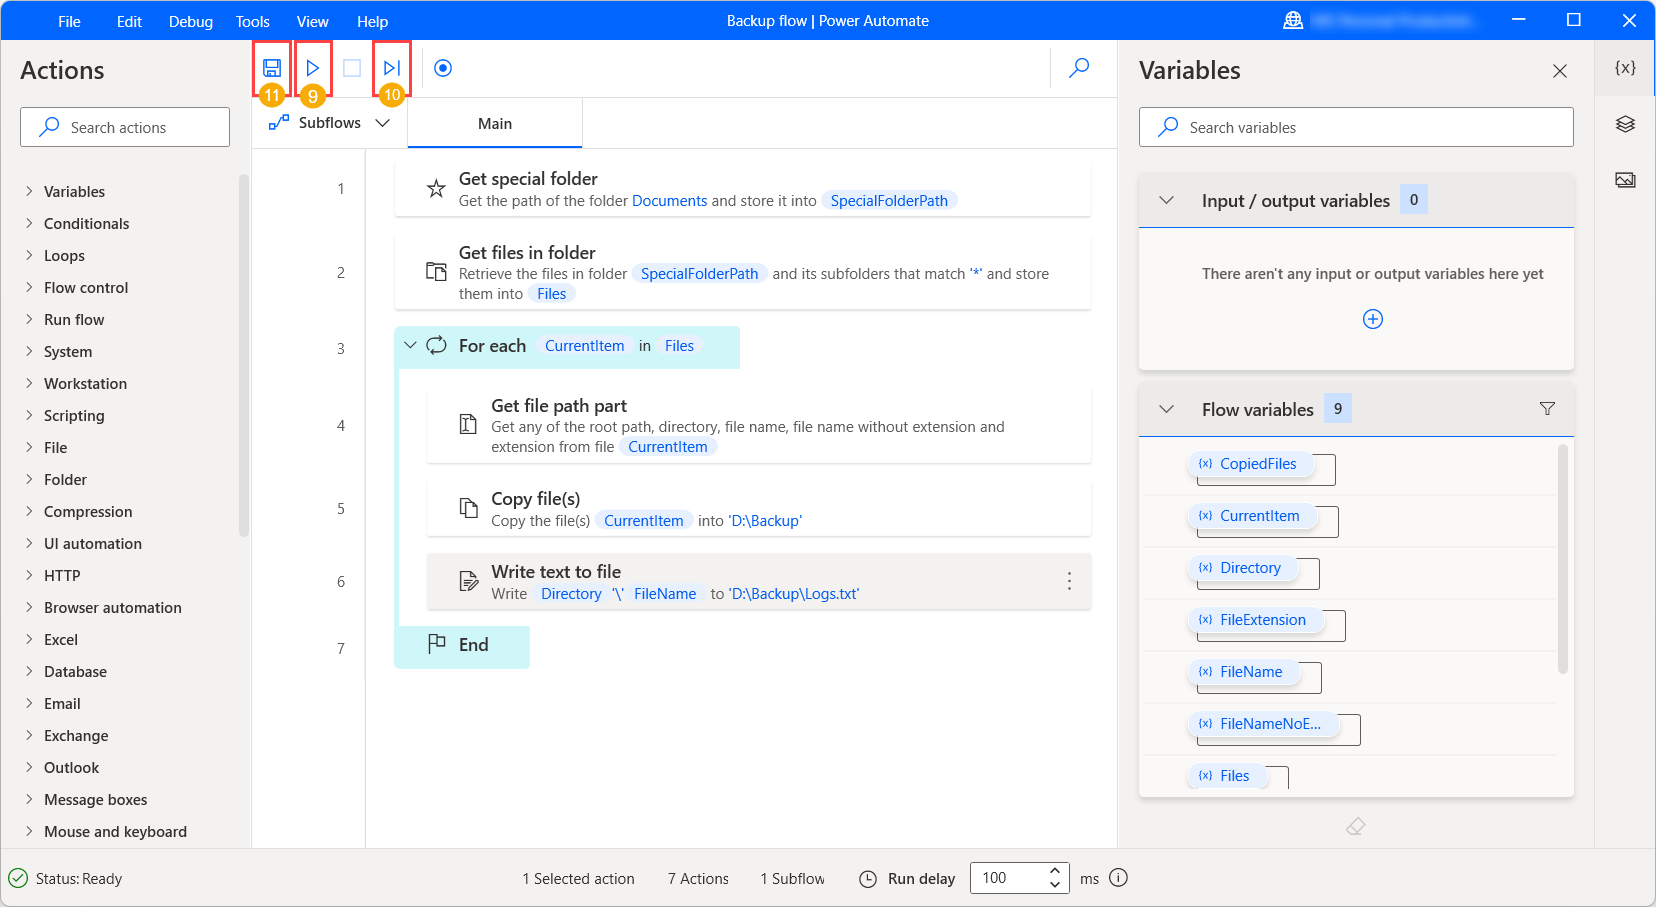
When the flow designer is open, add the Get special folder action in the workspace and retrieve the path of the documents folder.
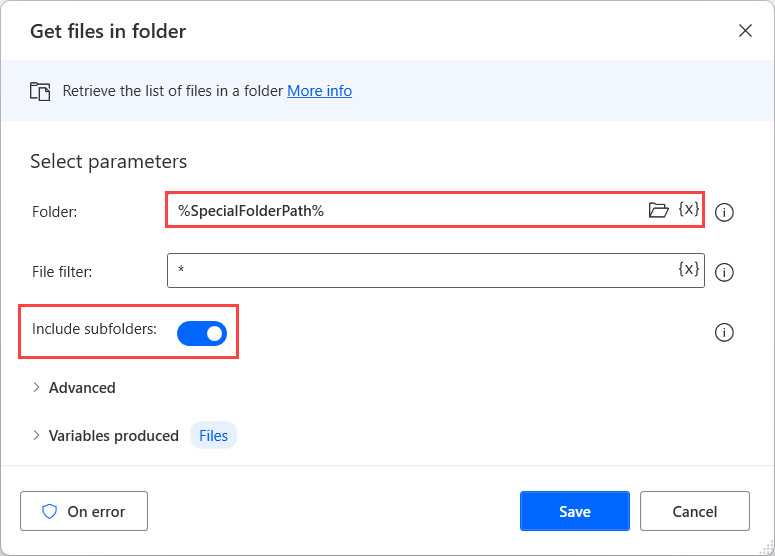
Add the Get files in folder action to retrieve all the files located in the previously retrieved folder. Optionally, set the action to retrieve the files located in subfolders of the selected folder.
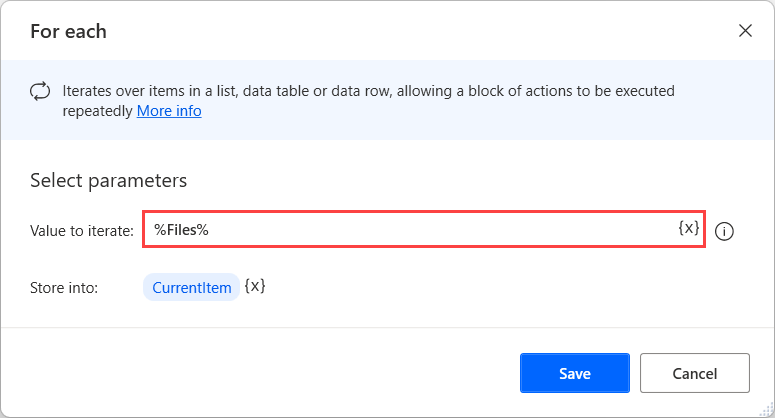
Deploy a For each loop to access and handle each file of the retrieved list independently.
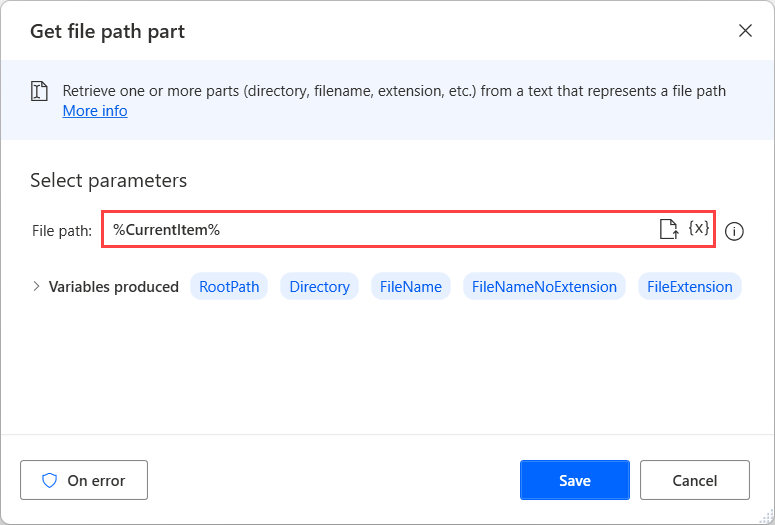
Inside the For each loop, add the Get file path part action to retrieve the path of the currently selected file.
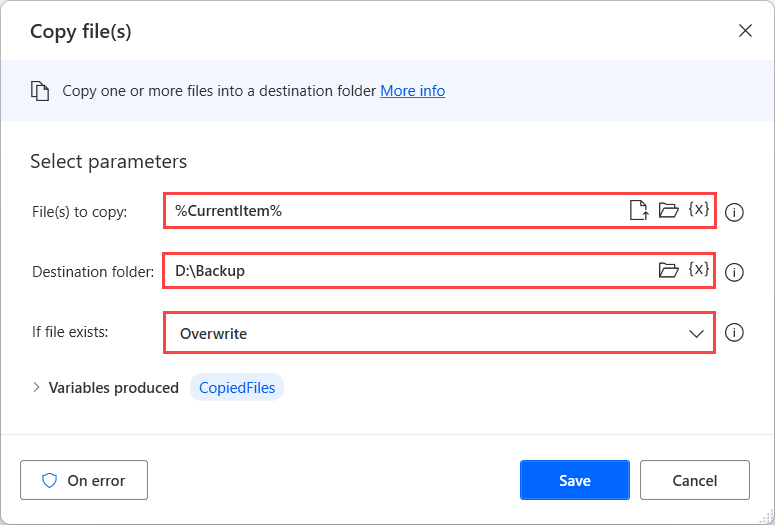
Add the Copy file action to copy the currently selected file to the desired location. In this example, the destination folder is called Backup and it's located in the D drive.
Note
If a secondary drive isn't available, select a different destination folder for the copied file.
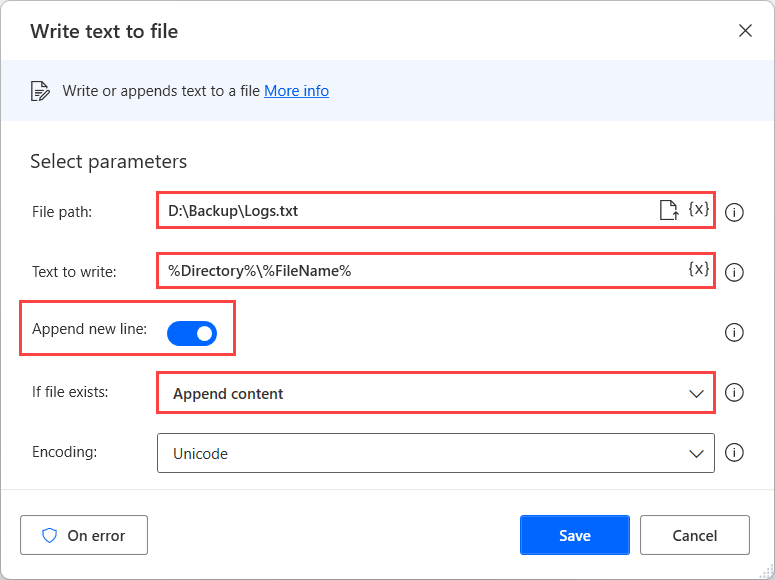
Use the Write text to file action to append a new registry in the log file. In this example, the file is called Logs.txt, and each registry contains the original path of the copied file.
To test if the flow runs as expected, select the Run button on the upper part of the flow designer.
To check how every single action is implemented, run the flow step by step using the Run next action button.
If the flow runs as expected, select Save and close the flow designer window.
Now, you can run your flow directly using the Run button in the console. To stop the flow before its completion, select Stop.
Next Steps
Learn how to set up Power Automate for desktop.
Begin your journey in Power Automate by creating a Power Automate desktop flow.
Get familiar with the console and the flow designer.
Find the list of actions available in the Actions reference.