Note
Access to this page requires authorization. You can try signing in or changing directories.
Access to this page requires authorization. You can try changing directories.
The console is the central interface of Power Automate for desktop.
The main area of the console has four tabs that show different kinds of information: a home screen, your desktop flows, shared desktop flows, and built-in examples.
At the top of the window, you see the current user. On the command bar, you see all the available actions, a dropdown list to switch environments, the Settings and Help buttons, and a search bar.

Note
Some options in the console might be disabled because of insufficient permissions in the current environment. Contact your admin to grant access or switch to another environment. Learn more about security roles in Configure user security.
Starting a desktop flow
To run a desktop flow as local attended, select the Start button next to the selected flow or on the command bar. The Status column lets you review the current status of each flow.
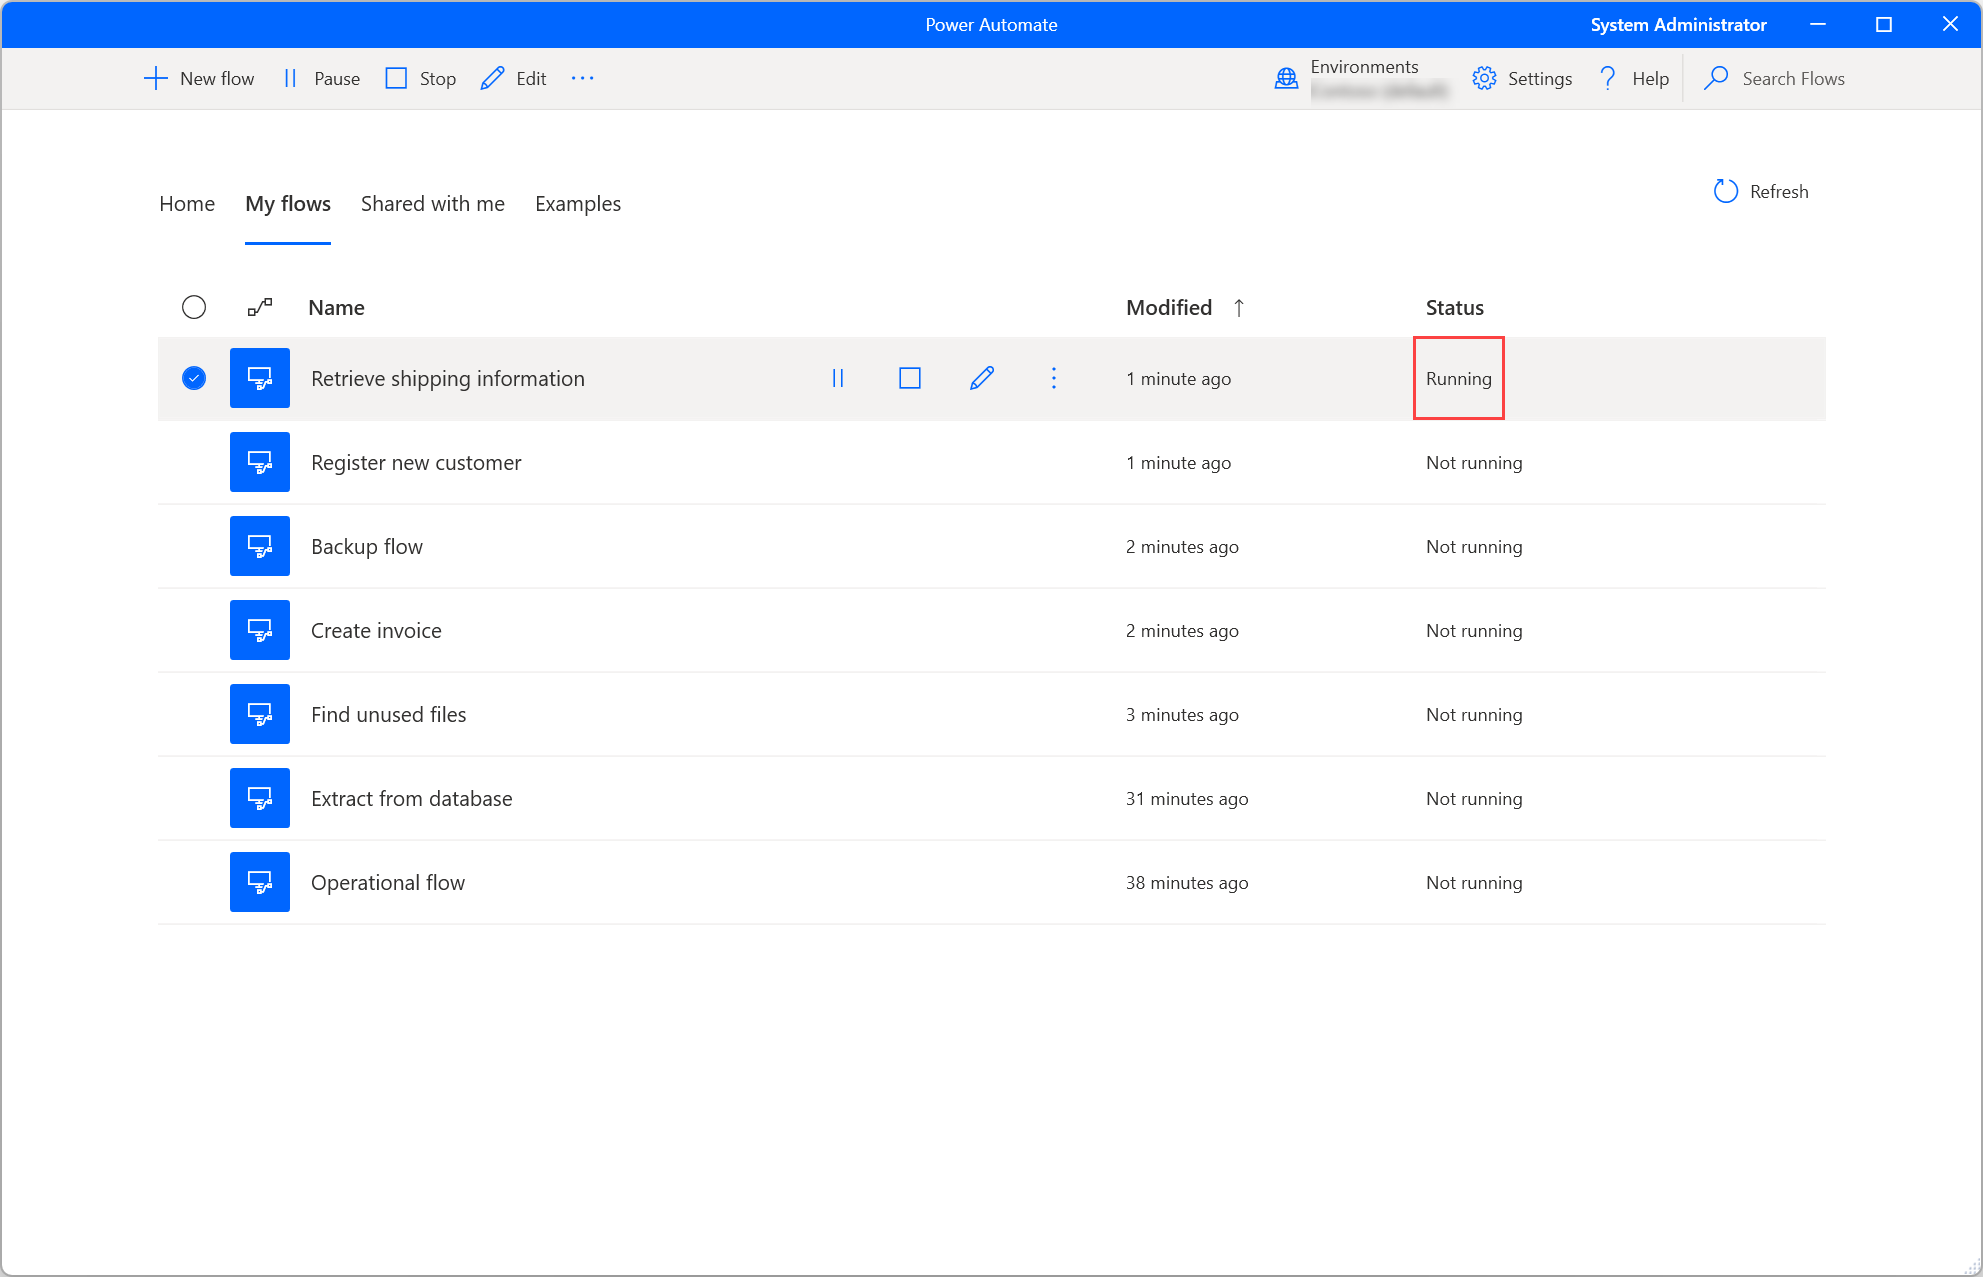
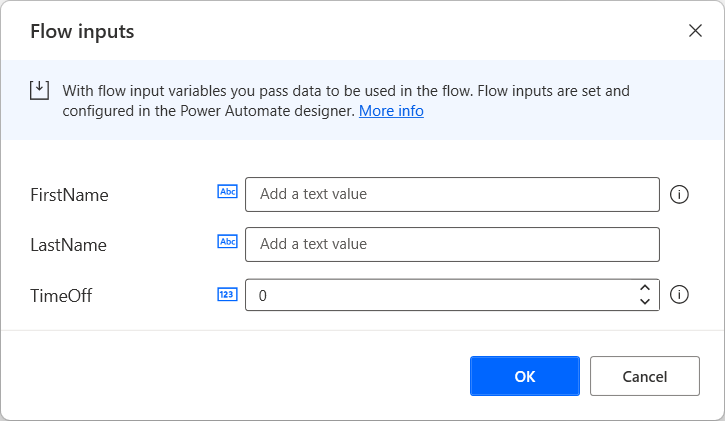
If a running flow has input variables, a dialog box prompts you to provide the appropriate values.
Editing a desktop flow
In addition to creating new desktop flows, edit existing flows by selecting the Edit button next to the selected flow or on the command bar.
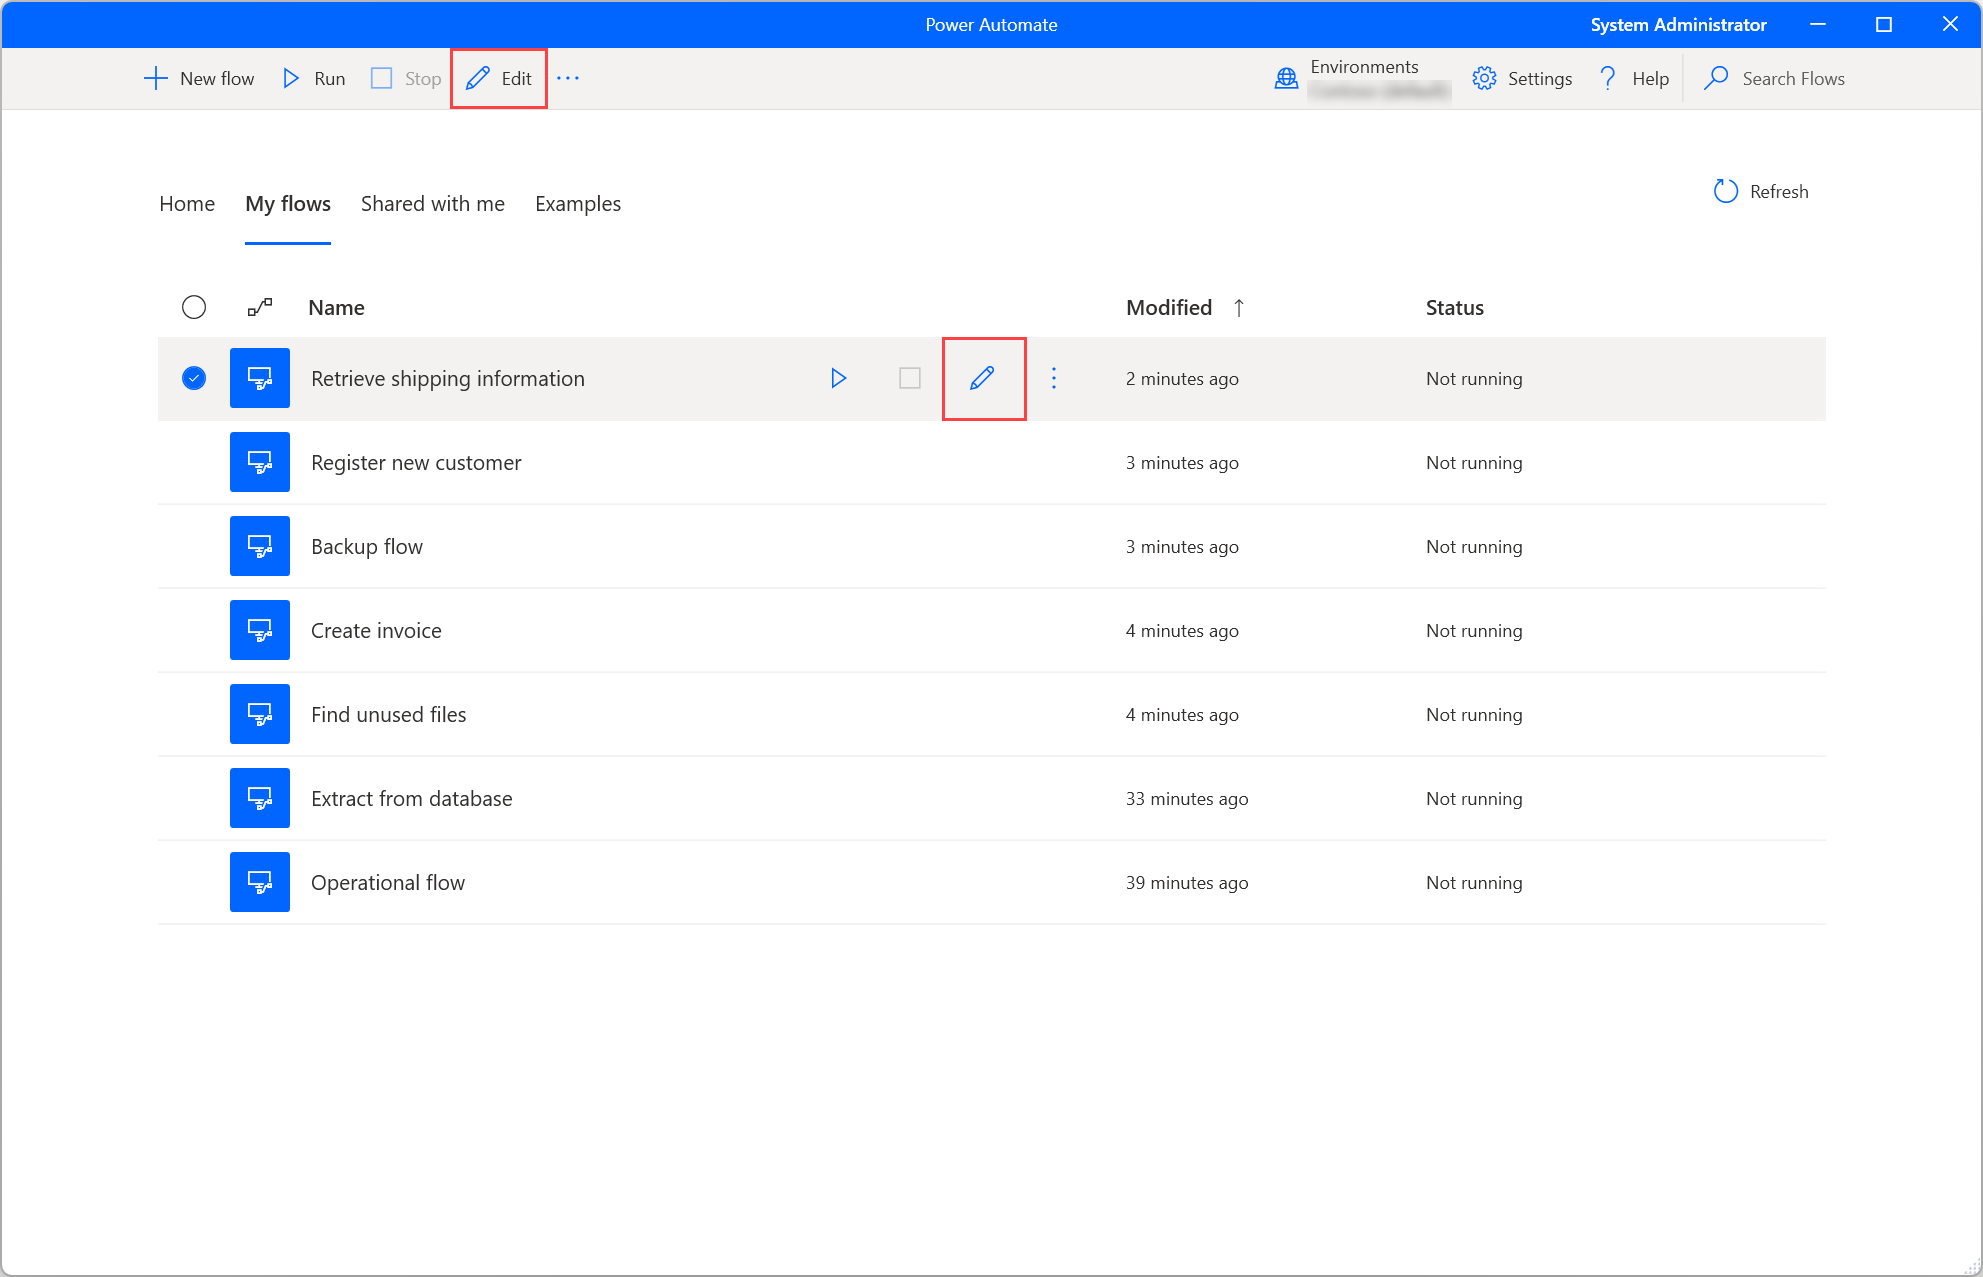
Develop new flows and edit existing flows in the flow designer. Learn more about the flow designer and how to develop desktop flows in Desktop flow designer.
Important
If multiple people change a shared desktop flow, the last person to save it overrides all previous changes.
Console Settings
To configure Power Automate for desktop, select the Settings button.
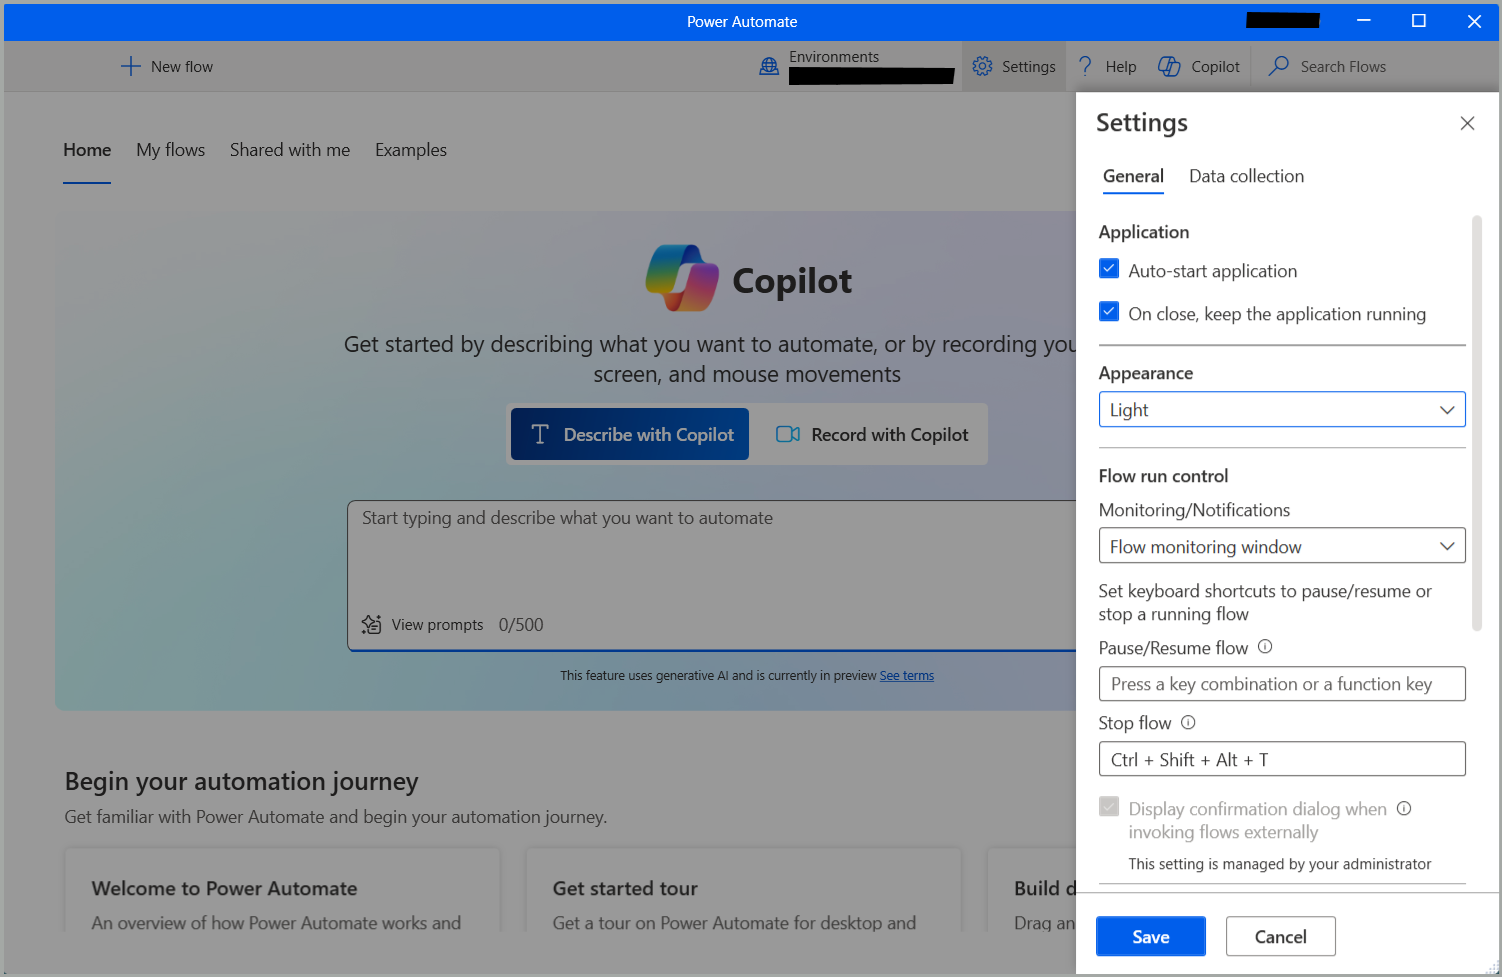
Under Appearance, choose whether Power Automate works in light mode, dark mode, or follows the system default setting.
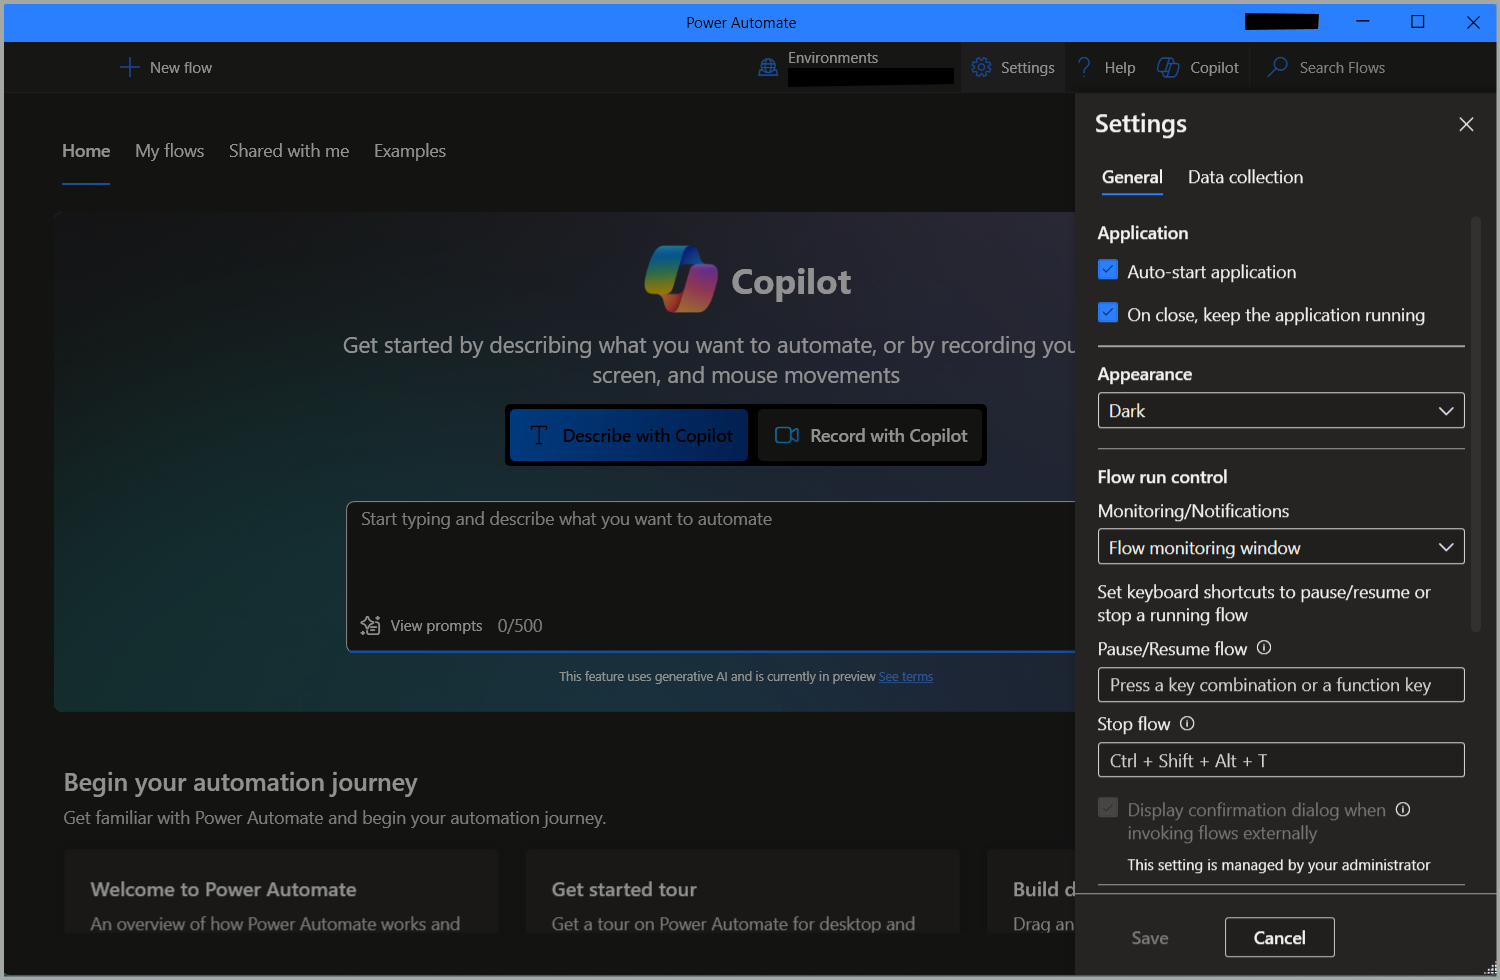
Under Flow run control, use the Monitoring/Notifications dropdown to choose if Power Automate should display integrated Windows notifications, a custom flow monitoring window, or no notifications. Learn more about Power Automate notifications in Runtime notifications.
You can also set a hotkey combination to pause or resume a running flow, and another hotkey to stop running flows instantly.
By default, Power Automate prompts you to confirm triggering a desktop flow via URL or desktop shortcut. Use the Display confirmation dialog when invoking flows externally option to disable this functionality. You can find more information about external links in Run desktop flows via URL or desktop shortcuts.
To decide whether Microsoft collects diagnostic data to improve user experience, go to the Data collection settings tab.
Important
Only admins can change the data collection settings.
Desktop flow properties
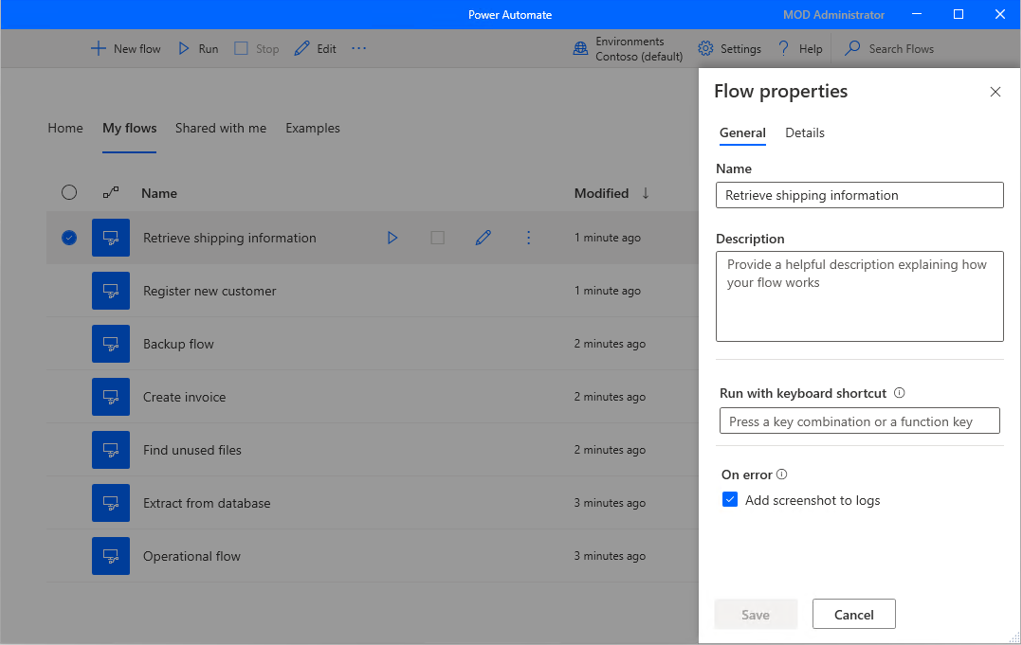
To review the properties of a desktop flow, right-click it and select Properties, or choose the same option from the corresponding shortcut. In the General tab, you can edit the name and description of the flow, set up a keyboard shortcut to trigger the flow locally, manage the Tags (preview) associated with the flow, define the On error behavior of the flow run, and determine whether the desktop flow should time out after a set period.
Tags (preview) are labels that can be applied to desktop flows, to group and associate them together in an easy and straightforward way.
If the Add screenshot to logs option is enabled, a screenshot is captured when a flow run fails and is uploaded to the flow run action details.
The Flow timeout property is disabled by default. If it is enabled, specify the maximum time the flow can run. If that maximum duration limit is reached during (console or cloud initiated) runtime, the desktop flow is forced to stop and time out. You can use the proposed timeout value, or provide your own using a combination of an integer value with the preferred time unit (seconds, minutes, or hours).
Important
- Access to the flow run logs is a premium feature, which requires a Power Automate subscription.
- The Tags (preview) functionality and the Flow timeout property are only available for users with a work or school account.
- The Tags (preview) functionality, as well as the Add screenshot to logs and Flow timeout properties, apply only to flows stored in Power Automate v2 schema.
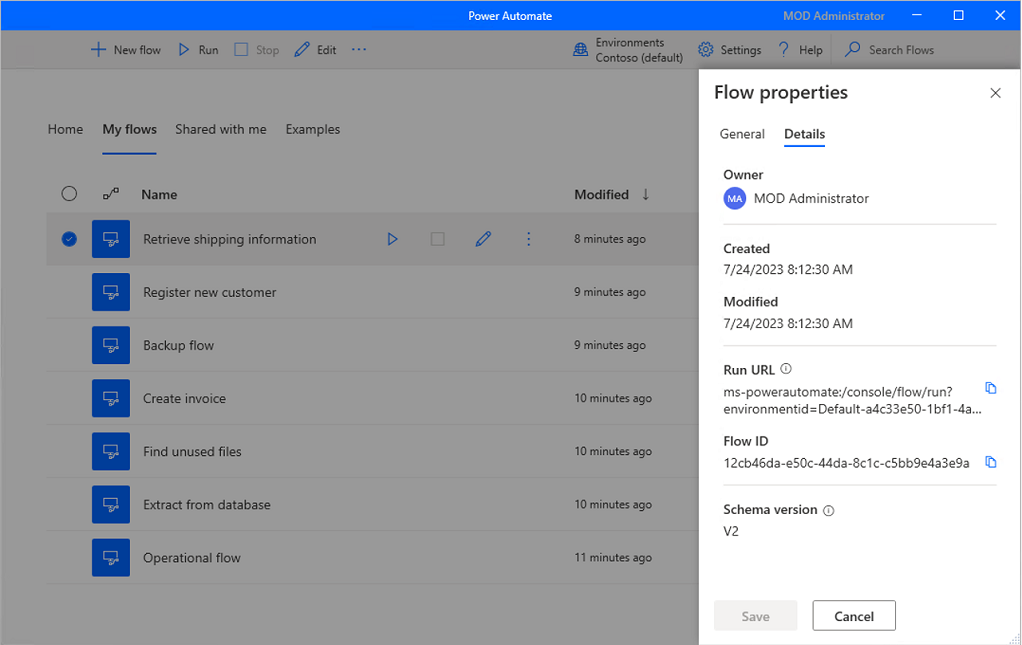
In the Details tab, you can see the owner, the creation and last modification dates, the flow ID and the flow’s storage schema version in Dataverse. For more information on the enhanced desktop flows schema, go to Power Automate v2 schema.
Additionally, the Run URL lets you run the flow through various sources, such as browsers, the Windows Run application, and the Command Prompt. You can find more information regarding this functionality in Run desktop flows via URL or desktop shortcuts.
Change the screen resolution settings of a desktop flow for unattended runs
To set the screen resolution for unattended runs, open the desktop flow’s details and select Edit. In the Flow properties panel, turn on the Display resolution for unattended runs setting. Choose a resolution from the drop-down list or enter a specific resolution manually.
Important
- If the Display resolution for unattended runs setting is on and the desktop flow calls other desktop flows, all flows run using the resolution set in the parent flow. Make sure this resolution works for all flows to avoid issues.
- If you're using the Reuse Windows session for unattended runs feature, the selected resolution applies to the reused session too.
Generate flow description using Copilot
Generate a flow description for flows you own or co-own by pressing a button. Copilot analyzes the flow and generates a description. This feature is also available from the flow details in make.powerautomate.com. More information: Manage desktop flows
Important
- To understand the capabilities and limitations of this feature, go to FAQ for generating a flow description using Copilot.
Availability by region
This feature is currently available to the following regions/countries:
- Generate flow description using Copilot
- Asia Pacific
- Australia
- Brazil
- Canada
- Europe
- France
- Germany
- India
- Japan
- Norway
- Singapore
- South Africa
- South Korea
- Sweden
- Switzerland
- United Arab Emirates
- United Kingdom
- United States
Availability by account type
Currently, Copilot in Power Automate for desktop is only available for users with a work or school account.
Note
If your environment is in a supported region, you are signed in with a work or school account, and you still can't see Copilot in the Power Automate for desktop experience, contact your Power Platform administrator.
Use Copilot to generate the description
To generate a flow description, go to the properties of the flow where you want the description. Under the Description text area, select Let Copilot create a description. Copilot analyzes your flow and populates the description with a summary of your flow.

Help us improve this feature
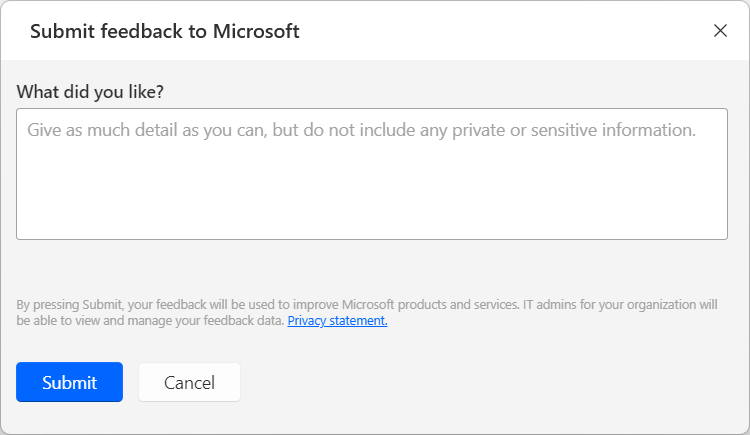
Select the thumb up or thumb down icon under the AI-generated content to send feedback. Once you do, a dialog box appears, which you can use to submit feedback to Microsoft.
Note
If you can't see the dialog box, your Power Platform admin might have turned it off. More information: Disabling the user feedback functionality
Disabling the generate flow description using Copilot functionality
Power Platform admins can contact Microsoft support to disable the generate flow description using Copilot functionality. More information: Get Help + Support
Disabling the user feedback functionality
As a Power Platform admin, prevent users from sending Copilot feedback to Microsoft by using the "Copilot feedback" tenant setting.
Data subject rights requests on user feedback
Tenant administrators can view, export, and delete user feedback by signing in to the Microsoft 365 admin center, and then selecting Health > Product feedback.
Related information
FAQ for generating a flow description using Copilot
Update Power Automate for desktop
Power Automate checks for updates and shows notifications.
Update notifications let you delay the update and proceed later. To stop receiving update notifications, clear the Show update notifications option in general settings.
To update Power Automate for desktop manually, select Check for updates in general settings.
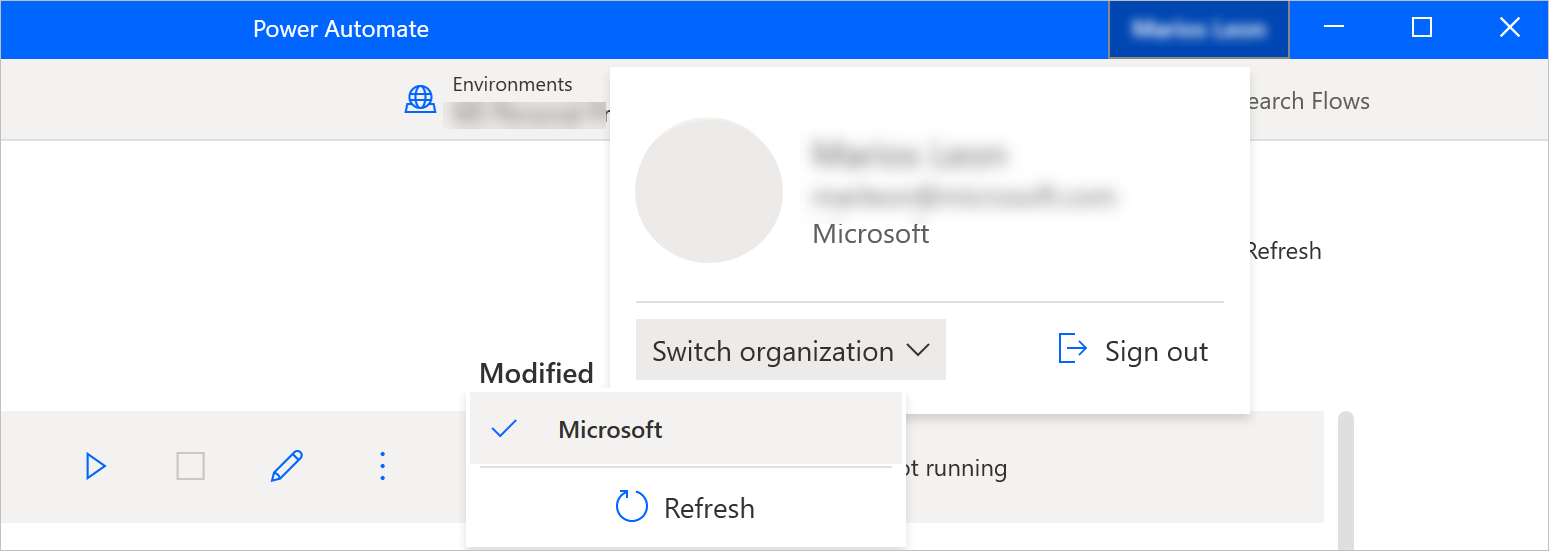
Switch organization
If you're a member of more than one tenant, switch organizations by selecting the organization name at the top right corner of the console, and then select Switch organization.