Manage desktop flows
After creating desktop flows, you might need to view, edit, or check their status. To achieve all these tasks, go to My flows > Desktop flows in the Power Automate portal.
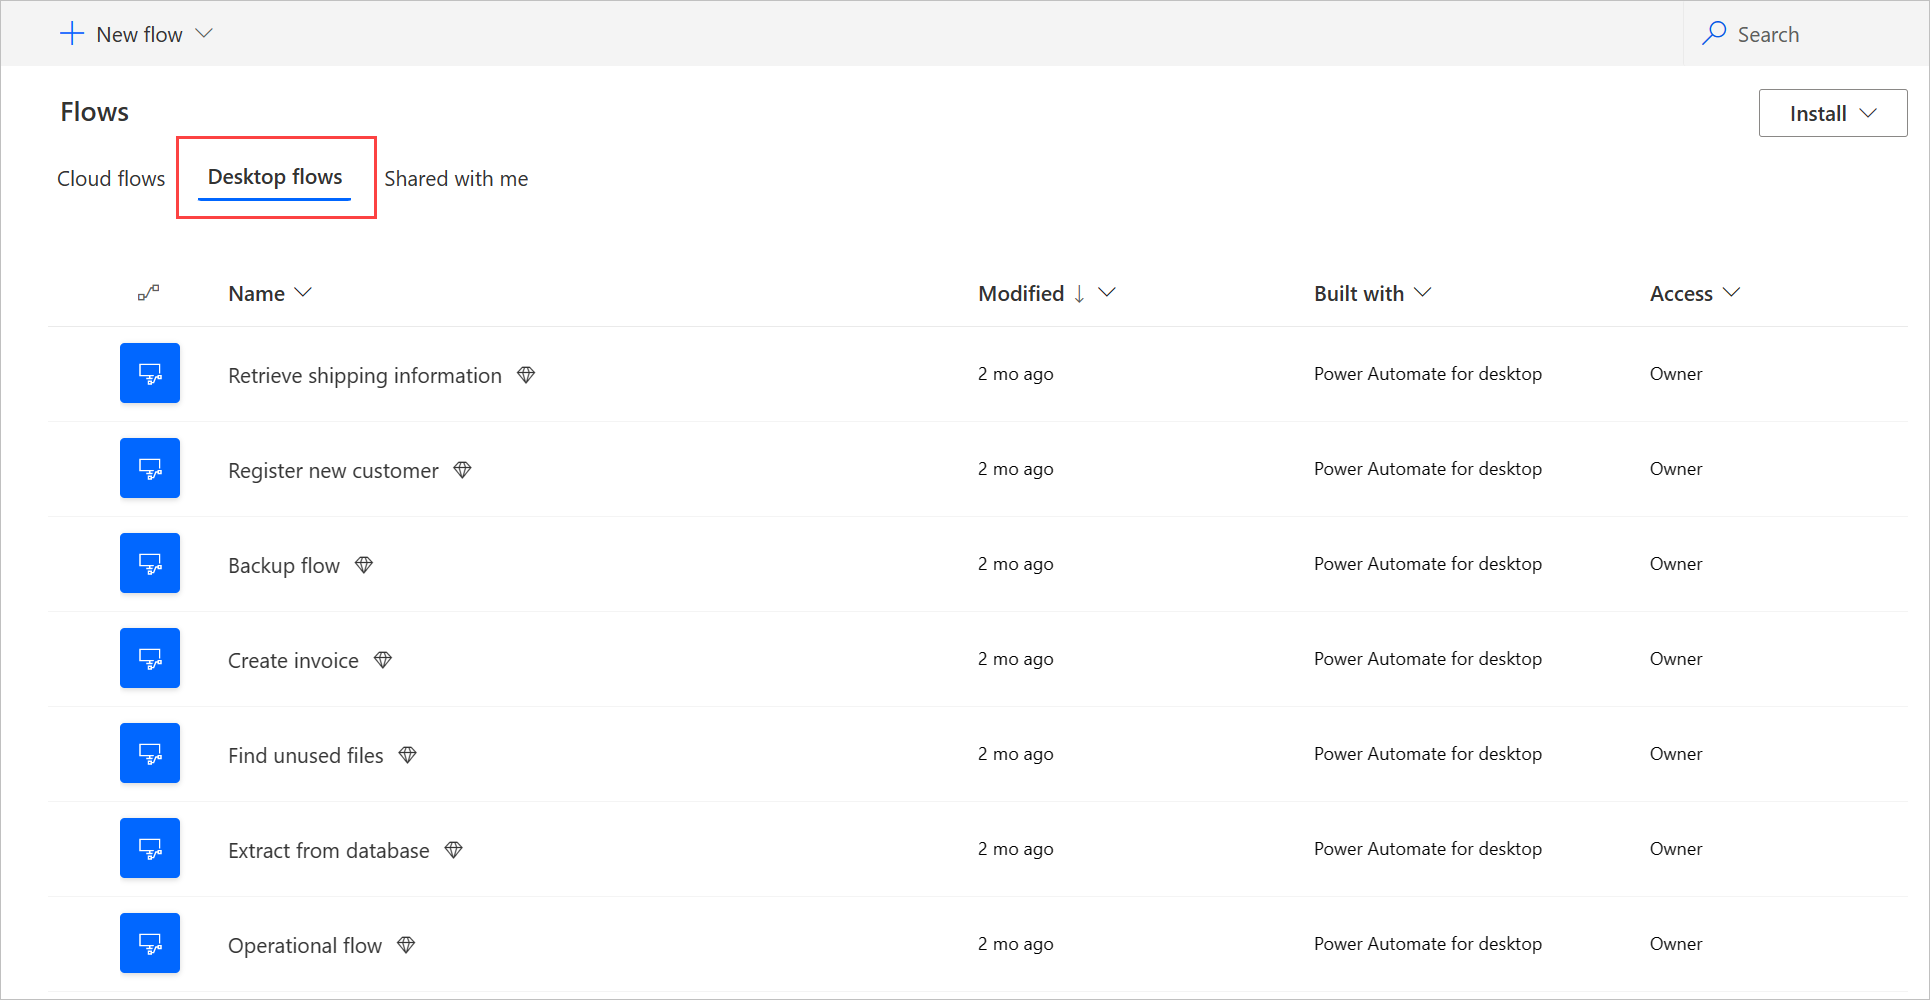
See a list with desktop flows
Sign in to the Power Automate portal.
Go to My flows > Desktop flows.
Using the available options in this tab, you can create new desktop flows and edit or delete existing desktop flows.
Note
If you delete or rename a desktop flow, select the refresh button to reflect the changes in the desktop flows list.
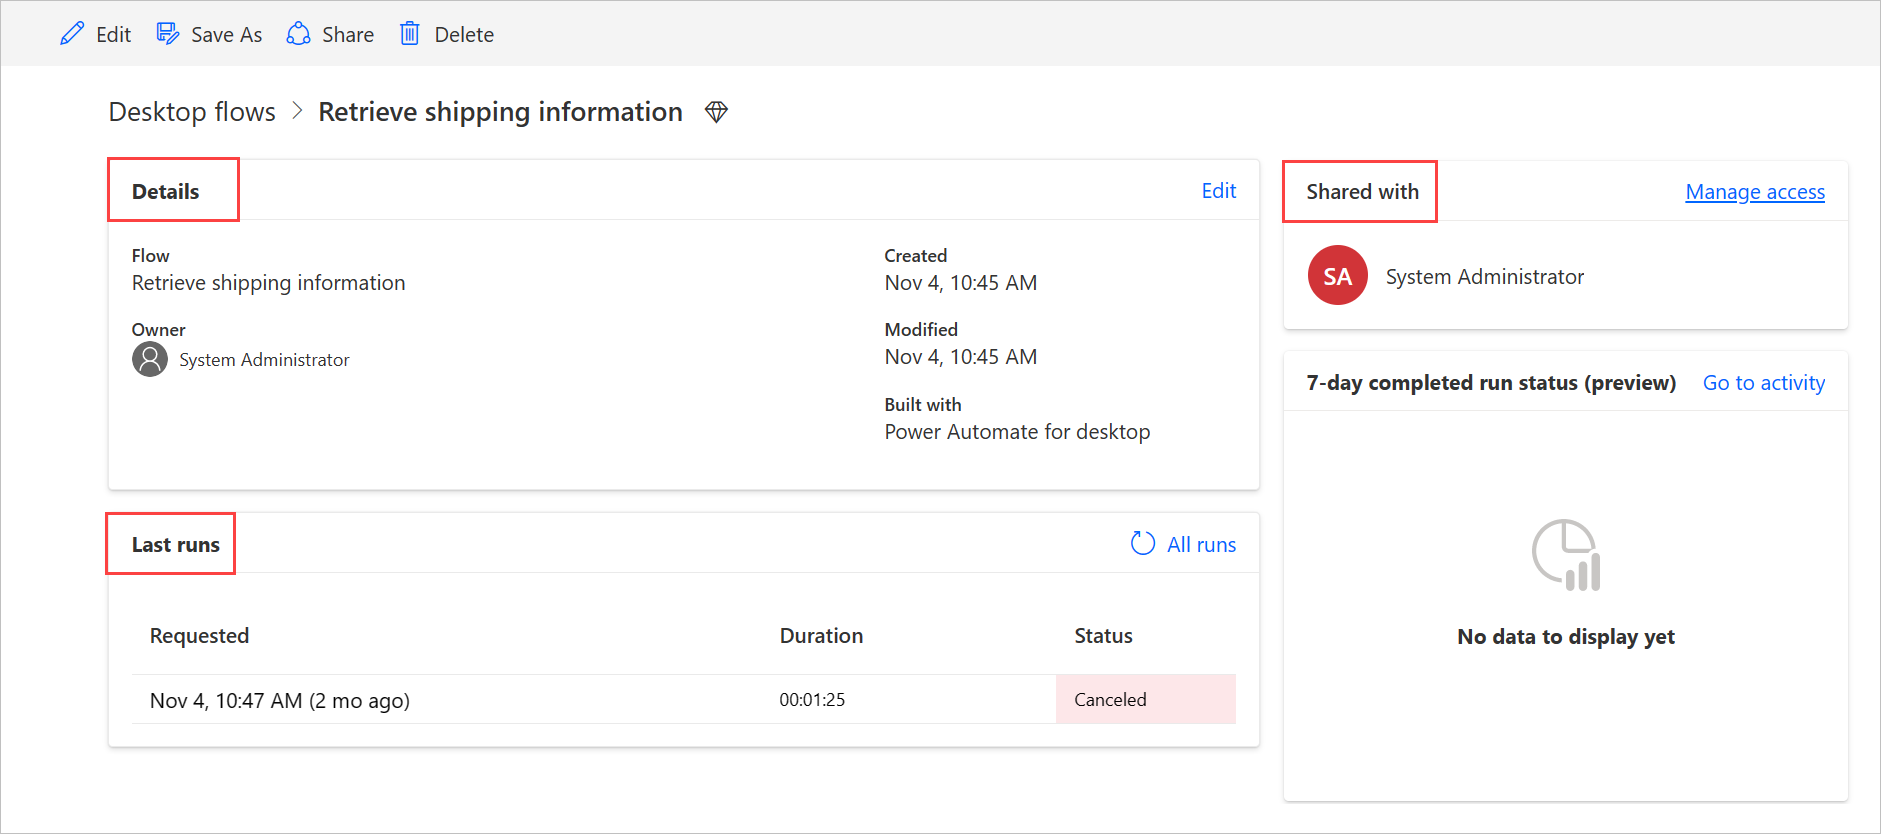
See details of desktop flows
For each of your desktop flows, you can see its details by selecting its name from the list of desktop flows. You can see various details including:
- The run history with details of each run.
- The applications or websites used in the desktop flow.
Follow these steps to see the details for a desktop flow:
- Sign in to the Power Automate portal.
- Go to My flows > Desktop flows.
- Select any of your desktop flows.
Generate flow description using Copilot (preview)
[This topic is prerelease documentation and is subject to change.]
Generate a flow description for flows by the press of a button. Copilot then analyzes the flow and generates a description for it. This feature is also available from the flow properties in the Power Automate for desktop console. More information: Power Automate for desktop console
Important
- This is a preview feature.
- Preview features aren’t meant for production use and might have restricted functionality. These features are available before an official release so that customers can get early access and provide feedback.
- To understand the capabilities and limitations of this feature, go to FAQ for generating a flow description using Copilot.
Prerequisites
- Currently, the generate flow description using Copilot functionality is only available in environments located in the United States.
- Currently, the generate flow description using Copilot functionality is only available for users with a work or school account.
Use Copilot to generate the description
To generate a flow description, go to the details of the flow where you want to generate the description, and then select Edit. Under the Description text area, select Let Copilot create a description. Copilot analyzes your flow and populates the description with a summary of your flow.
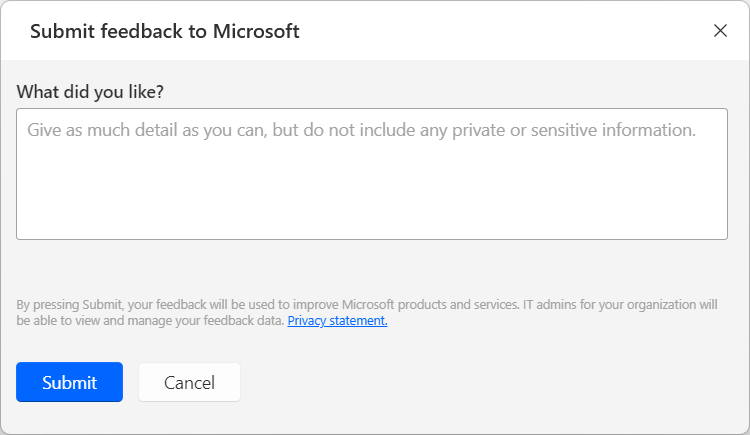
Help us improve this feature
Send feedback by selecting the thumb up or thumb down icon underneath the AI-generated content. Once you do, a dialog box appears, which you can use to submit feedback to Microsoft.
Note
If you can't see the dialog box, your Power Platform admin might have turned it off. More information: Disabling the user feedback functionality
Disabling the generate flow description using Copilot functionality
To disable the generate flow description using Copilot functionality, Power Platform admins can contact Microsoft support. More information: Get Help + Support
Disabling the user feedback functionality
As a Power Platform admin you can prevent users from sending feedback to Microsoft by disabling the disableSurveyFeedback tenant setting using PowerShell. More information:
Data subject rights requests on user feedback
Tenant administrators can view, export, and delete the feedback from users by signing in to the Microsoft 365 admin center, and then select Health > Product feedback.
See also
Share desktop flows
You can share a desktop flow with other users in your organization, giving those users specific permissions to access your flows.
Follow these steps to share a desktop flow:
Sign in to the Power Automate portal.
Go to My flows > Desktop flows.
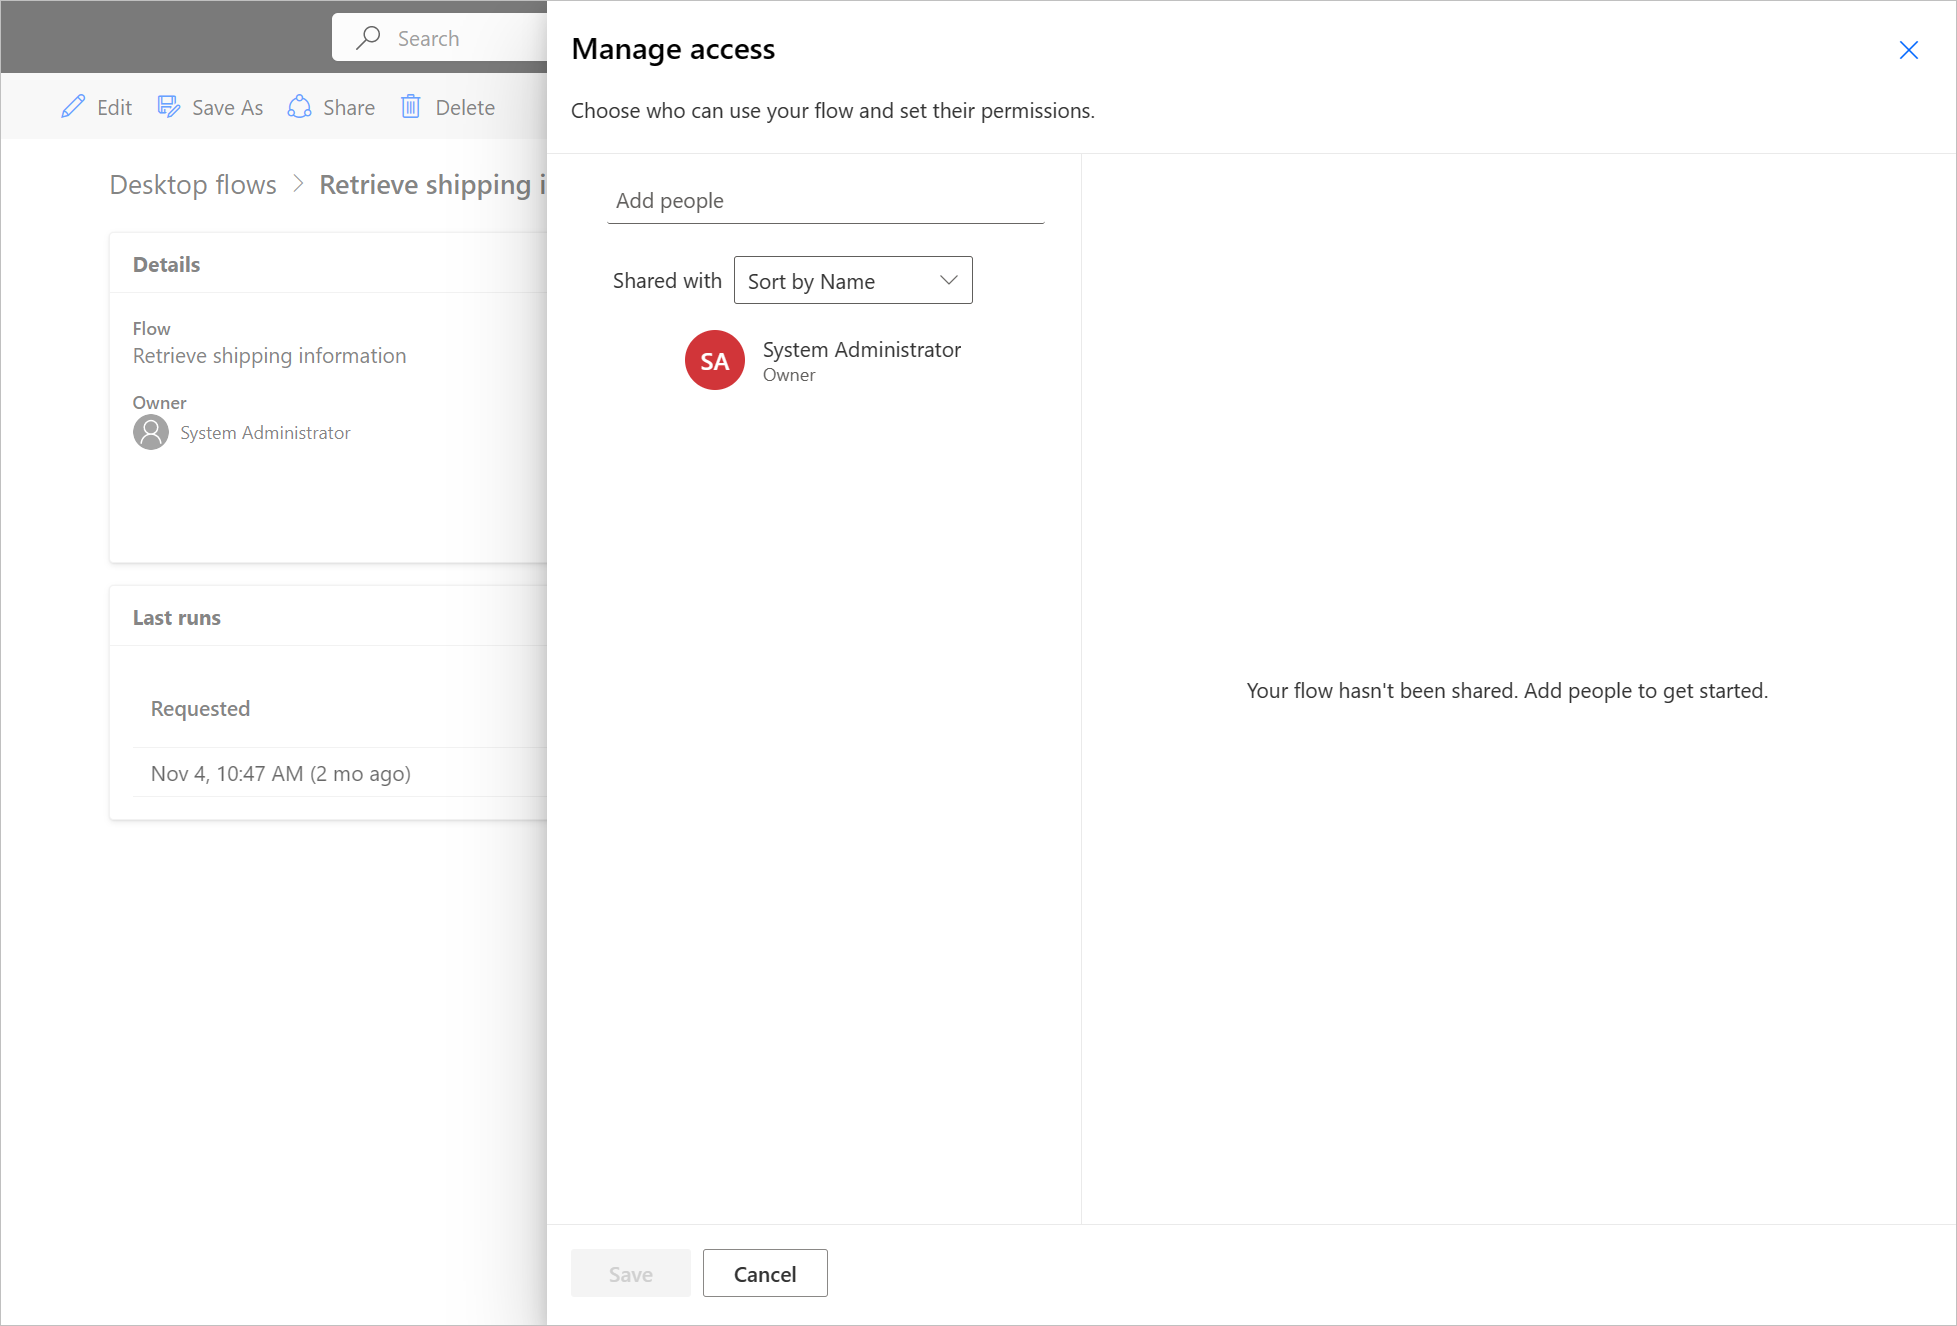
Select the desktop flow you want to share, and then Share.
Select Add people, and then enter the name of the person in your organization with whom you'd like to share the desktop flow.
Note
You can also enter a Microsoft Dataverse team name instead of the name of the person. If you want to share with a Microsoft Entra group, you first need to create a Microsoft Entra Group team in Dataverse based on the Microsoft Entra Group. More information: Microsoft Dataverse teams management
Select the user and then select either User or Co-owner as the permission for the person with whom you share the flow.
- Co-owner: This access level gives the co-owner full permissions to the desktop flow. They can edit, share, and delete the desktop flow.
- User: This access level gives permission to only use that desktop flow in a cloud flow and run it locally with Power Automate for desktop. No edit, rename, delete, or share permissions are possible with this access. Alternatively, those users can create a copy of the desktop flow using the Save as option, and work independently.
Select Save.
Note
Once a desktop flow has been shared, owners and co-owners can change the access of each user by selecting Manage access on the desktop flow details page. If someone shares a desktop flow with you, select the refresh button to see it in the Shared with me flows list. After you share a desktop flow with new co-owners, the co-owners see all the desktop runs that happen in the future. However those co-owners don't see the desktop flows already completed before sharing.
Reassign desktop flows
To reassign a desktop flow to another user:
Sign in to the Power Automate portal.
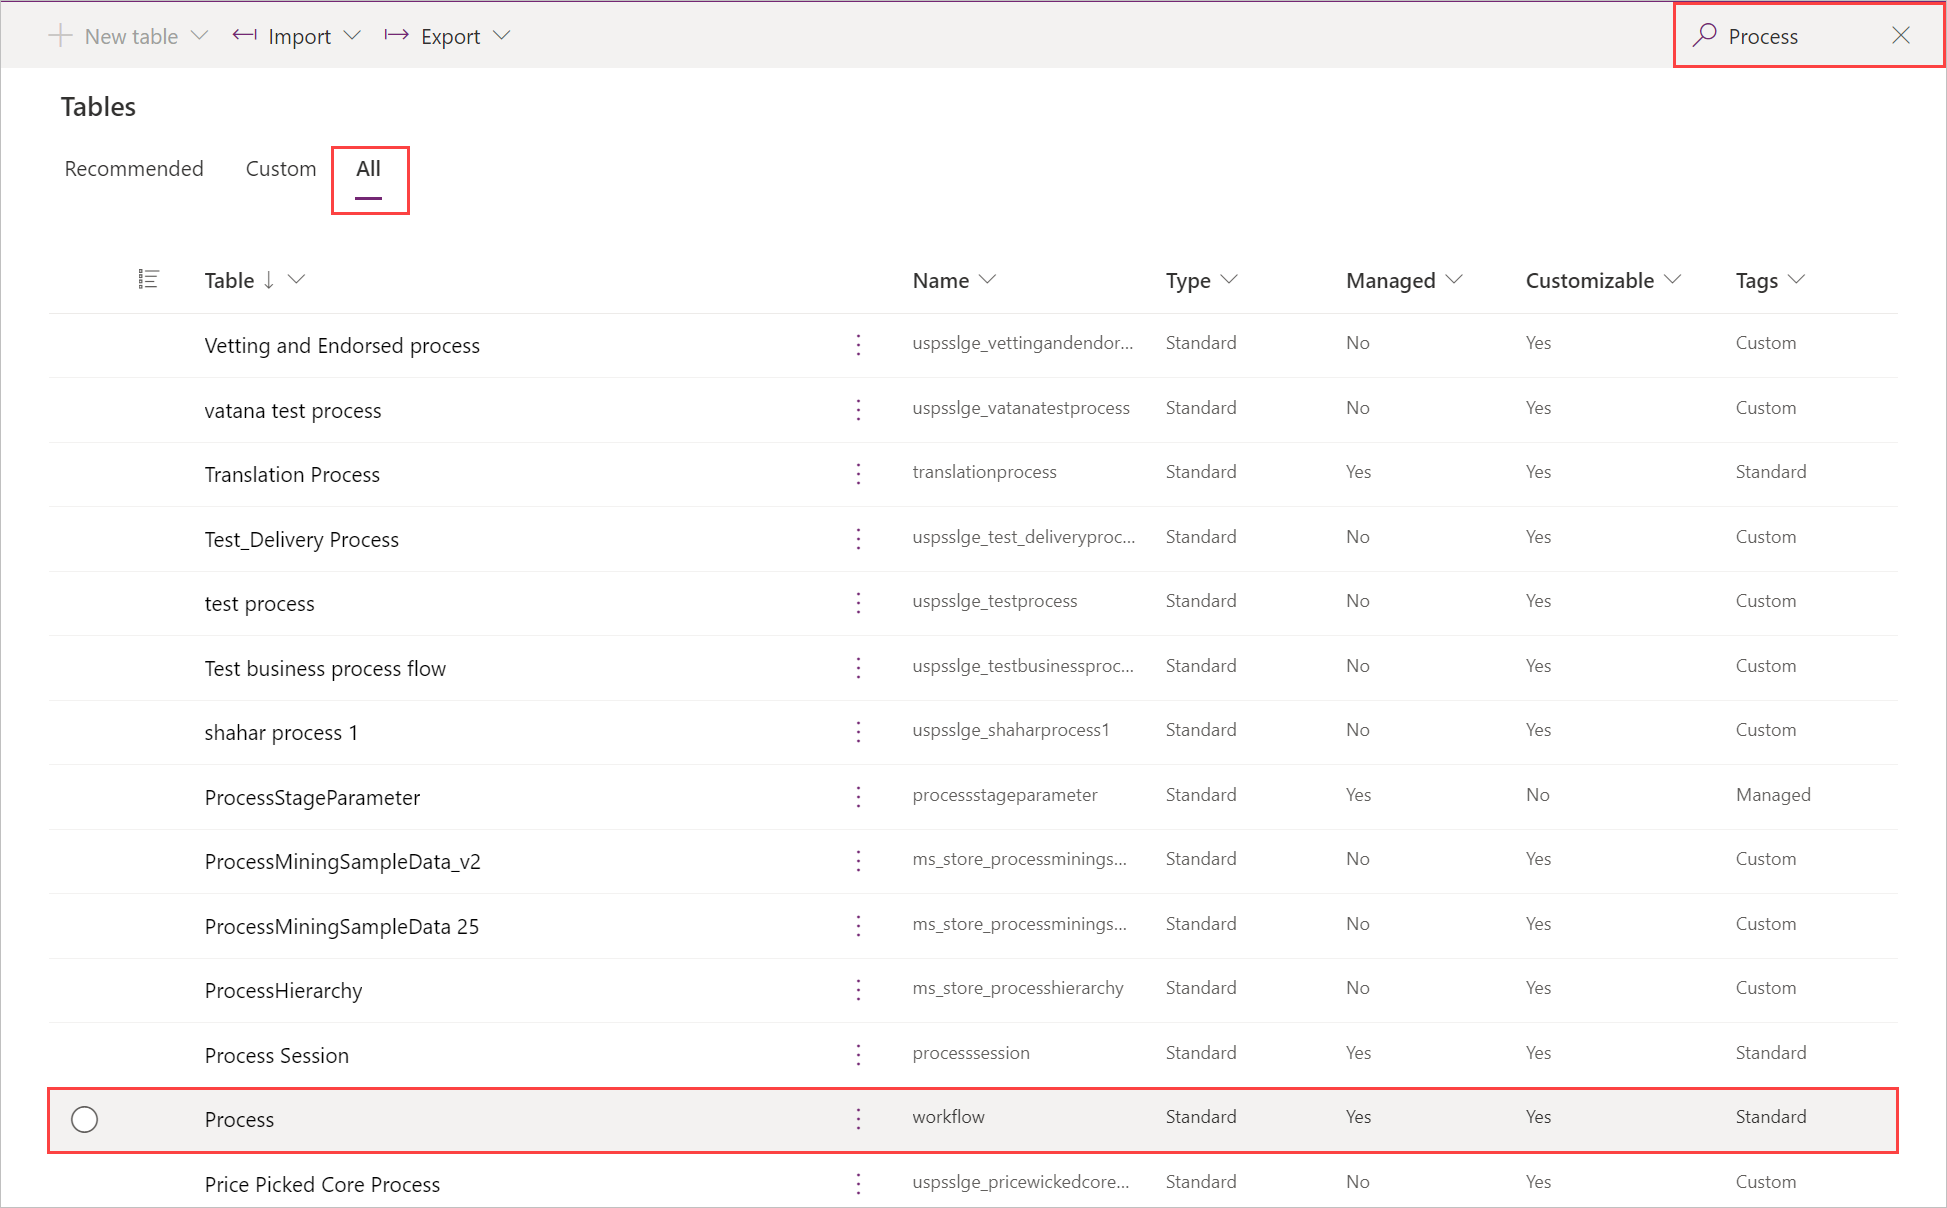
Go to Data > Tables.
Go to the All tab, and then search for the Process table.
Select Edit.
Select your desktop flow in the list, and then select Edit row using form.
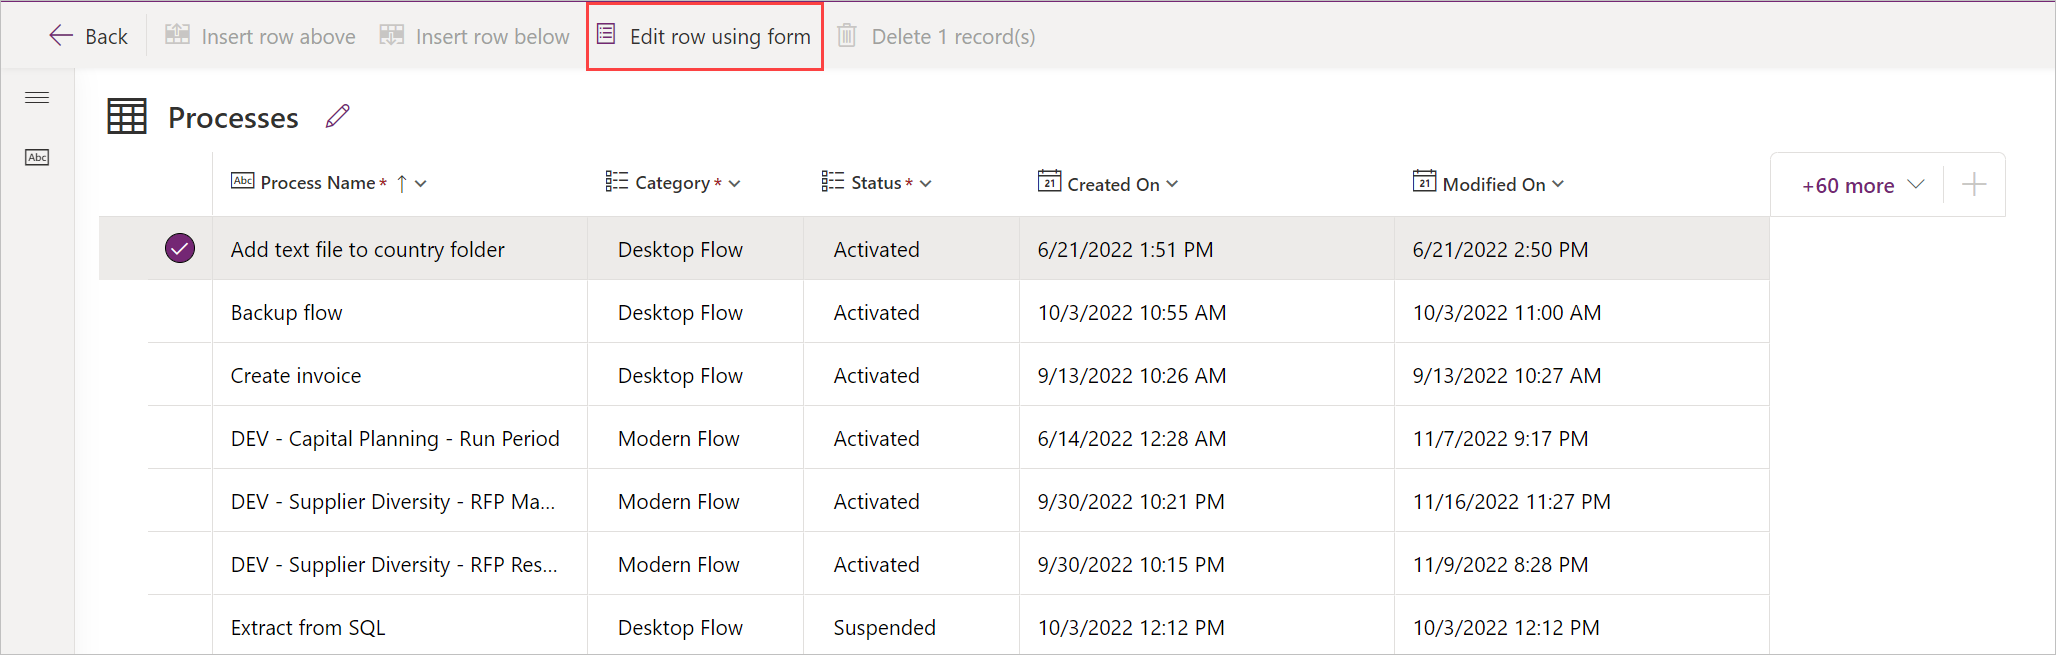
Select Assign, and then confirm the changes.
Copy desktop flows
To duplicate an existing desktop flow:
Sign in to the Power Automate portal.
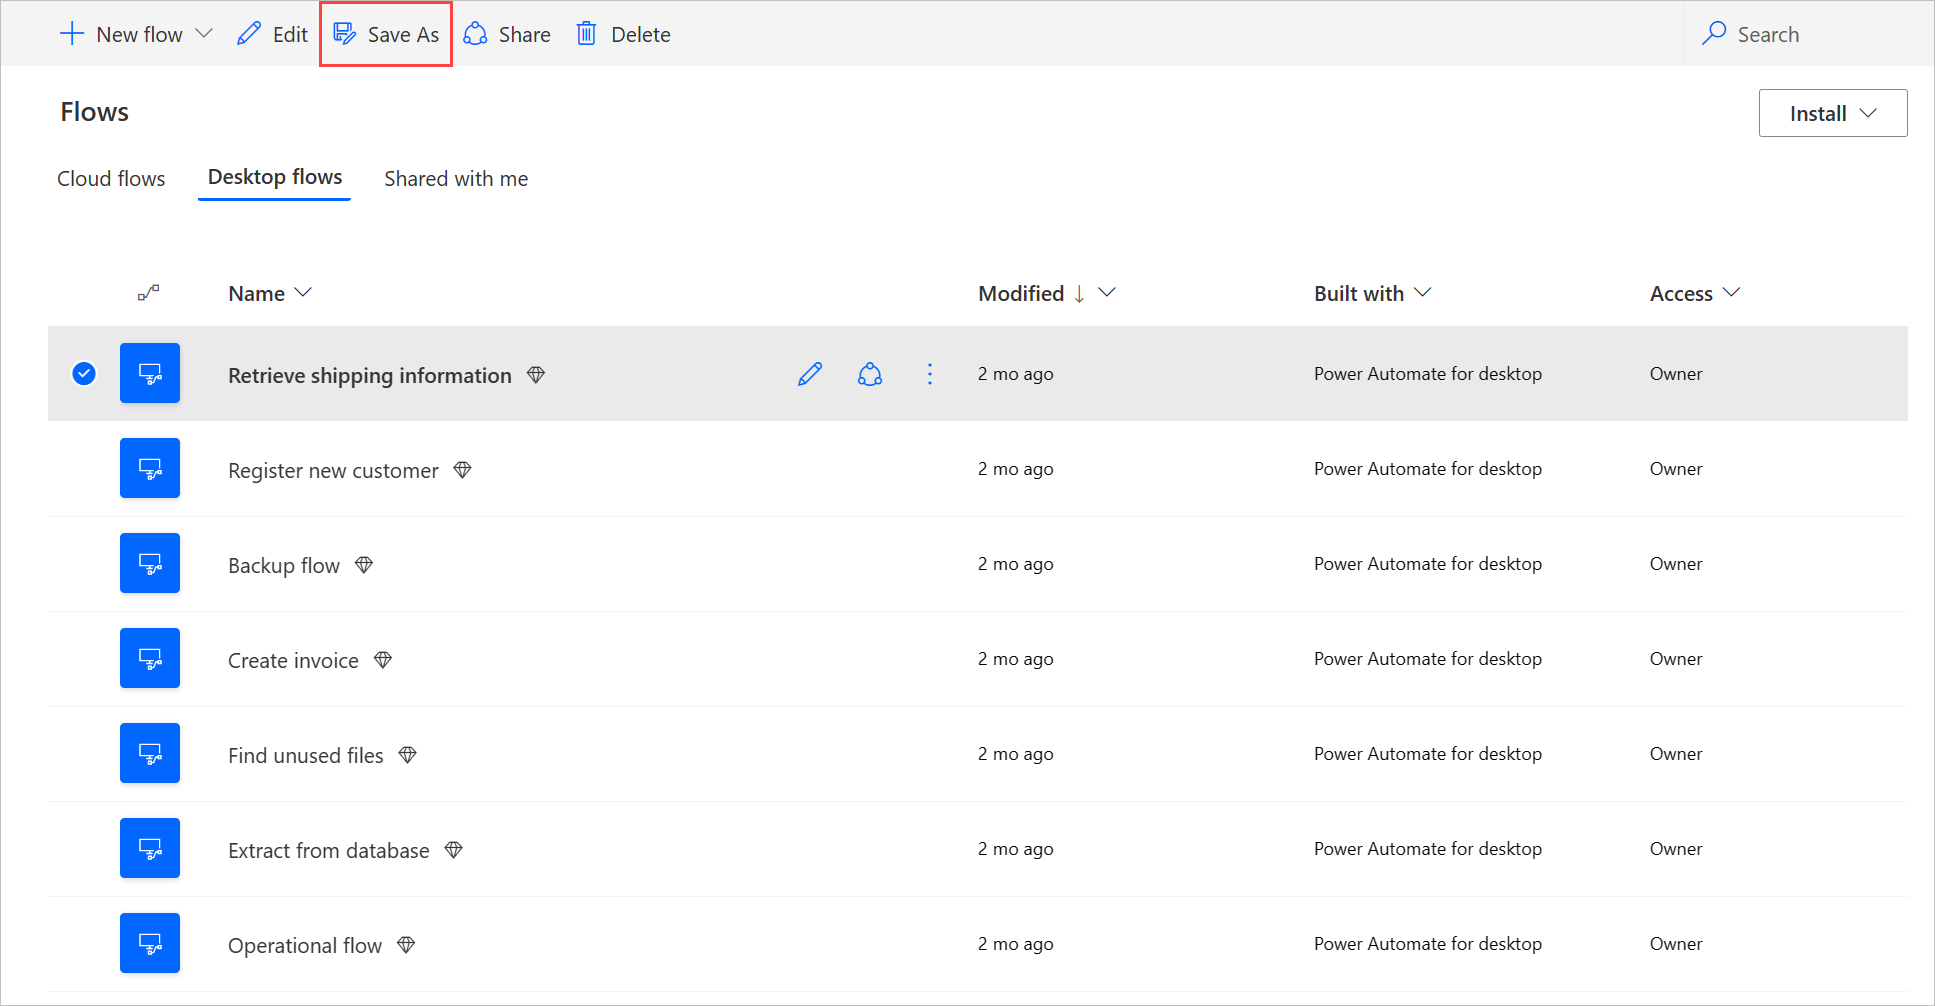
Go to My flows > Desktop flows.
Select the flow you want to copy.
Select Save As.
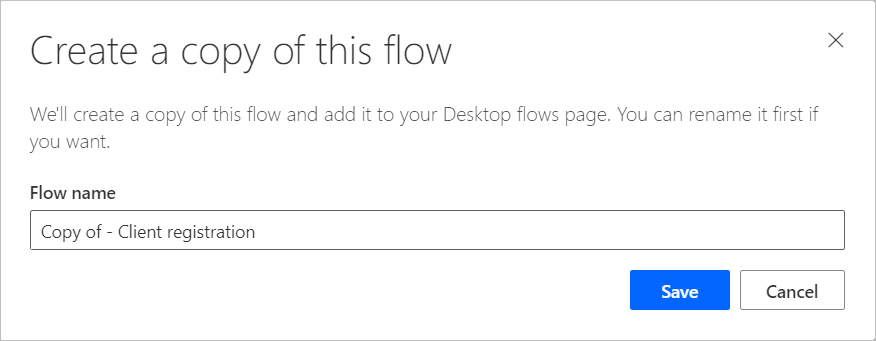
Enter a name for the new desktop flow.
Select Save.
Manage desktop flows access
For each of your desktop flows, you can manage its access by selecting Manage access in the desktop flows details page.
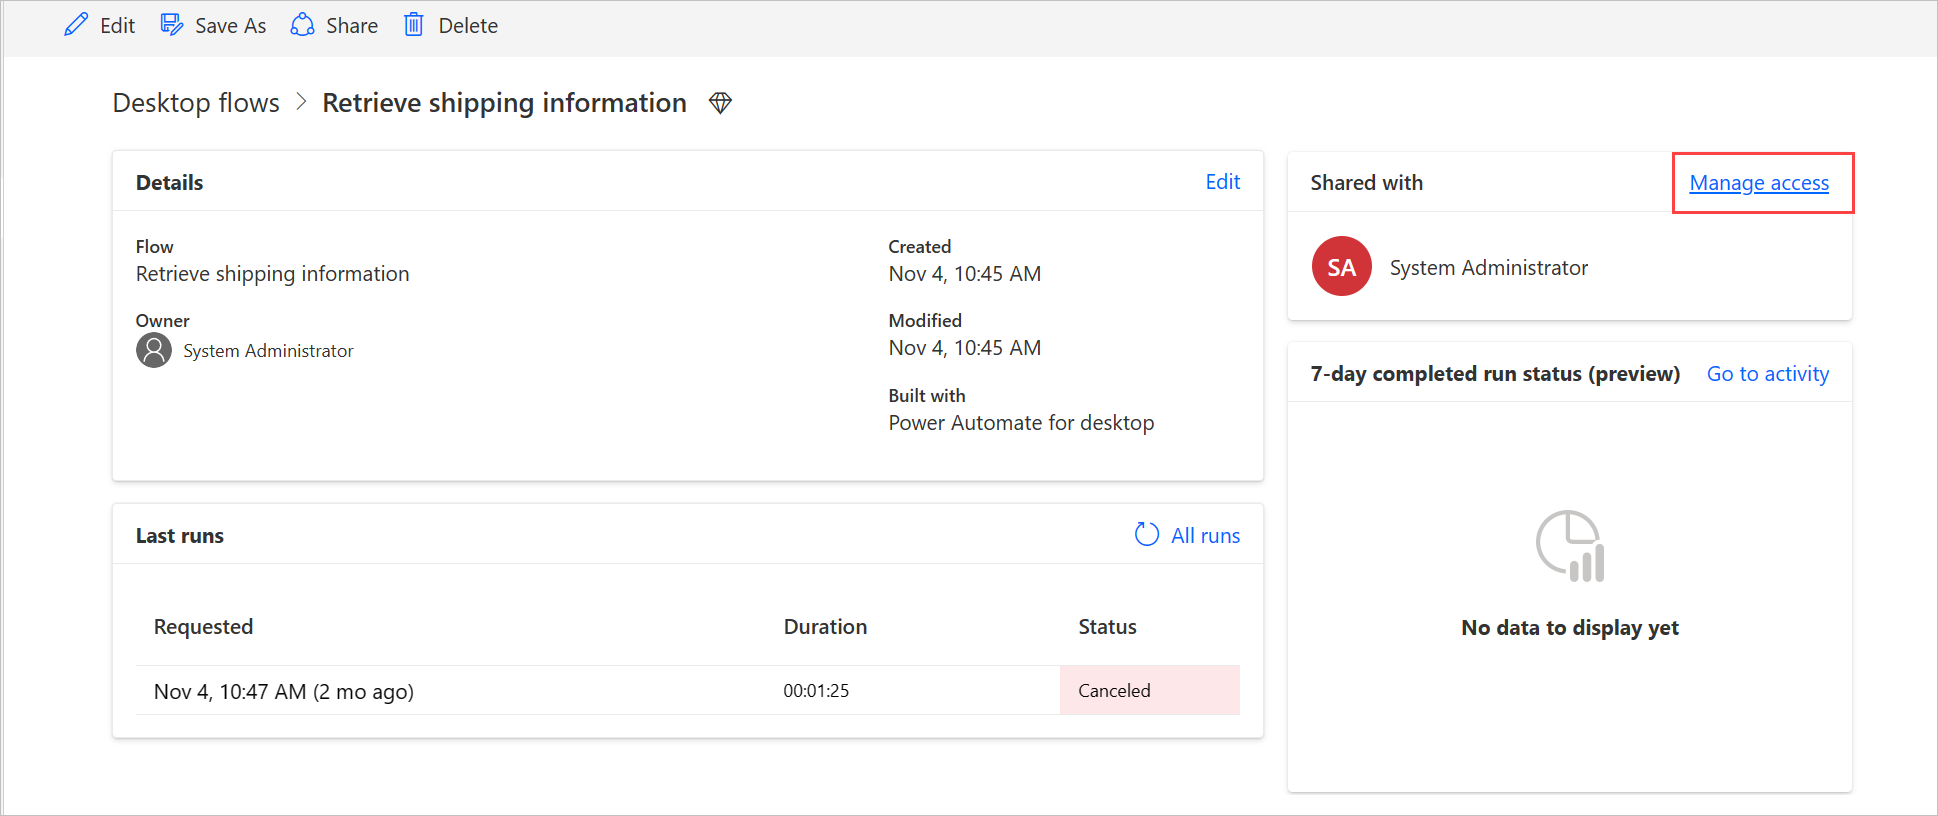
In this page, you can:
- Share the desktop flow with another user.
- Edit users' permissions.
- Remove users' permissions for this desktop flow.
Note
- Users of an environment with a Dataverse security role that grants them Read access to all records in the Process table (where different types of flows are stored), will be listed as Co-owners of any desktop flows created in that environment. They can't be removed as co-owners unless you change privileges and access level in the underlying security role. An example of a security role with environment wide Read privileges for desktop flows is the System Customizer role, which has Process table Read permission set to Organization, which essentially allows users with this role to view all desktop flows in the environment and be marked as co-owner. We therefore highly recommended reviewing each security role before assigning them to users to ensure that the privilege set and access level is appropriate for the intended use case.
- When a user isn't part of an environment anymore, you can continue to see it as a deactivated user. You're notified in the Manage access section of the desktop flow if this flow is shared with deactivated users. In this situation, remove access to them.
Learn more
Feedback
Coming soon: Throughout 2024 we will be phasing out GitHub Issues as the feedback mechanism for content and replacing it with a new feedback system. For more information see: https://aka.ms/ContentUserFeedback.
Submit and view feedback for