Note
Access to this page requires authorization. You can try signing in or changing directories.
Access to this page requires authorization. You can try changing directories.
A trigger is an event that starts a cloud flow. For example, you want to get a notification in Microsoft Teams when someone sends you an email. In this case, receiving an email is the trigger that starts this flow.
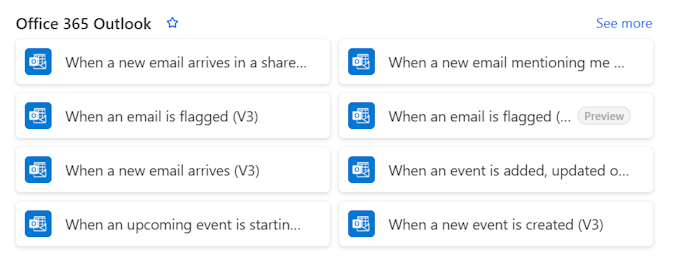
Power Automate offers connectors to services such as SharePoint and Outlook. Most connectors offer prebuilt triggers that you can use to start your flows. Here's a partial list of the triggers the Office 365 Outlook connector provides.
Learn more about triggers in this quick video:
Choose the right trigger
Triggers can be started automatically, instantly or manually, or on a schedule. The following table lists some common trigger scenarios and the type of flow you should create.
| Trigger scenario | Flow type |
|---|---|
| Create a cloud flow that performs tasks automatically after an event occurs. For example, a cloud flow can notify you by email when someone tweets with a keyword you specify. Learn more in Create a cloud flow from scratch. | Automated |
| Run a cloud flow with a tap of a button on your mobile device to remind your team to join the daily team meeting. You can trigger these flows manually from any device. Learn more in Create flows from your phone. | Instant/manual |
| Run a cloud flow on a schedule, for example, to send a weekly project report. Choose when (date and time) and frequency (monthly/daily/hourly, and more). Learn more in Run flows on a schedule. | Scheduled |
Examples of triggers
After you decide which type of flow you want to create, you can add a trigger to your flow.
A trigger that starts an automated flow
When you create an automated cloud flow, you start by choosing your flow's trigger. The following example shows the When a new email arrives (V3) trigger from the Office 365 Outlook connector.

When you select Create, the trigger is added to your flow.

A trigger that starts an instant/manual flow
An instant cloud flow is triggered manually, such as when you select a button in Power Automate or in a mobile app. The following example shows the Manually trigger a flow trigger.

When you select Create, the trigger is added to your flow.

A trigger that starts a scheduled flow
A scheduled cloud flow runs at a specific time or on a recurring schedule, such as every day at 10:00 AM or every Monday at 9:00 AM. Before your trigger is created, you need to define the schedule for when it will run, as in the following example.

When you select Create, the Recurrence trigger is added to your flow.
