Notă
Accesul la această pagină necesită autorizare. Puteți încerca să vă conectați sau să modificați directoarele.
Accesul la această pagină necesită autorizare. Puteți încerca să modificați directoarele.
Select the tab that matches the Azure browser you see. The Preview experience uses a flat resource list and contextual fields. The Legacy experience uses subscription and resource-group selectors.
The Azure module lets you browse Azure resources and navigate to the data you need without first locating its connection address. Start with the flat Resources list, then open a resource to explore its available connection options or contents.
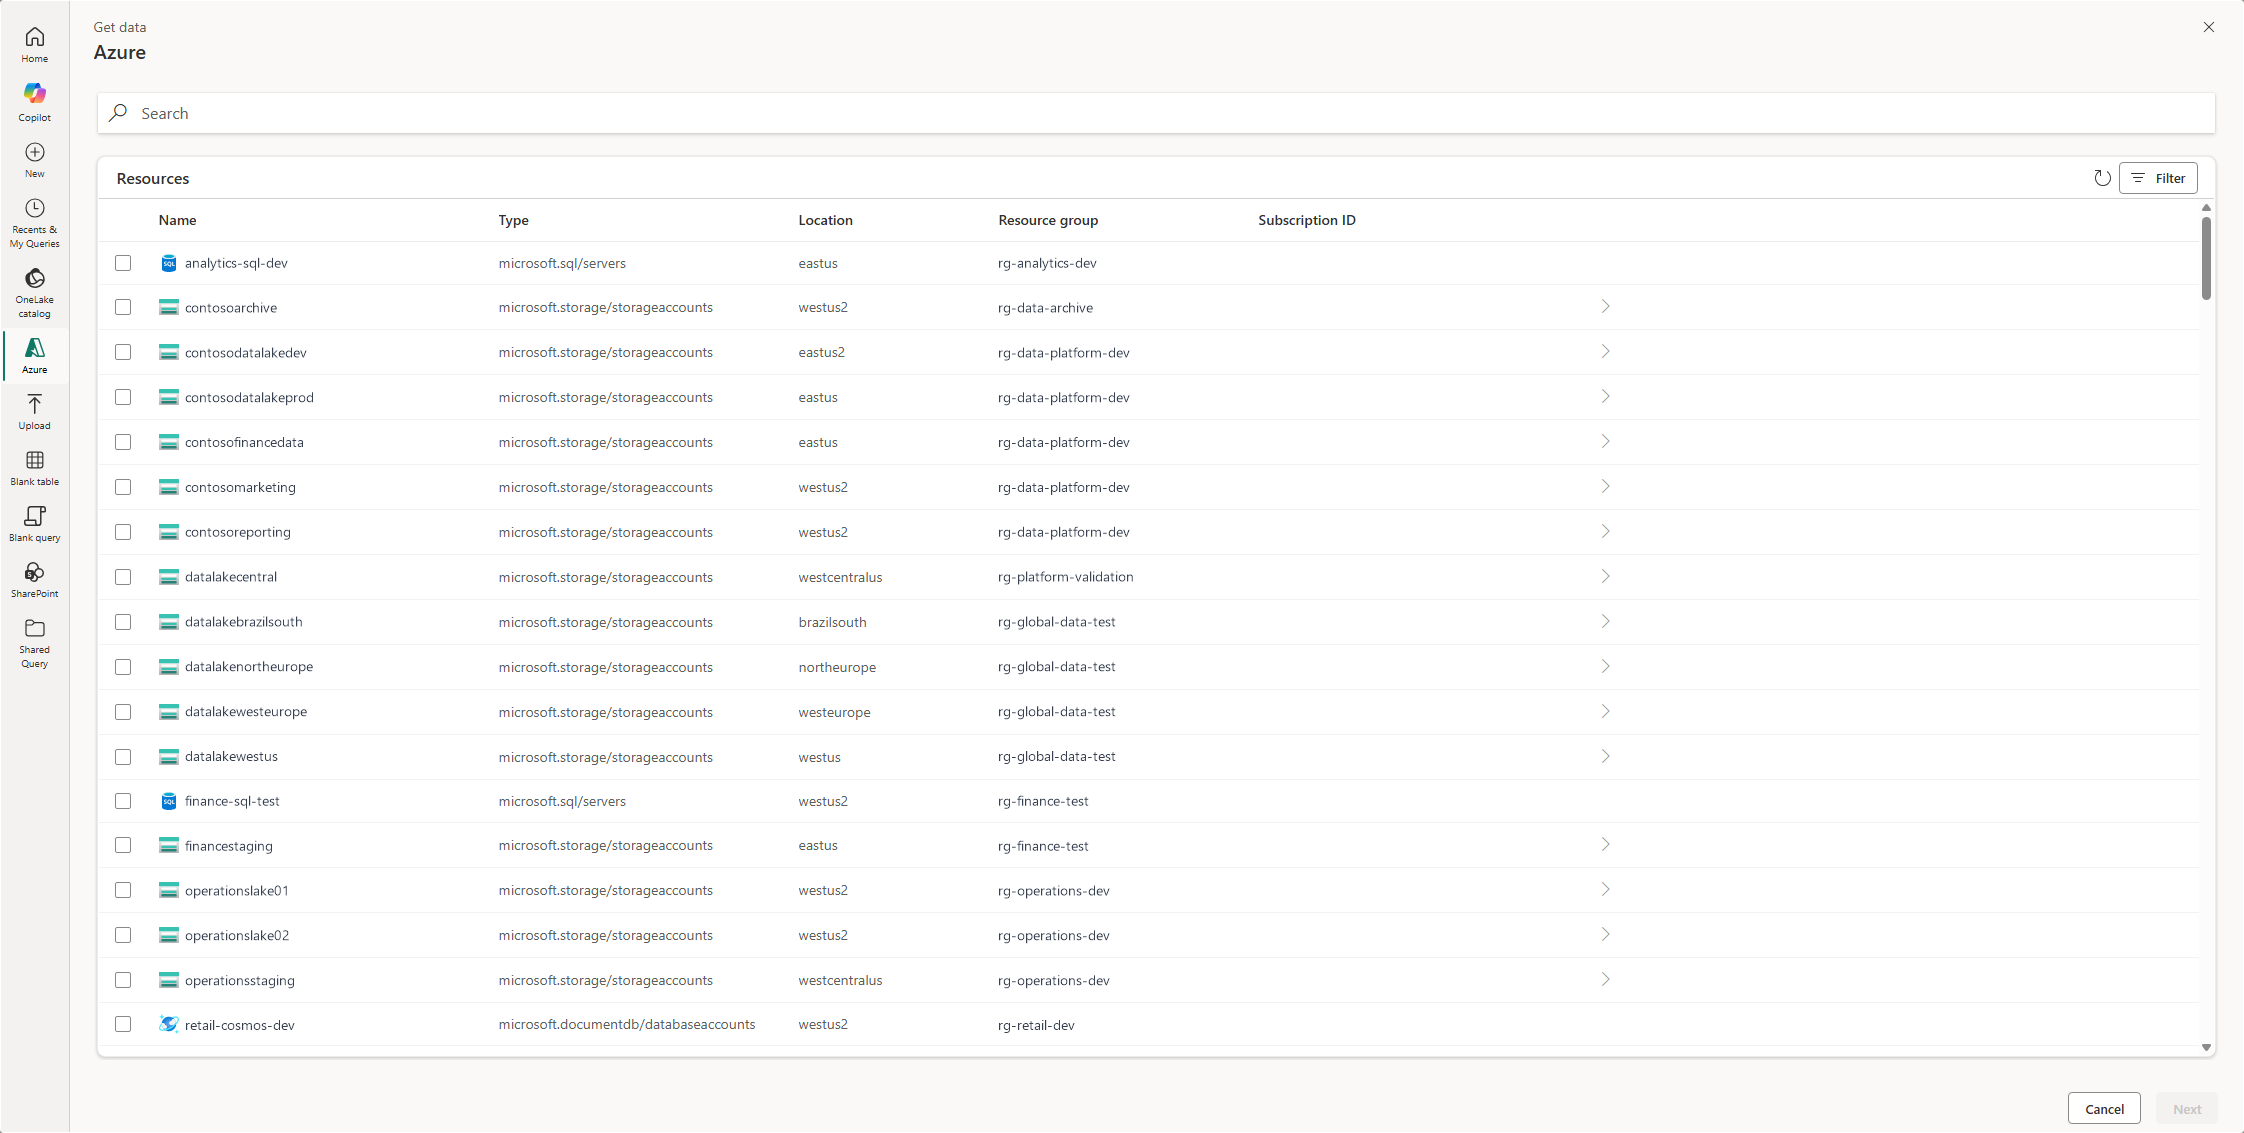
Resource groups appear alongside the other items in the flat list rather than requiring you to follow a subscription-to-resource-group hierarchy first. Use the contextual columns to identify the resource you want. At the Resources level, the illustrated columns are Name, Type, Location, Resource group, and Subscription ID.
Use Filter to narrow the list by the fields available at the current location, including Subscription ID at the resource level. Use Search to find items at the current level and the refresh icon to reload that location's items. Search doesn't recursively explore the contents of every resource.
Use a row's navigation arrow, or double-click a navigable item, to browse further. The breadcrumb updates as you navigate; select an earlier breadcrumb location to return to it. The columns and filter fields change with the current context. For example, opening a storage account shows connection options with Name and Type columns, rather than the resource-level subscription columns.
Selecting an item's checkbox chooses it for the next step; opening it with the navigation arrow or a double-click changes the browsing location. Finding a resource doesn't grant permission to read its data. Its type determines the remaining connection steps and required authentication or network access.
When to browse Azure
Use the browser when you know the resource name, subscription, or resource group but don't want to start by entering a server address or storage URL. For example, filter to your analytics resource group to find a storage account, or open a database server to choose a database.
You need access to the Azure resource and permission to read the selected data. The browser doesn't replace connector authentication or network requirements.
Find resources with search and filters
- Open Get data and select Azure.
- In Resources, identify the item by its name and contextual columns. Use Subscription ID and Resource group to distinguish similarly named resources.
- Open Filter and expand the field you want to filter. At this level, you can filter by Name, Type, Location, Resource group, or Subscription ID.
- Select the filter values you need. Use Clear all to remove applied filters.
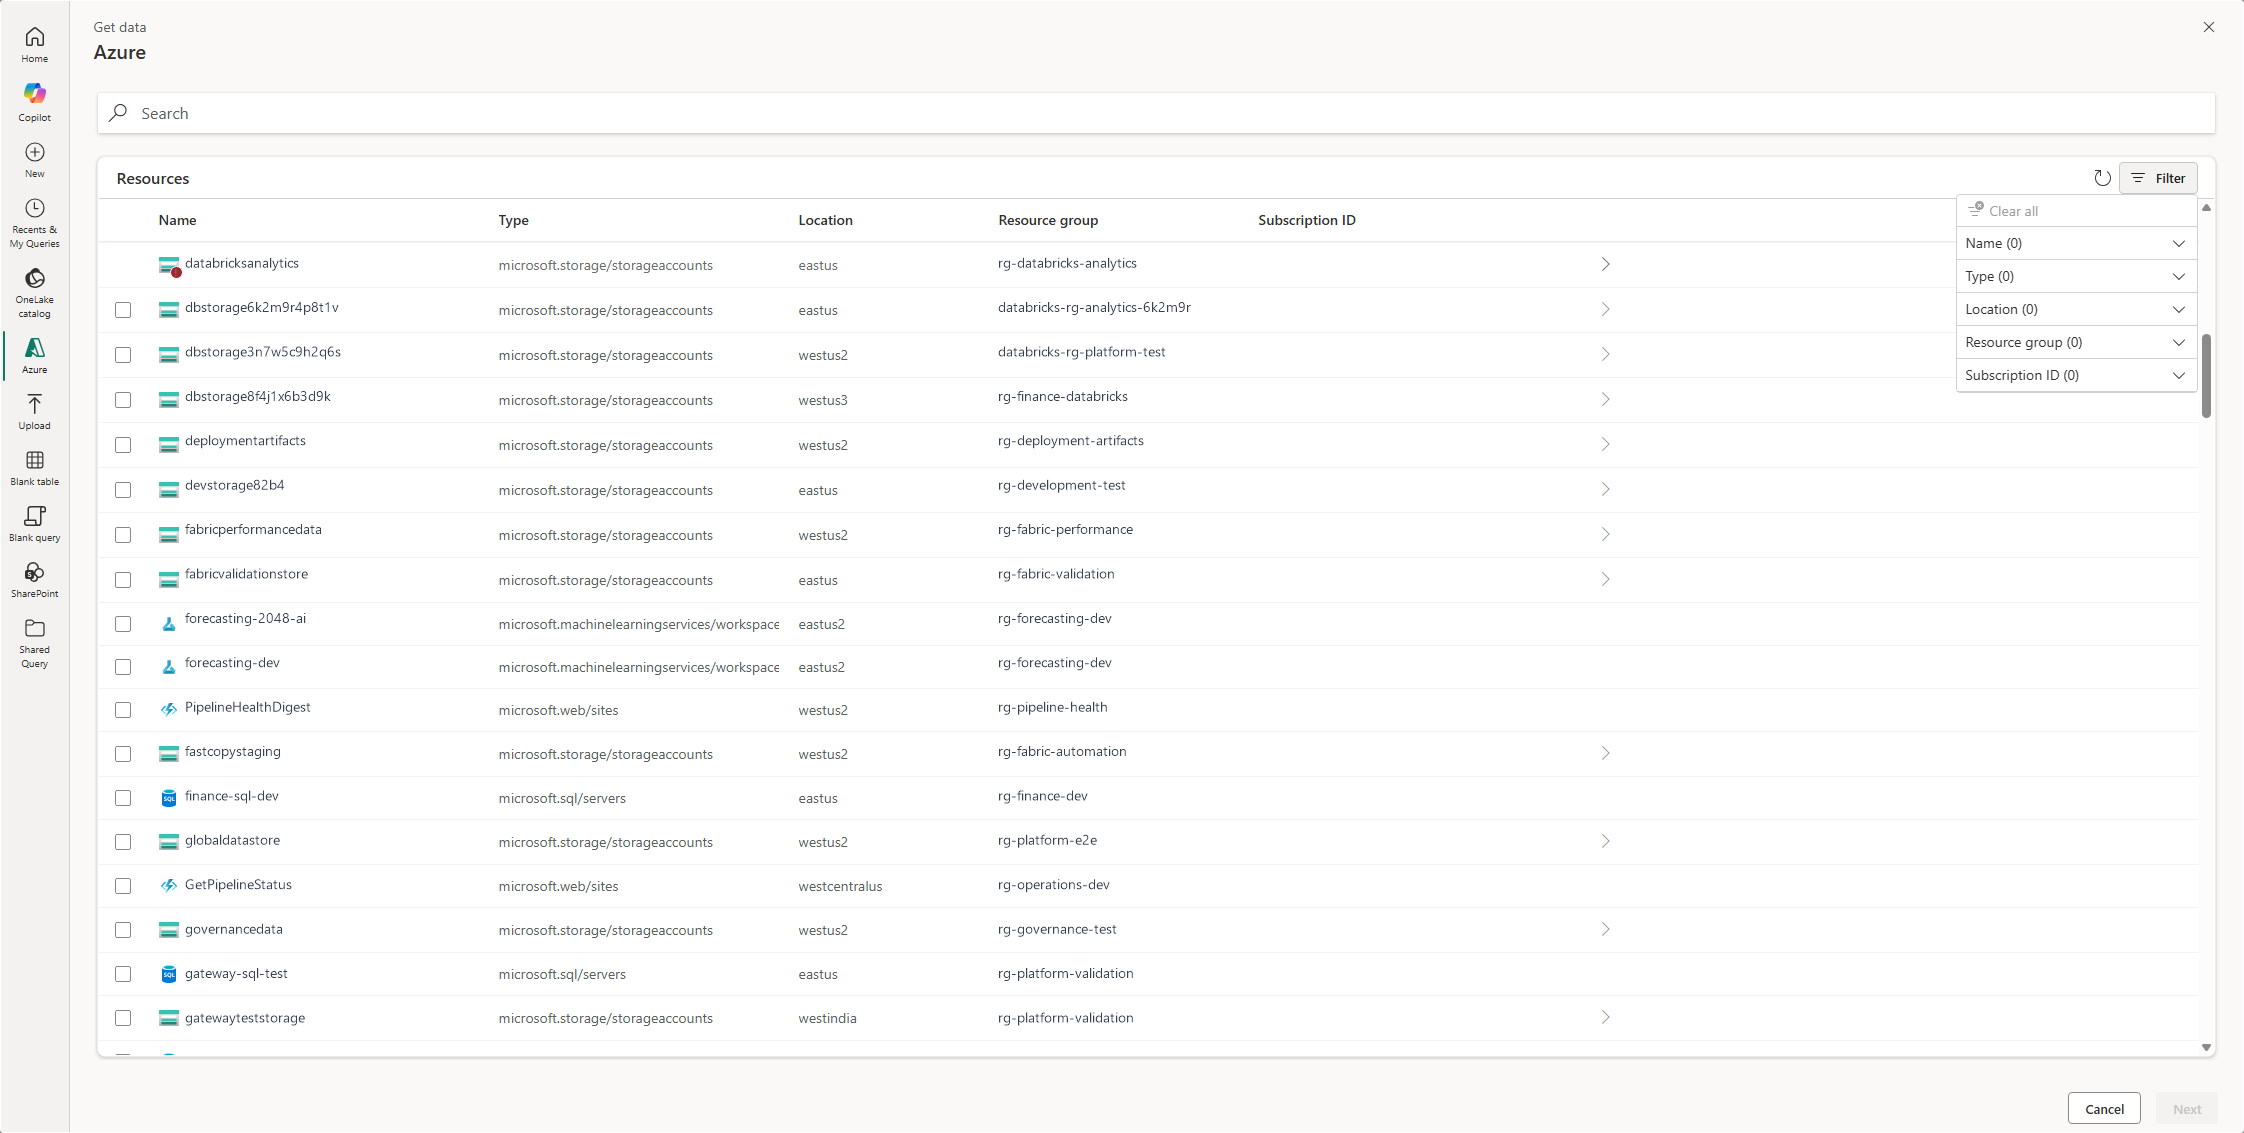
For example, expand Resource group, search its values for analytics, and select rg-analytics-test to narrow the list to that group.
Alternatively, use the main Search box to find items at the current location. For example, search for contoso in Resources to find matching resource names.
Search within a filter's value list helps you find a filter value. It isn't the same as the main search box. Neither search is a recursive search through the contents of every resource.
Navigate and select what to connect to
- Open the resource you want to explore. Use its navigation arrow or double-click a navigable item.
- Follow the available connection options or contents. The breadcrumb above the list updates to show the current location.
- Select the checkbox for the item you want to connect to, then select Next when available.
- Complete the connector's connection and authentication steps, then select and preview the data it exposes.
You can also select a resource from the initial list and select Next when available to continue its connection workflow. Browsing into the resource instead lets you inspect its contents or choose among its connection options first.
Choose a storage connection option
Opening a storage account can show different connector options. The following example shows AzureDataLakeStorage and AzureBlobs under Resources > datalakecentral, with AzureBlobs selected.
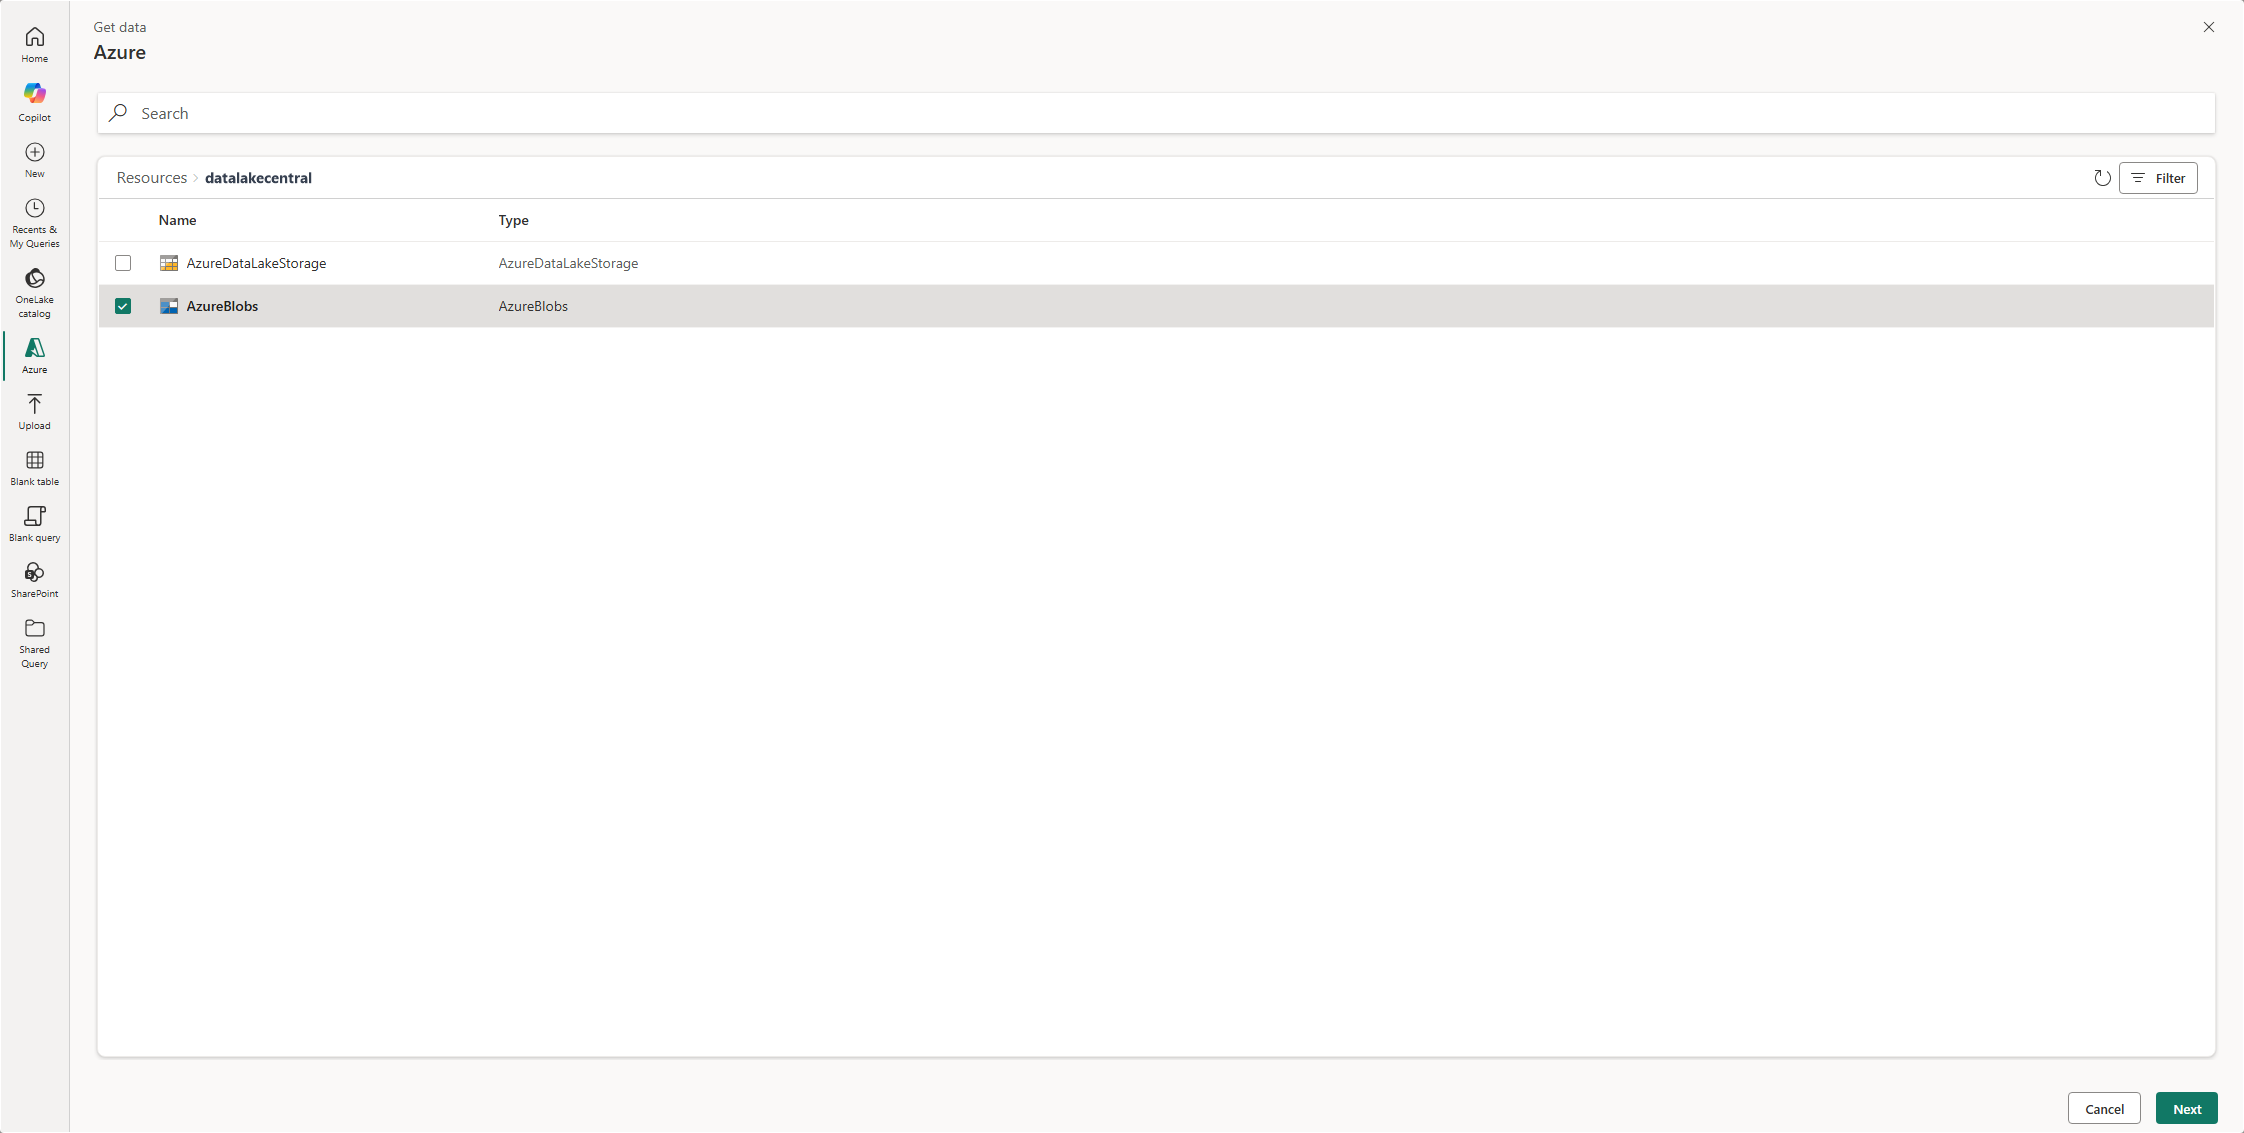
Not every option is available for every resource. For example, AzureDataLakeStorage can be disabled because the storage account doesn't have hierarchical namespace enabled. Inspect the disabled option's explanation and choose an available connector that's appropriate for the data you need.
Select a database
The contents depend on the resource type. For example, opening a PostgreSQL server displays databases rather than storage connector choices. Select the database you need, then select Next.
The contextual list now shows Name and Type. Resource-level fields such as Subscription ID aren't repeated at every browsing level.
Work with files and folders
When the selected connector offers file or folder browsing, use the same distinction between navigating and selecting: open a folder to change location, or select its checkbox to connect to that folder.
At a file or folder location where Next is available without an item selection, leave items unselected to connect to the current breadcrumb location. For a file-list query, review and filter the returned files before using Combine files in the editor.
The Azure browser doesn't provide Exclude subfolders. That checkbox belongs to the SharePoint browser. Don't assume Azure folder queries exclude subfolders; use the selected connector's documented behavior and filter the resulting file list to the scope you need.
Preview the selected file
After you select a file and continue, the next experience depends on the selected item's type. For example, a JSON file can open a table preview, while an Excel workbook can open a Navigator where you select the sheets, tables, or other workbook items you want to connect to.
Review the preview or select the required workbook items before continuing. Selecting a workbook file doesn't necessarily mean connecting to every item in that workbook.
Refresh or return to another location
Select the refresh icon at the upper right of the list to reload the current location. Use the breadcrumb to return to an earlier level, then search or filter the fields offered there.
If an expected item isn't shown, check the search text, active filters, and your access. If an option is disabled, inspect its explanation rather than treating it as a selectable connection.
Finish connecting in Power Query
For the source settings and supported authentication methods, use the connector documentation. A database connector and a storage connector don't have interchangeable connection fields. After connecting, review the selected data in the Power Query editor before configuring its destination.
If you know the source address and want to configure its connector directly, use New data source. If you're looking for a Fabric data item rather than an Azure resource, use OneLake catalog.
