حدث
١١ شوال، ٣ م - ١٢ شوال، ١٢ م
قم ببرمجة المستقبل مع الذكاء الاصطناعي والتواصل مع نظراء Java والخبراء في JDConf 2025.
التسجيل الآنلم يعد هذا المتصفح مدعومًا.
بادر بالترقية إلى Microsoft Edge للاستفادة من أحدث الميزات والتحديثات الأمنية والدعم الفني.
In this article, you learn how to integrate Spacio with Microsoft Entra ID. Integrating Spacio with Microsoft Entra ID provides you with the following benefits:
If you want to know more details about SaaS app integration with Microsoft Entra ID, see What is application access and single sign-on with Microsoft Entra ID. If you don't have an Azure subscription, create a free account before you begin.
The scenario outlined in this article assumes that you already have the following prerequisites:
In this article, you configure and test Microsoft Entra single sign-on in a test environment.
To configure the integration of Spacio into Microsoft Entra ID, you need to add Spacio from the gallery to your list of managed SaaS apps.
To add Spacio from the gallery, perform the following steps:
Sign in to the Microsoft Entra admin center as at least a Cloud Application Administrator.
Browse to Identity > Applications > Enterprise applications > New application.
In the search box, type Spacio, select Spacio from result panel then select Add button to add the application.
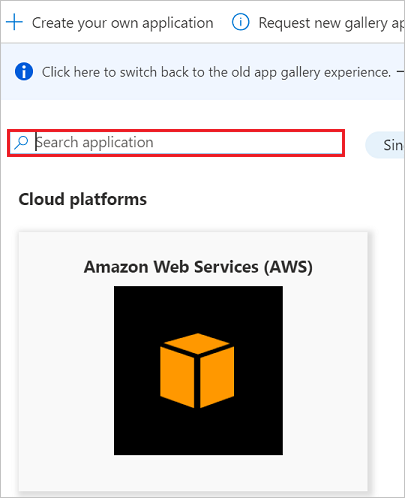
In this section, you configure and test Microsoft Entra single sign-on with Spacio based on a test user called Britta Simon. For single sign-on to work, a link relationship between a Microsoft Entra user and the related user in Spacio needs to be established.
To configure and test Microsoft Entra single sign-on with Spacio, you need to complete the following building blocks:
In this section, you enable Microsoft Entra single sign-on.
To configure Microsoft Entra single sign-on with Spacio, perform the following steps:
Sign in to the Microsoft Entra admin center as at least a Cloud Application Administrator.
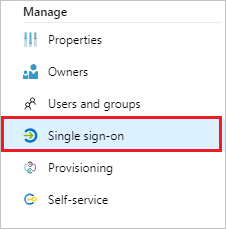
Browse to Identity > Applications > Enterprise applications > Spacio application integration page, select Single sign-on.
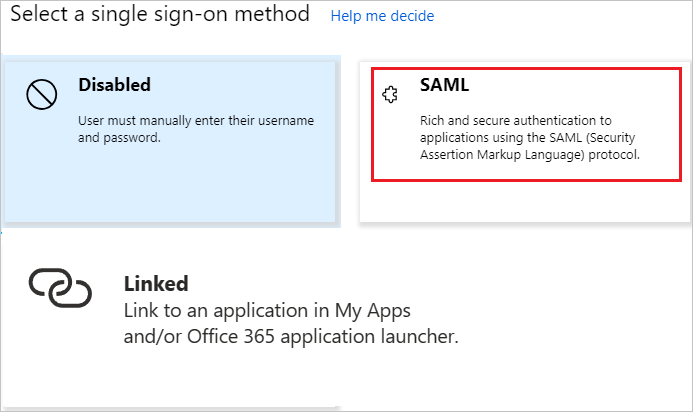
On the Select a Single sign-on method dialog, select SAML/WS-Fed mode to enable single sign-on.
On the Set up Single Sign-On with SAML page, select Edit icon to open Basic SAML Configuration dialog.
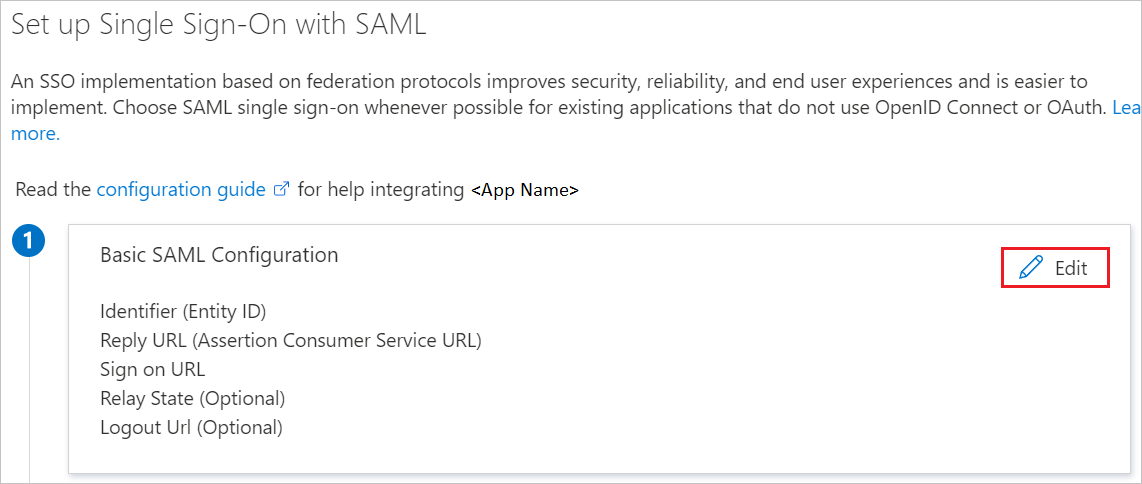
On the Basic SAML Configuration section, perform the following steps:
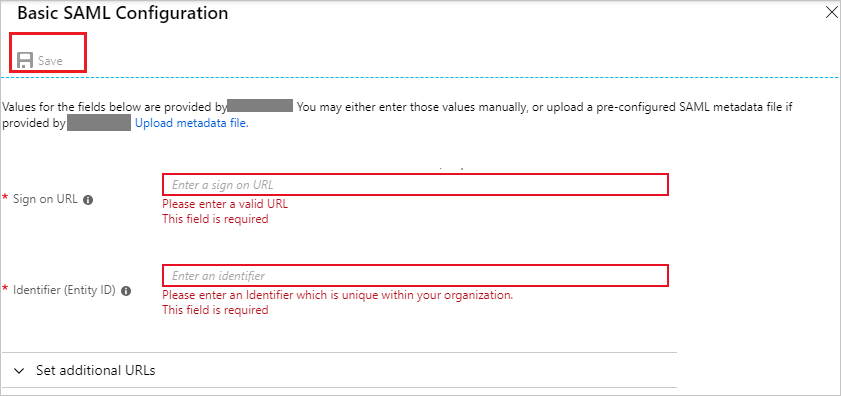
a. In the Sign on URL text box, type a URL using the following pattern:
https://sso.spac.io/<brokerageID>
b. In the Identifier (Entity ID) text box, type a URL using the following pattern:
https://sso.spac.io/<brokerageID>
ملاحظة
These values aren't real. Update these values with the actual Sign on URL and Identifier. Contact Spacio Client support team to get these values. You can also refer to the patterns shown in the Basic SAML Configuration section.
On the Set up Single Sign-On with SAML page, In the SAML Signing Certificate section, select copy button to copy App Federation Metadata Url and save it on your computer.

To configure single sign-on on Spacio side, you need to send the App Federation Metadata Url to Spacio support team. They set this setting to have the SAML SSO connection set properly on both sides.
Follow the guidelines in the create and assign a user account quickstart to create a test user account called B.Simon.
In this section, you create a user called Britta Simon in Spacio. Work with Spacio support team to add the users in the Spacio platform. Users must be created and activated before you use single sign-on.
In this section, you test your Microsoft Entra single sign-on configuration using the Access Panel.
When you select the Spacio tile in the Access Panel, you should be automatically signed in to the Spacio for which you set up SSO. For more information about the Access Panel, see Introduction to the Access Panel.
حدث
١١ شوال، ٣ م - ١٢ شوال، ١٢ م
قم ببرمجة المستقبل مع الذكاء الاصطناعي والتواصل مع نظراء Java والخبراء في JDConf 2025.
التسجيل الآن