// Assumes "this" is a XAML Window. In projects that don't use
// WinUI 3 1.3 or later, use interop APIs to get the AppWindow.
AppWindow m_AppWindow = this.AppWindow;

private bool SetTitleBarColors()
{
    // Check to see if customization is supported.
    // The method returns true on Windows 10 since Windows App SDK 1.2,
    // and on all versions of Windows App SDK on Windows 11.
    if (AppWindowTitleBar.IsCustomizationSupported())
    {
        AppWindowTitleBar m_TitleBar = m_AppWindow.TitleBar;

        // Set active window colors.
        // Note: No effect when app is running on Windows 10
        // because color customization is not supported.
        m_TitleBar.ForegroundColor = Colors.White;
        m_TitleBar.BackgroundColor = Colors.Green;
        m_TitleBar.ButtonForegroundColor = Colors.White;
        m_TitleBar.ButtonBackgroundColor = Colors.SeaGreen;
        m_TitleBar.ButtonHoverForegroundColor = Colors.Gainsboro;
        m_TitleBar.ButtonHoverBackgroundColor = Colors.DarkSeaGreen;
        m_TitleBar.ButtonPressedForegroundColor = Colors.Gray;
        m_TitleBar.ButtonPressedBackgroundColor = Colors.LightGreen;

        // Set inactive window colors.
        // Note: No effect when app is running on Windows 10
        // because color customization is not supported.
        m_TitleBar.InactiveForegroundColor = Colors.Gainsboro;
        m_TitleBar.InactiveBackgroundColor = Colors.SeaGreen;
        m_TitleBar.ButtonInactiveForegroundColor = Colors.Gainsboro;
        m_TitleBar.ButtonInactiveBackgroundColor = Colors.SeaGreen;
        return true;
    }
    return false;
}
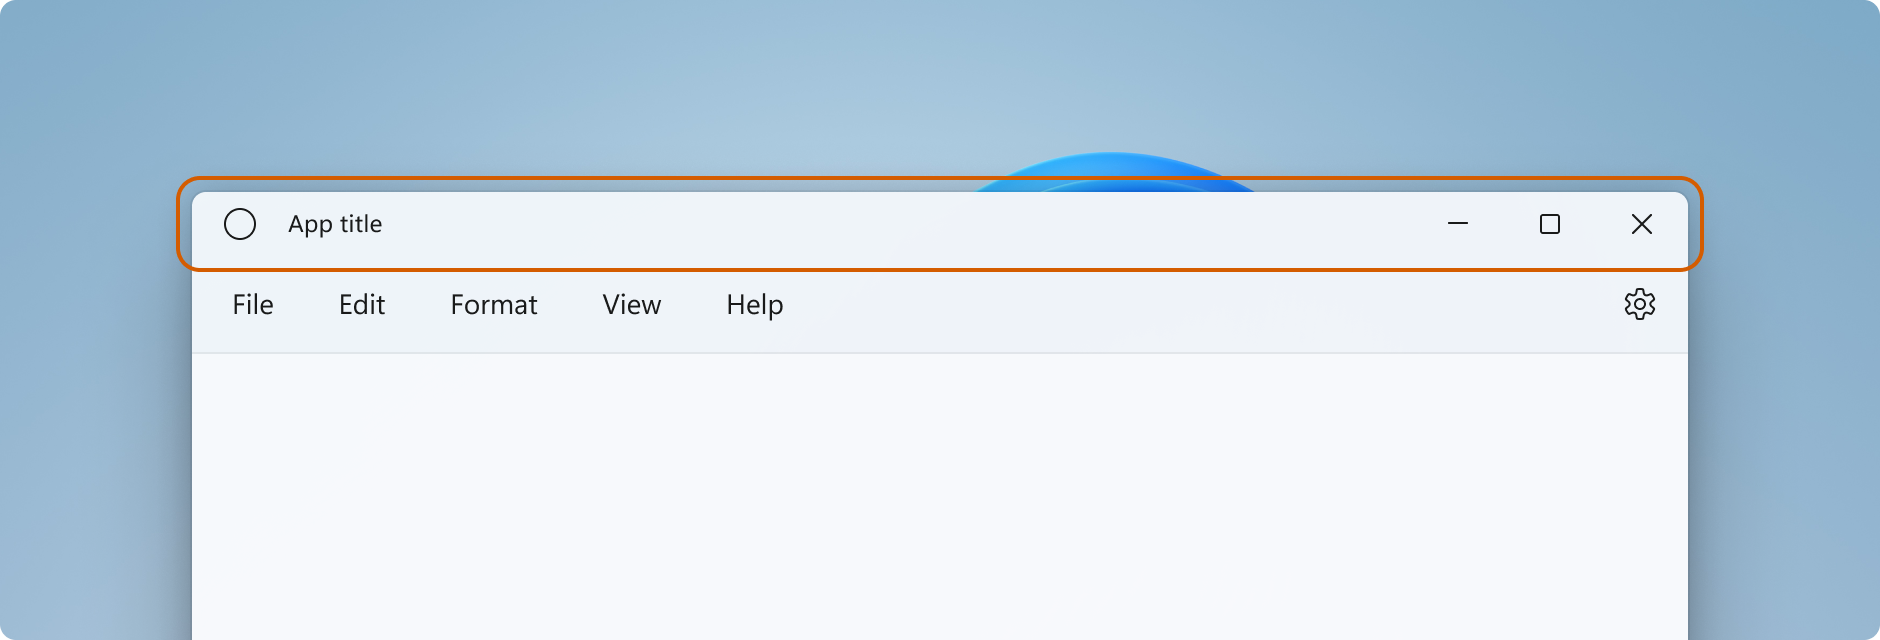
// A taller title bar is only supported when drawing a fully custom title bar.
if (ExtendsContentIntoTitleBar == true)
{
m_AppWindow.TitleBar.PreferredHeightOption = TitleBarHeightOption.Tall;
}
public MainWindow()
{
this.InitializeComponent();
m_AppWindow = this.AppWindow;
m_AppWindow.Changed += AppWindow_Changed;
}
private void AppWindow_Changed(AppWindow sender, AppWindowChangedEventArgs args)
{
if (args.DidPresenterChange)
{
switch (sender.Presenter.Kind)
{
case AppWindowPresenterKind.CompactOverlay:
// Compact overlay - hide custom title bar
// and use the default system title bar instead.
AppTitleBar.Visibility = Visibility.Collapsed;
sender.TitleBar.ResetToDefault();
break;
case AppWindowPresenterKind.FullScreen:
// Full screen - hide the custom title bar
// and the default system title bar.
AppTitleBar.Visibility = Visibility.Collapsed;
sender.TitleBar.ExtendsContentIntoTitleBar = true;
break;
case AppWindowPresenterKind.Overlapped:
// Normal - hide the system title bar
// and use the custom title bar instead.
AppTitleBar.Visibility = Visibility.Visible;
sender.TitleBar.ExtendsContentIntoTitleBar = true;
break;
default:
// Use the default system title bar.
sender.TitleBar.ResetToDefault();
break;
}
}
}
using Microsoft.UI.Input;
using Microsoft.UI.Windowing;
using Microsoft.UI.Xaml;
using Microsoft.UI.Xaml.Controls;
using Microsoft.UI.Xaml.Media;
using System;
using Windows.ApplicationModel;
using Rect = Windows.Foundation.Rect;
public sealed partial class MainWindow : Window
{
private AppWindow m_AppWindow;
public MainWindow()
{
this.InitializeComponent();
// Assumes "this" is a XAML Window. In projects that don't use
// WinUI 3 1.3 or later, use interop APIs to get the AppWindow.
m_AppWindow = this.AppWindow;
m_AppWindow.Changed += AppWindow_Changed;
Activated += MainWindow_Activated;
AppTitleBar.SizeChanged += AppTitleBar_SizeChanged;
AppTitleBar.Loaded += AppTitleBar_Loaded;
ExtendsContentIntoTitleBar = true;
if (ExtendsContentIntoTitleBar == true)
{
m_AppWindow.TitleBar.PreferredHeightOption = TitleBarHeightOption.Tall;
}
TitleBarTextBlock.Text = AppInfo.Current.DisplayInfo.DisplayName;
}
private void AppTitleBar_Loaded(object sender, RoutedEventArgs e)
{
if (ExtendsContentIntoTitleBar == true)
{
// Set the initial interactive regions.
SetRegionsForCustomTitleBar();
}
}
private void AppTitleBar_SizeChanged(object sender, SizeChangedEventArgs e)
{
if (ExtendsContentIntoTitleBar == true)
{
// Update interactive regions if the size of the window changes.
SetRegionsForCustomTitleBar();
}
}
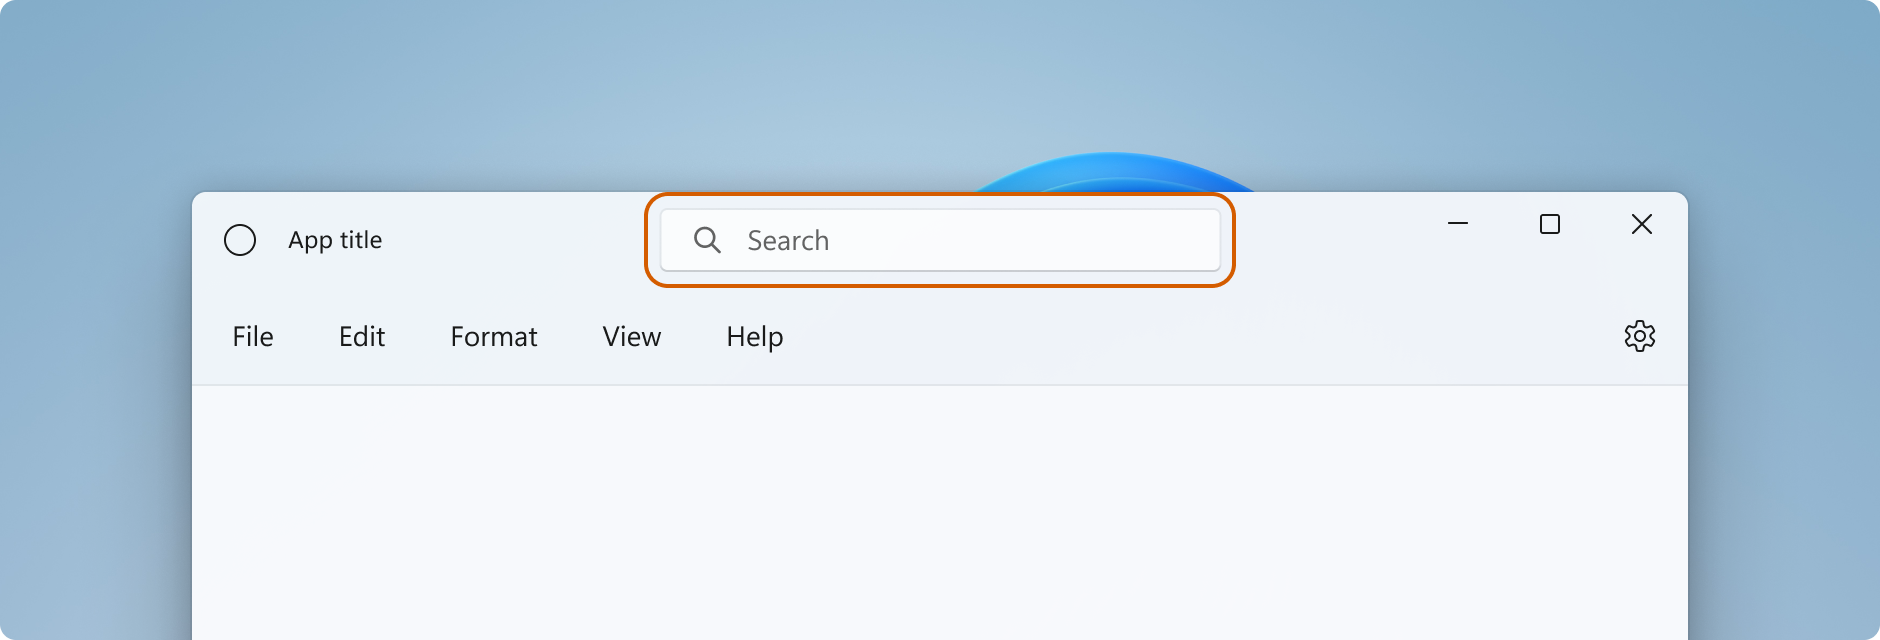
private void SetRegionsForCustomTitleBar()
{
// Specify the interactive regions of the title bar.
double scaleAdjustment = AppTitleBar.XamlRoot.RasterizationScale;
RightPaddingColumn.Width =
    new GridLength(m_AppWindow.TitleBar.RightInset / scaleAdjustment);
LeftPaddingColumn.Width =
    new GridLength(m_AppWindow.TitleBar.LeftInset / scaleAdjustment);
// Get the rectangle around the AutoSuggestBox control.
GeneralTransform transform = TitleBarSearchBox.TransformToVisual(null);
Rect bounds = transform.TransformBounds(new Rect(0, 0,
TitleBarSearchBox.ActualWidth,
TitleBarSearchBox.ActualHeight));
Windows.Graphics.RectInt32 SearchBoxRect = GetRect(bounds, scaleAdjustment);
// Get the rectangle around the PersonPicture control.
transform = PersonPic.TransformToVisual(null);
bounds = transform.TransformBounds(new Rect(0, 0,
PersonPic.ActualWidth,
PersonPic.ActualHeight));
Windows.Graphics.RectInt32 PersonPicRect = GetRect(bounds, scaleAdjustment);
var rectArray = new Windows.Graphics.RectInt32[] { SearchBoxRect, PersonPicRect };
InputNonClientPointerSource nonClientInputSrc =
InputNonClientPointerSource.GetForWindowId(this.AppWindow.Id);
nonClientInputSrc.SetRegionRects(NonClientRegionKind.Passthrough, rectArray);
}
private Windows.Graphics.RectInt32 GetRect(Rect bounds, double scale)
{
return new Windows.Graphics.RectInt32(
_X: (int)Math.Round(bounds.X * scale),
_Y: (int)Math.Round(bounds.Y * scale),
_Width: (int)Math.Round(bounds.Width * scale),
_Height: (int)Math.Round(bounds.Height * scale)
);
}
private void MainWindow_Activated(object sender, WindowActivatedEventArgs args)
{
if (args.WindowActivationState == WindowActivationState.Deactivated)
{
TitleBarTextBlock.Foreground =
(SolidColorBrush)App.Current.Resources["WindowCaptionForegroundDisabled"];
}
else
{
TitleBarTextBlock.Foreground =
(SolidColorBrush)App.Current.Resources["WindowCaptionForeground"];
}
}
private void AppWindow_Changed(AppWindow sender, AppWindowChangedEventArgs args)
{
if (args.DidPresenterChange)
{
switch (sender.Presenter.Kind)
{
case AppWindowPresenterKind.CompactOverlay:
// Compact overlay - hide custom title bar
// and use the default system title bar instead.
AppTitleBar.Visibility = Visibility.Collapsed;
sender.TitleBar.ResetToDefault();
break;
case AppWindowPresenterKind.FullScreen:
// Full screen - hide the custom title bar
// and the default system title bar.
AppTitleBar.Visibility = Visibility.Collapsed;
sender.TitleBar.ExtendsContentIntoTitleBar = true;
break;
case AppWindowPresenterKind.Overlapped:
// Normal - hide the system title bar
// and use the custom title bar instead.
AppTitleBar.Visibility = Visibility.Visible;
sender.TitleBar.ExtendsContentIntoTitleBar = true;
break;
default:
// Use the default system title bar.
sender.TitleBar.ResetToDefault();
break;
}
}
}
private void SwitchPresenter(object sender, RoutedEventArgs e)
{
if (AppWindow != null)
{
AppWindowPresenterKind newPresenterKind;
switch ((sender as Button).Name)
{
case "CompactoverlaytBtn":
newPresenterKind = AppWindowPresenterKind.CompactOverlay;
break;
case "FullscreenBtn":
newPresenterKind = AppWindowPresenterKind.FullScreen;
break;
case "OverlappedBtn":
newPresenterKind = AppWindowPresenterKind.Overlapped;
break;
default:
newPresenterKind = AppWindowPresenterKind.Default;
break;
}
// If the same presenter button was pressed as the
// mode we're in, toggle the window back to Default.
if (newPresenterKind == AppWindow.Presenter.Kind)
{
AppWindow.SetPresenter(AppWindowPresenterKind.Default);
}
else
{
// Else request a presenter of the selected kind
// to be created and applied to the window.
AppWindow.SetPresenter(newPresenterKind);
}
}
}
}