How To: Host Your Screencasts on Silverlight Streaming
How To: Host Your Screencasts on Silverlight Streaming
Are you familiar with Silverlight Streaming? If you’re not here is a good reason to start using it. Generally, Silverlight Streaming lets you host Silverlight applications on Microsoft servers for free. With some of the latest updates to this service, you can now upload and host your videos. If you are recording screeencasts as I do, this post can be very useful for you. In this post I will show how to create a new Silverlight Streaming Account, upload a new video and embed it into an HTML page.
You can check out the blog post I have posted with the embedded video.
1. Navigate to Silverlight Streaming Home Page at https://silverlight.live.com, and sign in with your Windows Live ID.
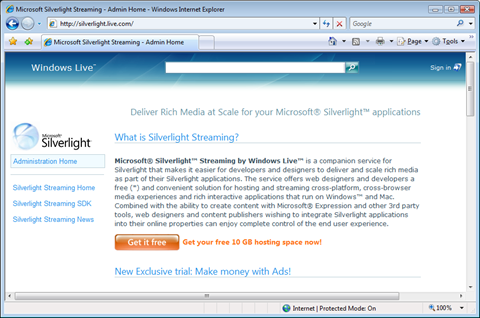
The Silverlight logo on the left side bar is actually a Silverlight animation. If you don’t have Silverlight plug-in installed, you will see the “Get Silverlight Image” and you should click on it in order to get the latest plug-in.
2. Click on the Get it free to create a new account.
After your account is created, it will associated a unique Account ID with your Windows Live ID. This ID (shown in the image below) will be part of the URL for the video we’ll upload, so you should notice it.
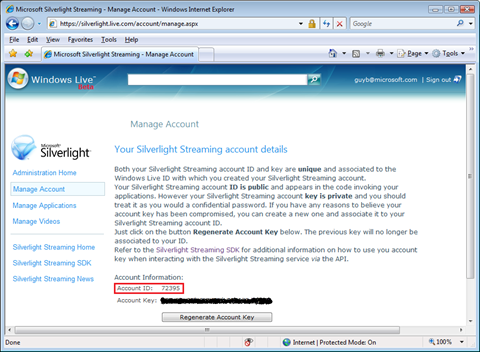
3. Click on the Manage Videos link on the left side bar in order to view and manage your videos, and upload new ones.
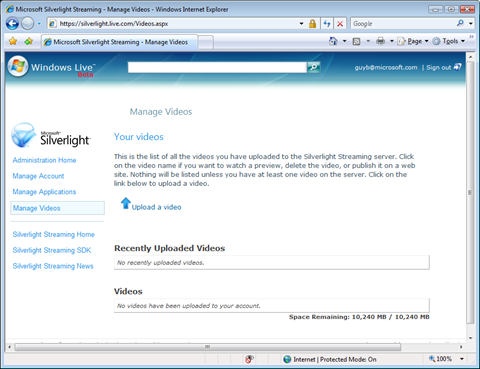
4. Click on Upload a video.
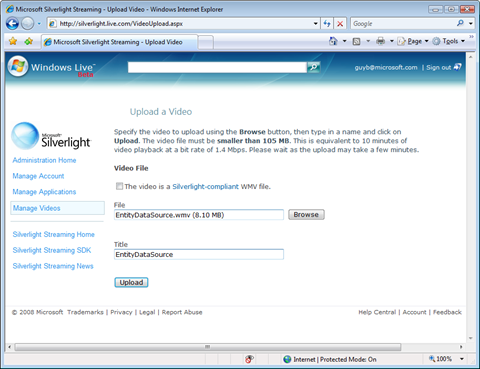
5. Browse and locate the .WMV file you want to upload and provide a friendly name for it. Notice the checkbox called “The video is a Silverlight compliant WMV file”. If your video is a standard WMV file, this checkbox should not be checked. If you have encoded this video with Expression Encoder and it is in VC-1 format, you should check it.
6. Click the Upload button to start uploading the file.
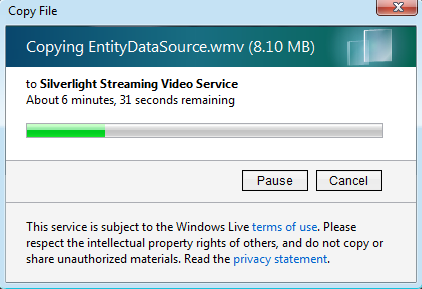
Once the video is uploaded, you will see it on the Recently Uploaded Videos, with Processing Video status.

The server processes the video, converting it to a Silverlight Compliant format that can be streamed efficiently via Silverlight players.
After a while (it depends how long of the video file size), if you refresh this page, you will see that the video processing was done, and you should acknowledge it.
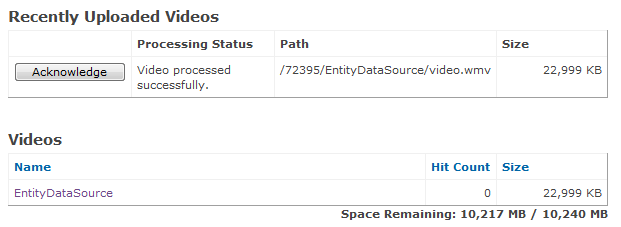
Once your video is available in Silverlight compliant format, you can embed in into a page in your site. I will embed a Silverlight player playing this video into a blog post and also provide a direct link for downloading it.
7. Click the video link to go the preview page. In this page you’ll see a standard Silverlight player that plays your video. If you scroll to the button of this page, you can see the HTML snippet for embedding this player into your blog, and the direct link to the video. Notice how the URL of the video contains the your Account ID.
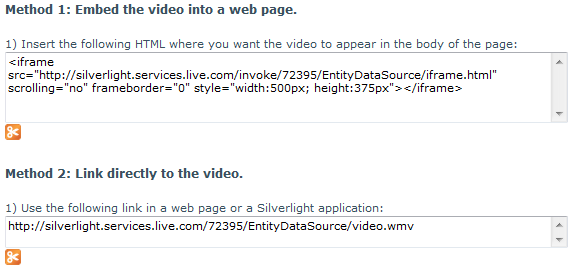
To embed this in my blog post, I simply copy the HTML snippet to the HTML editor in Windows Live Writer, and provide a download link for users who may want to download the video on watch offline.
<!-- HTML snippet taken from Silverlight Streaming -->
<iframe src="https://silverlight.services.live.com/invoke/72395/EntityDataSource/iframe.html" scrolling="no" frameborder="0" style="width:500px; height:375px">
</iframe>
<p>
<a href="https://silverlight.services.live.com/72395/EntityDataSource/video.wmv" title="EntityDataSource Screencast">Download the video</a>
</p>
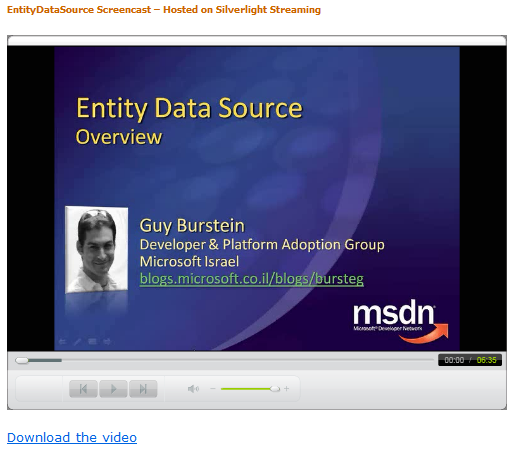
You can check out the blog post I have posted with the embedded video.
Enjoy!
- Anonymous
July 12, 2008
PingBack from http://blog.a-foton.ru/2008/07/how-to-host-your-screencasts-on-silverlight-streaming/