Quickly and Easily Managing FIM Portal Administrators
With this post, I’d like to address the issue of FIM portal administrators. Too often, I see one of two scenarios: either a customer has entirely too many administrators in FIM (which poses a security risk), or a customer only has one (which creates a risk of losing access to FIM). One reason for this is the fact that there’s a singular set (Administrators) which is manually managed and controls all FIM portal admins. By default, the only member of this set is the built-in administrator account. Rather than modify this set directly, I much prefer creating an additional set and then using a permission granting MPR to make users admin. Further still, I prefer to actually create a custom attribute that controls membership in this set. At that point, granting or revoking portal administrator status is as easy as checking (or unchecking) a box.
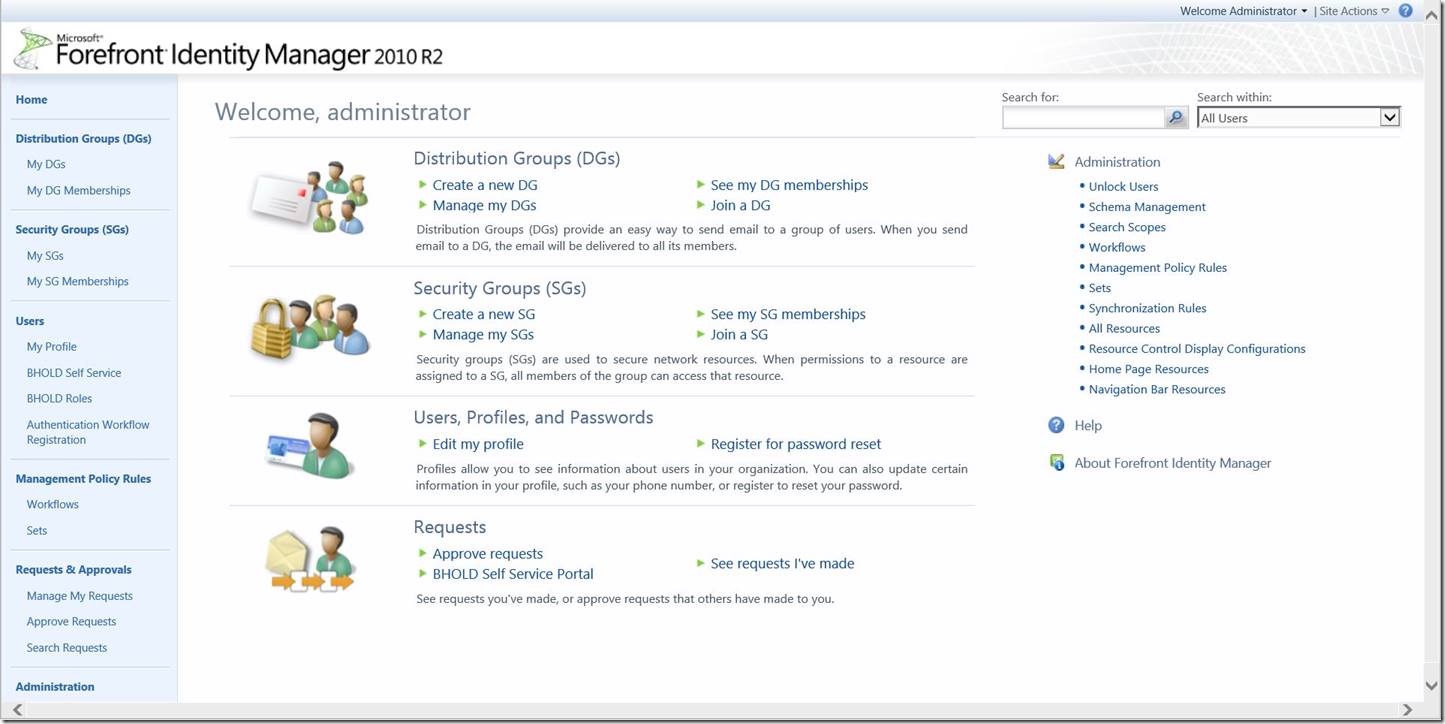
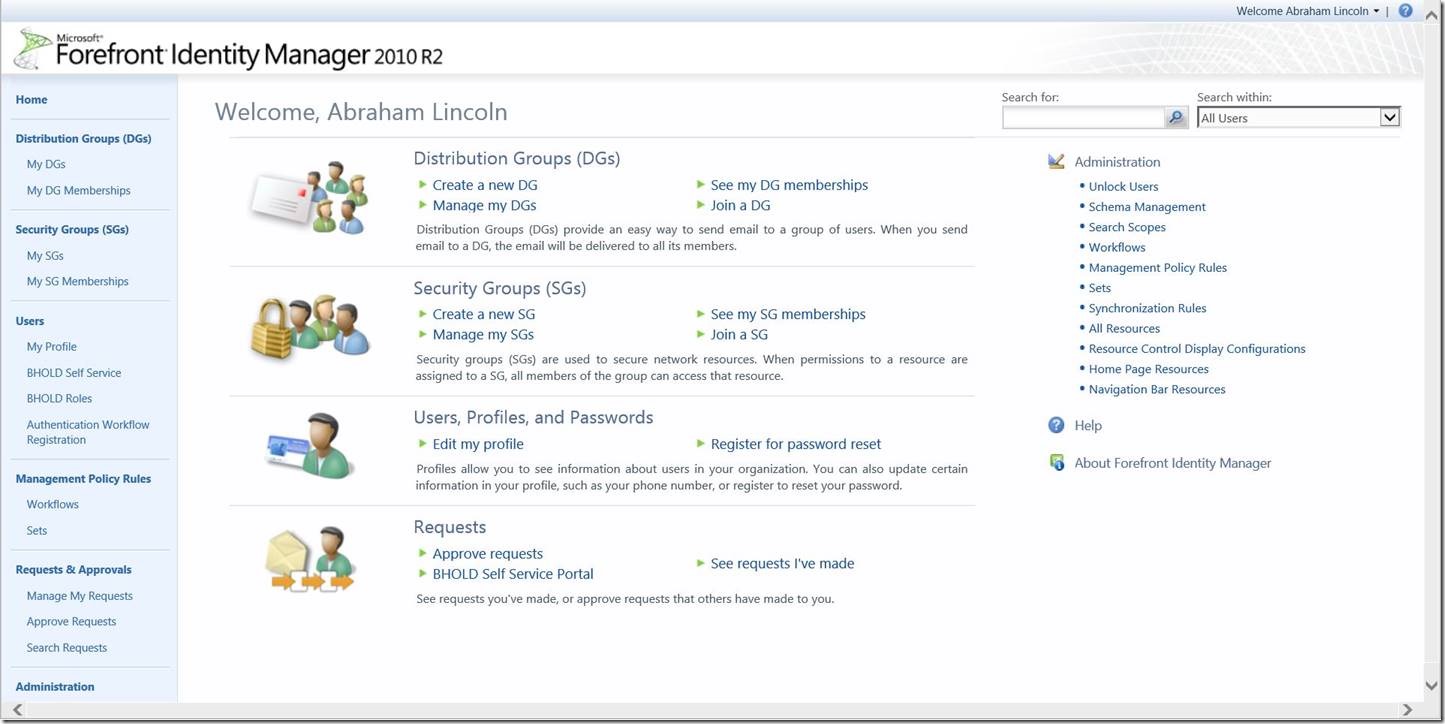
To begin, navigate to your portal home screen:
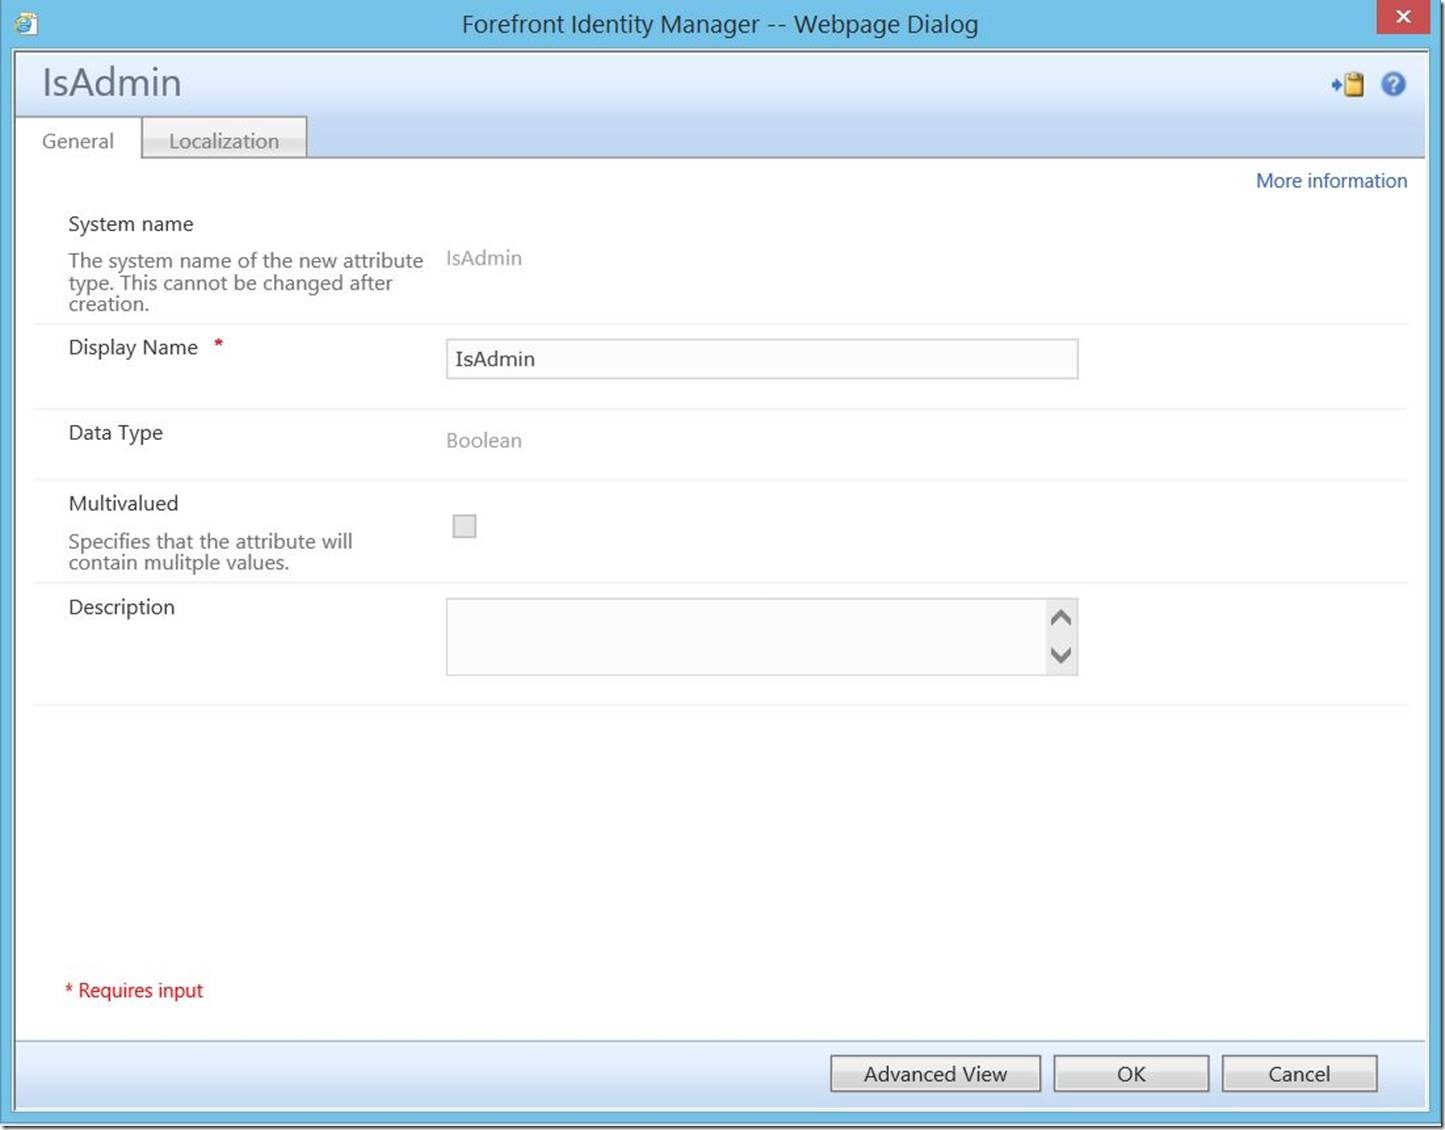
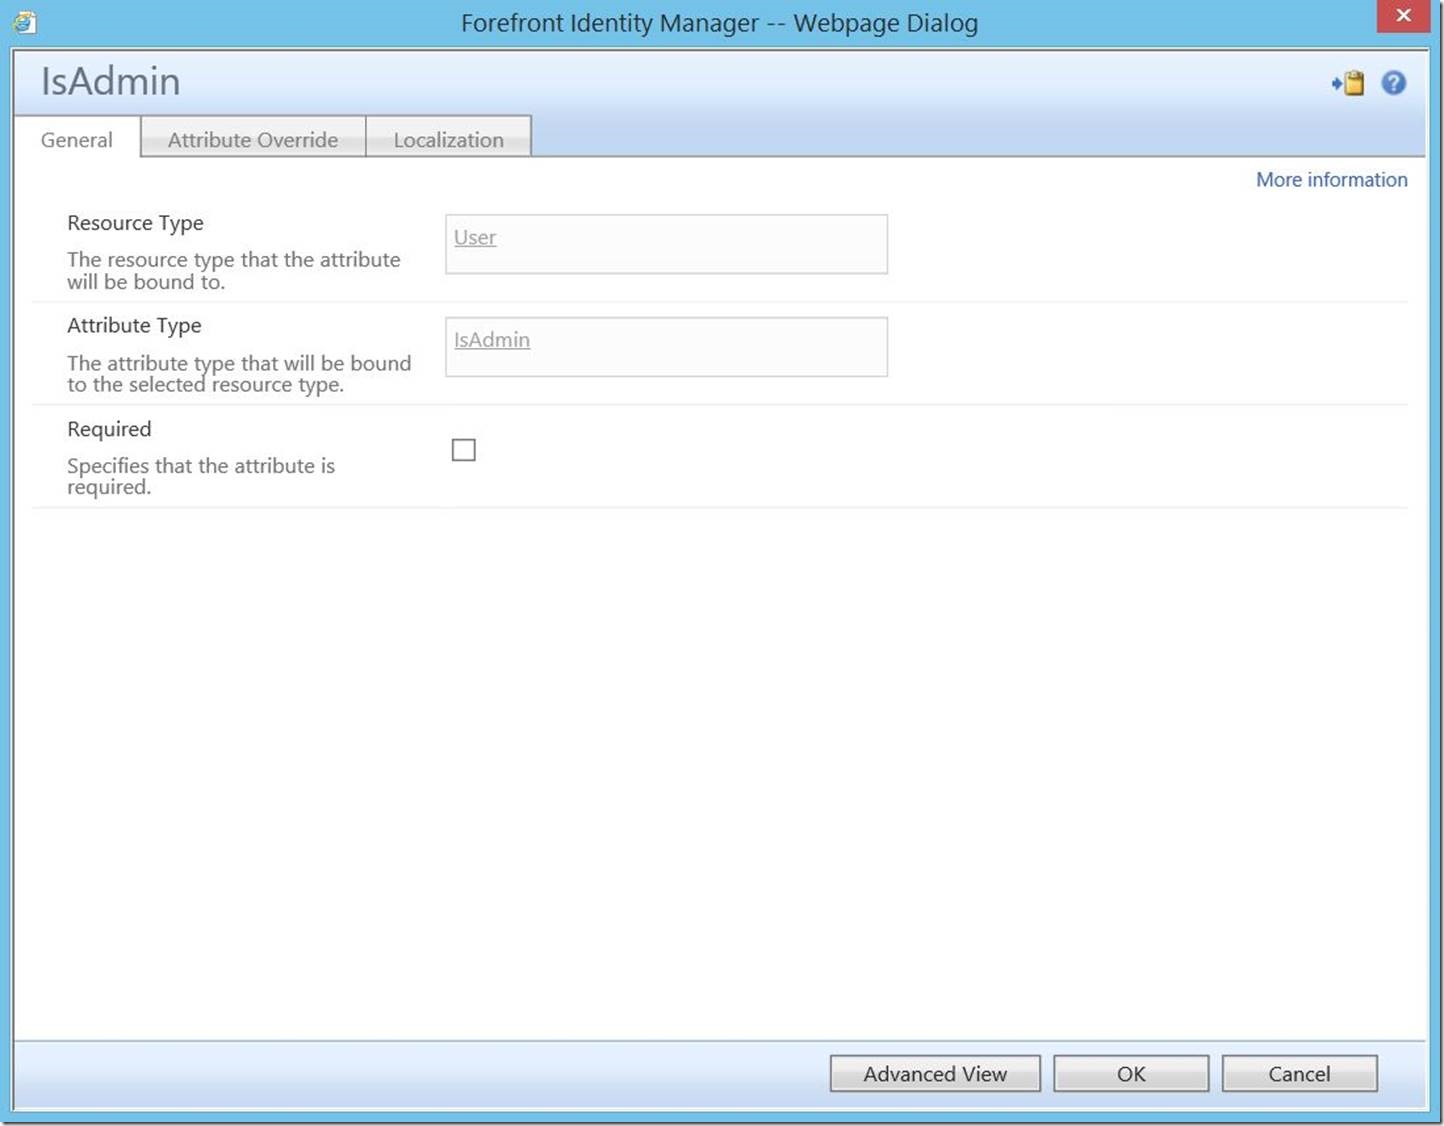
In this scenario, we will be keying off of a custom portal attribute (IsAdmin). For the purposes of this post, I will not go into detail on the process of creating and binding this attribute. Rather, I will simply show the final product.
Attribute:
And binding:
For detailed, step-by-step instructions on creating and binding custom attributes, please see this post.
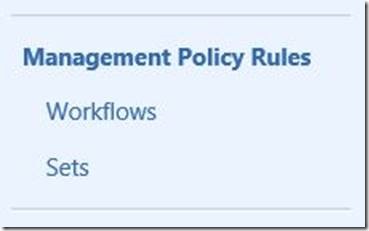
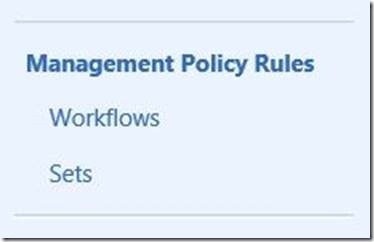
Once the attribute and binding is created, click on “Sets” in the left-hand navigation bar:
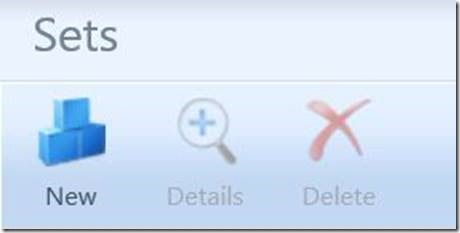
This will open the “Sets” screen. In the top menu, select “New”:
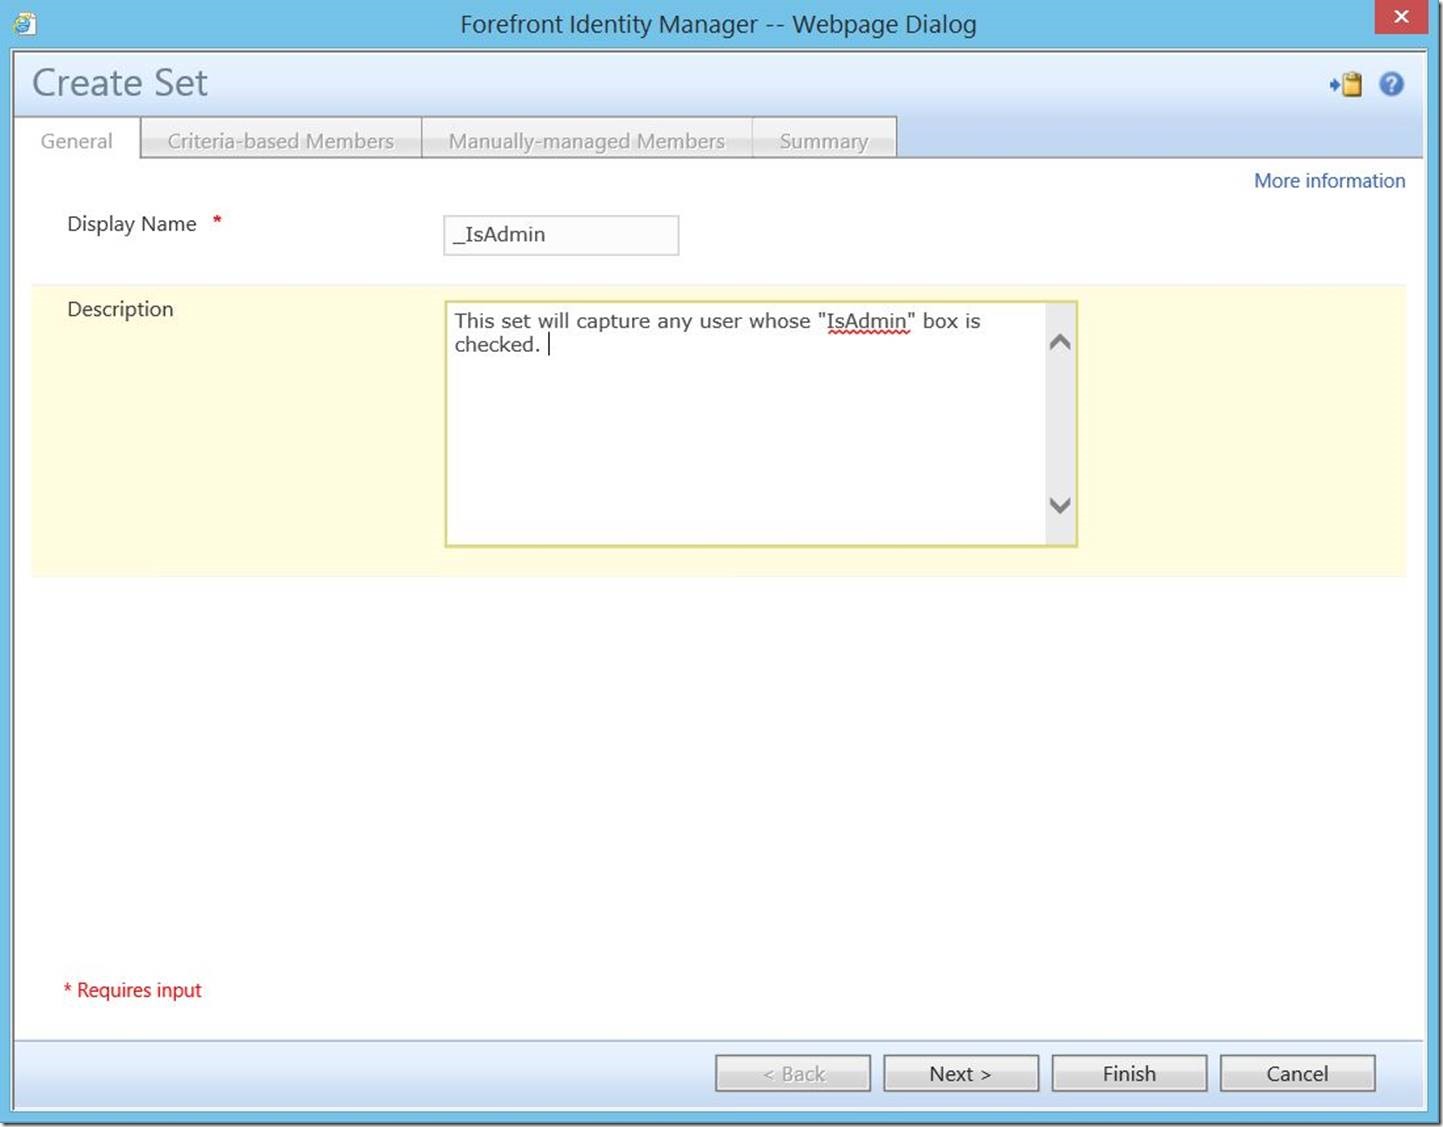
This will open the “Create Set” dialogue. Enter a Display Name (required) and Description (optional), then click “Next”.
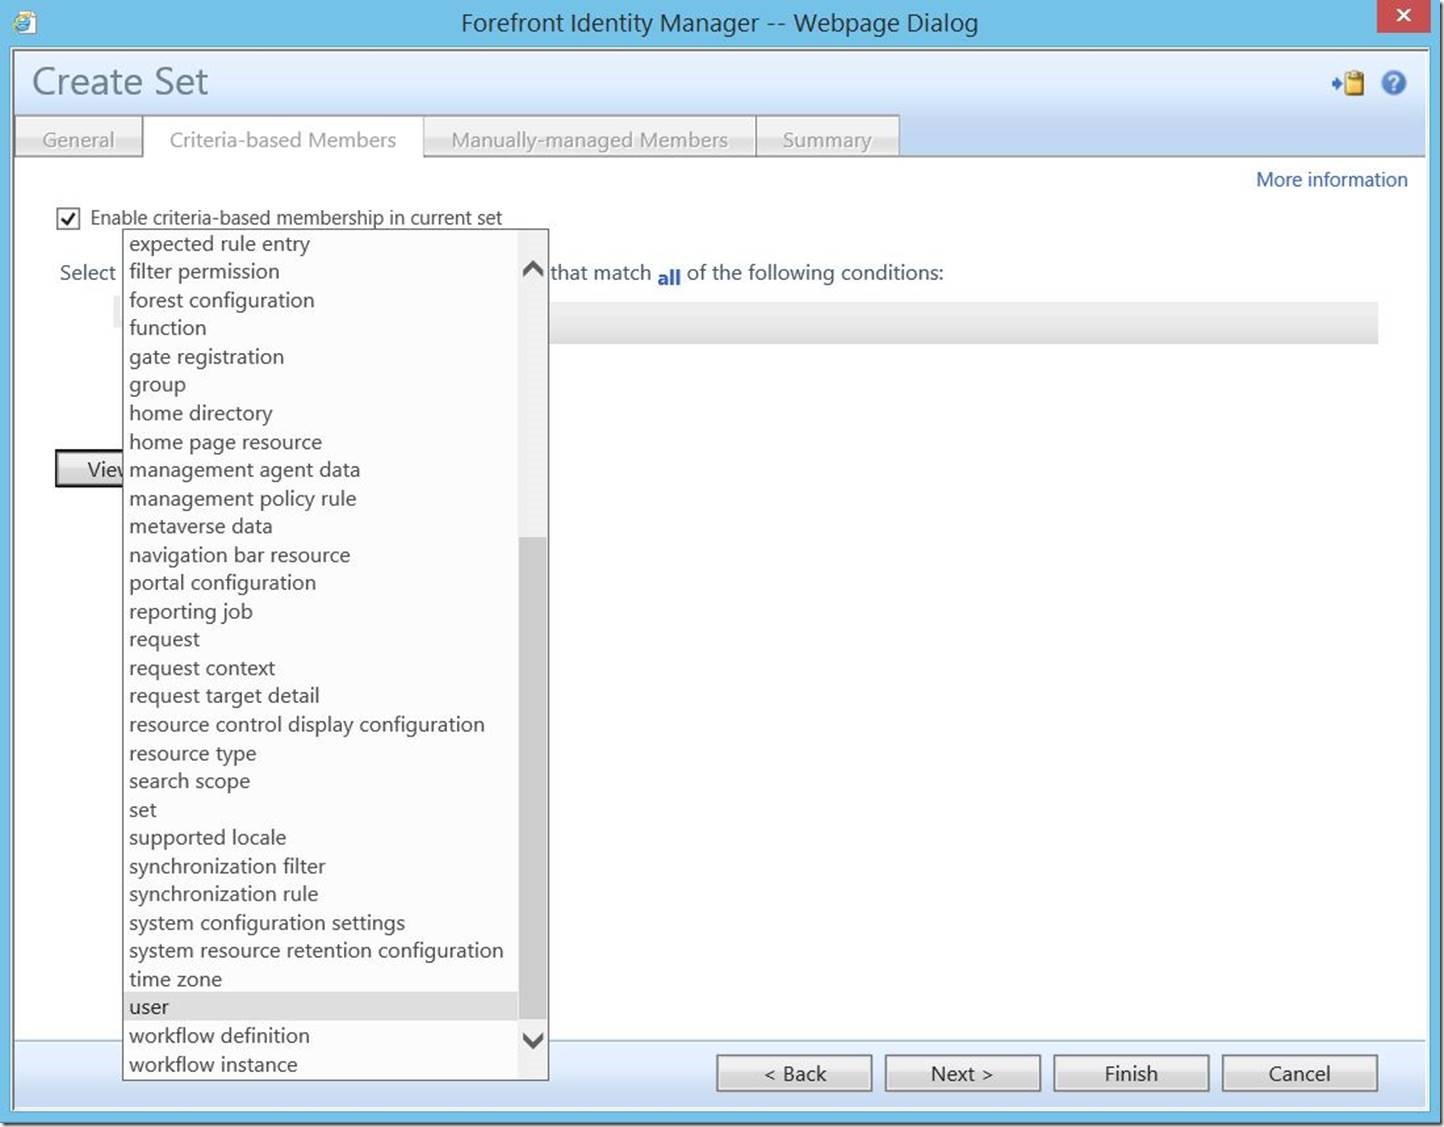
Click “all resources” to open the resource selection drop-down menu. Scroll to the bottom and select “user”.
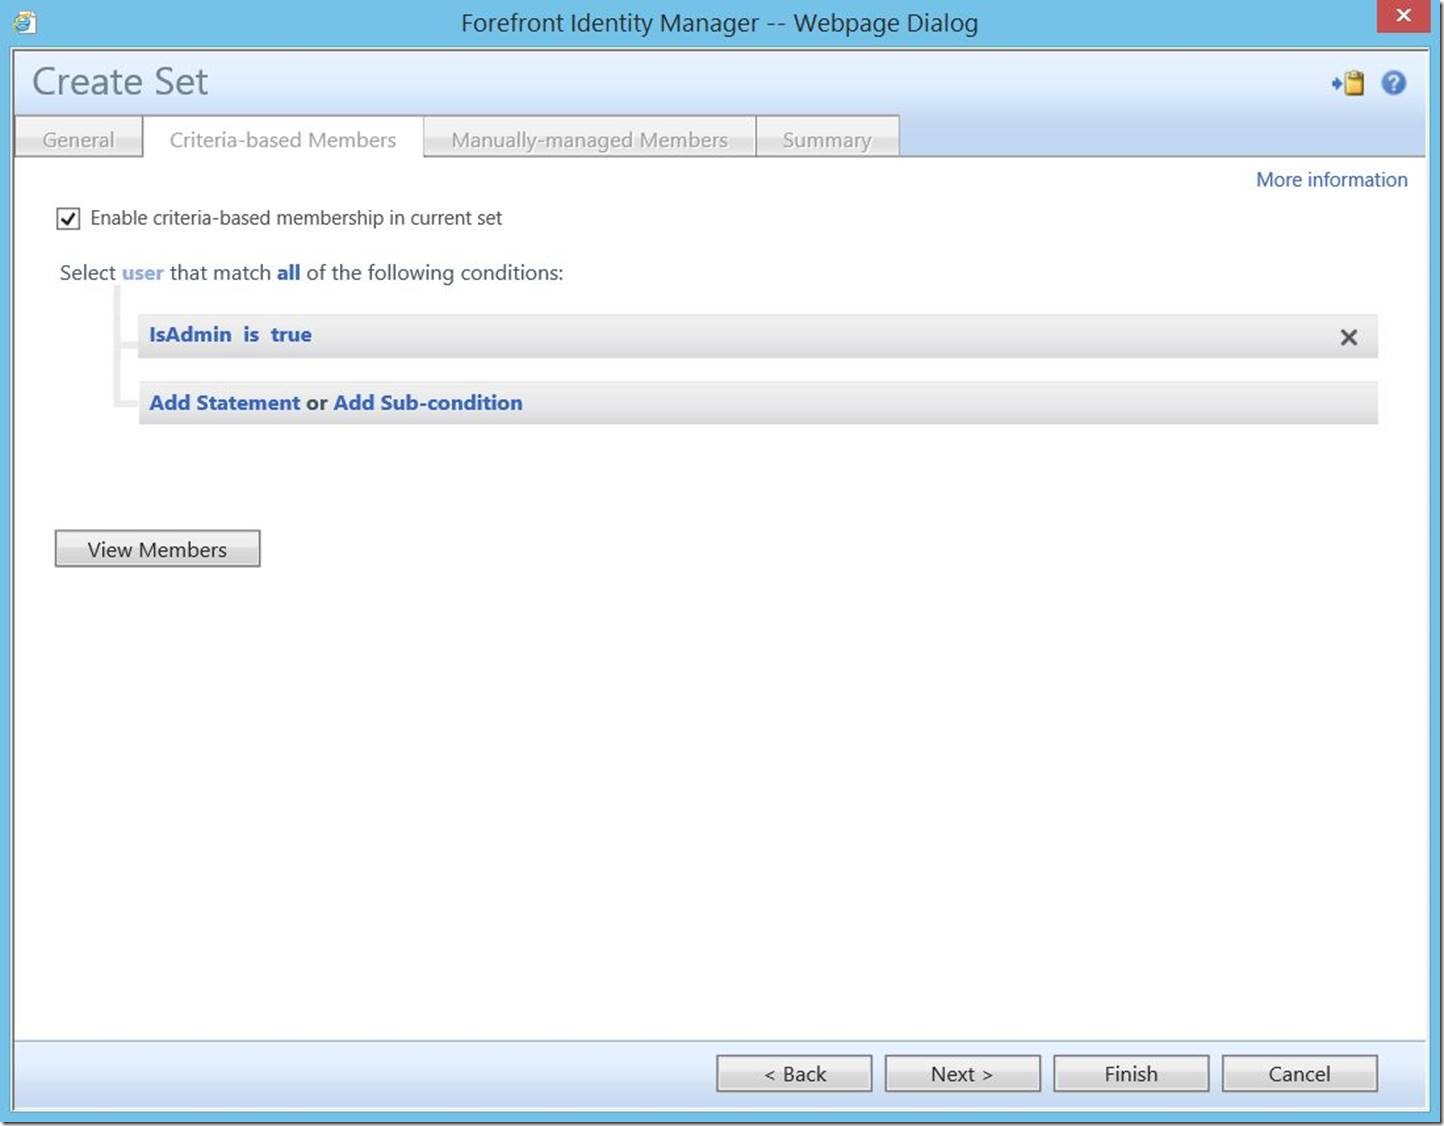
Click “Add Statement”, then “click to select attribute”. In this drop-down menu, select the attribute you recently created. Click to select a value of “true”, then click “Next” to continue.
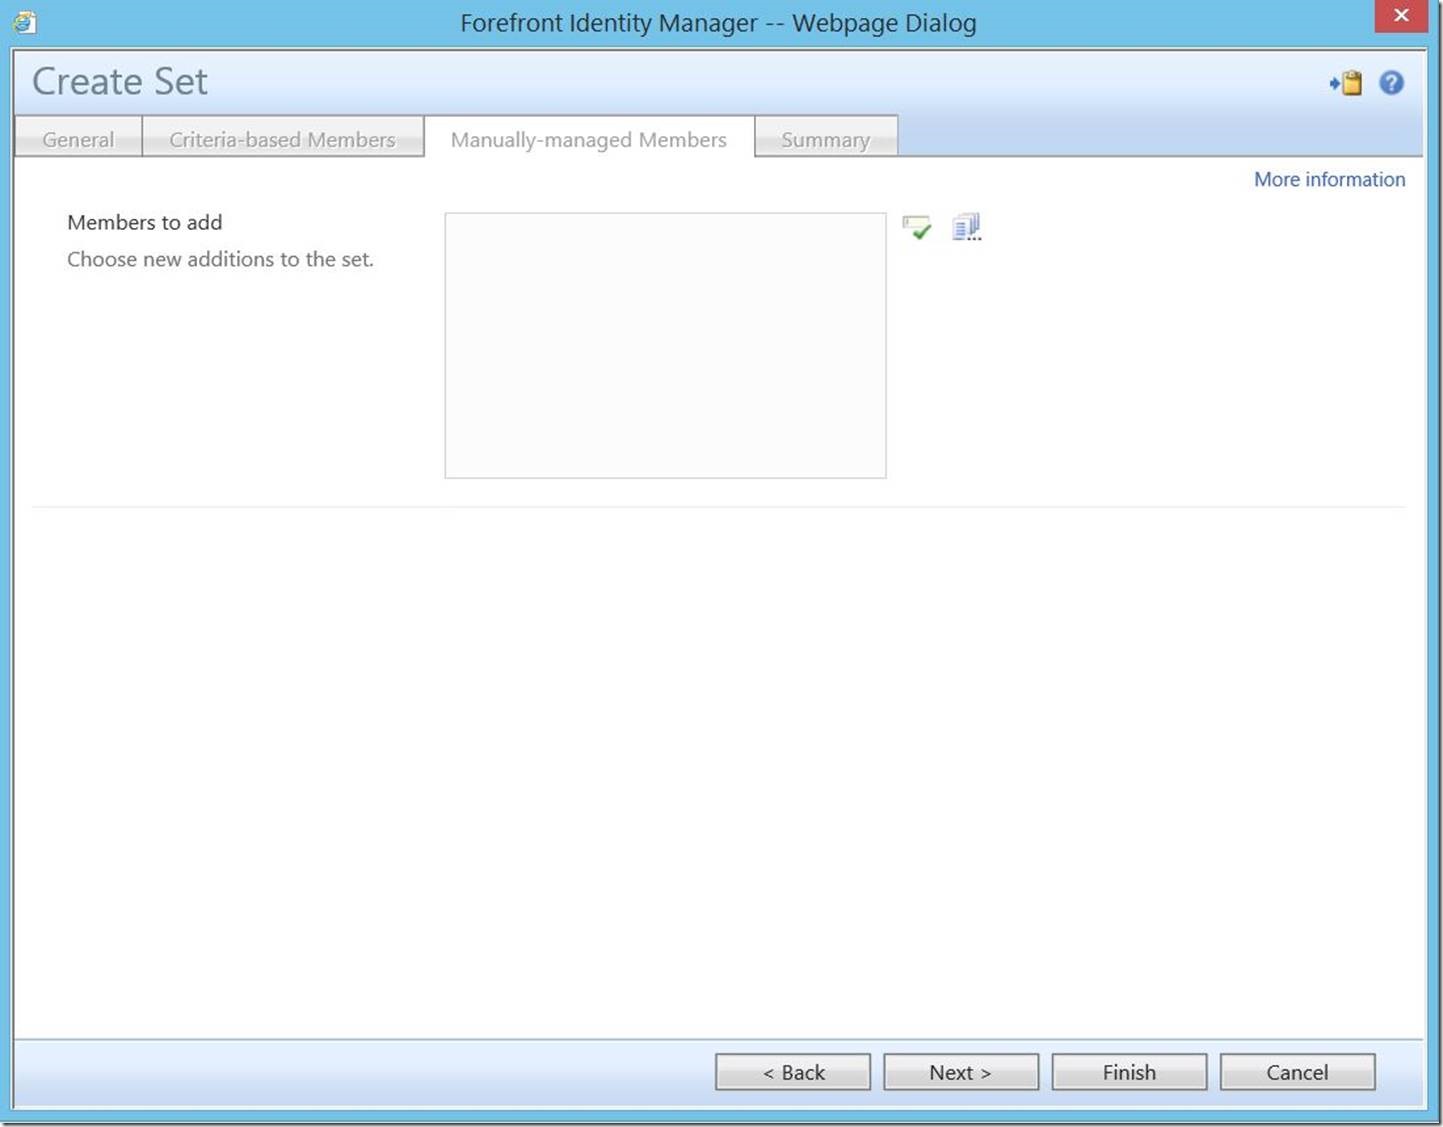
You may leave this section blank. Click “Next” to continue.
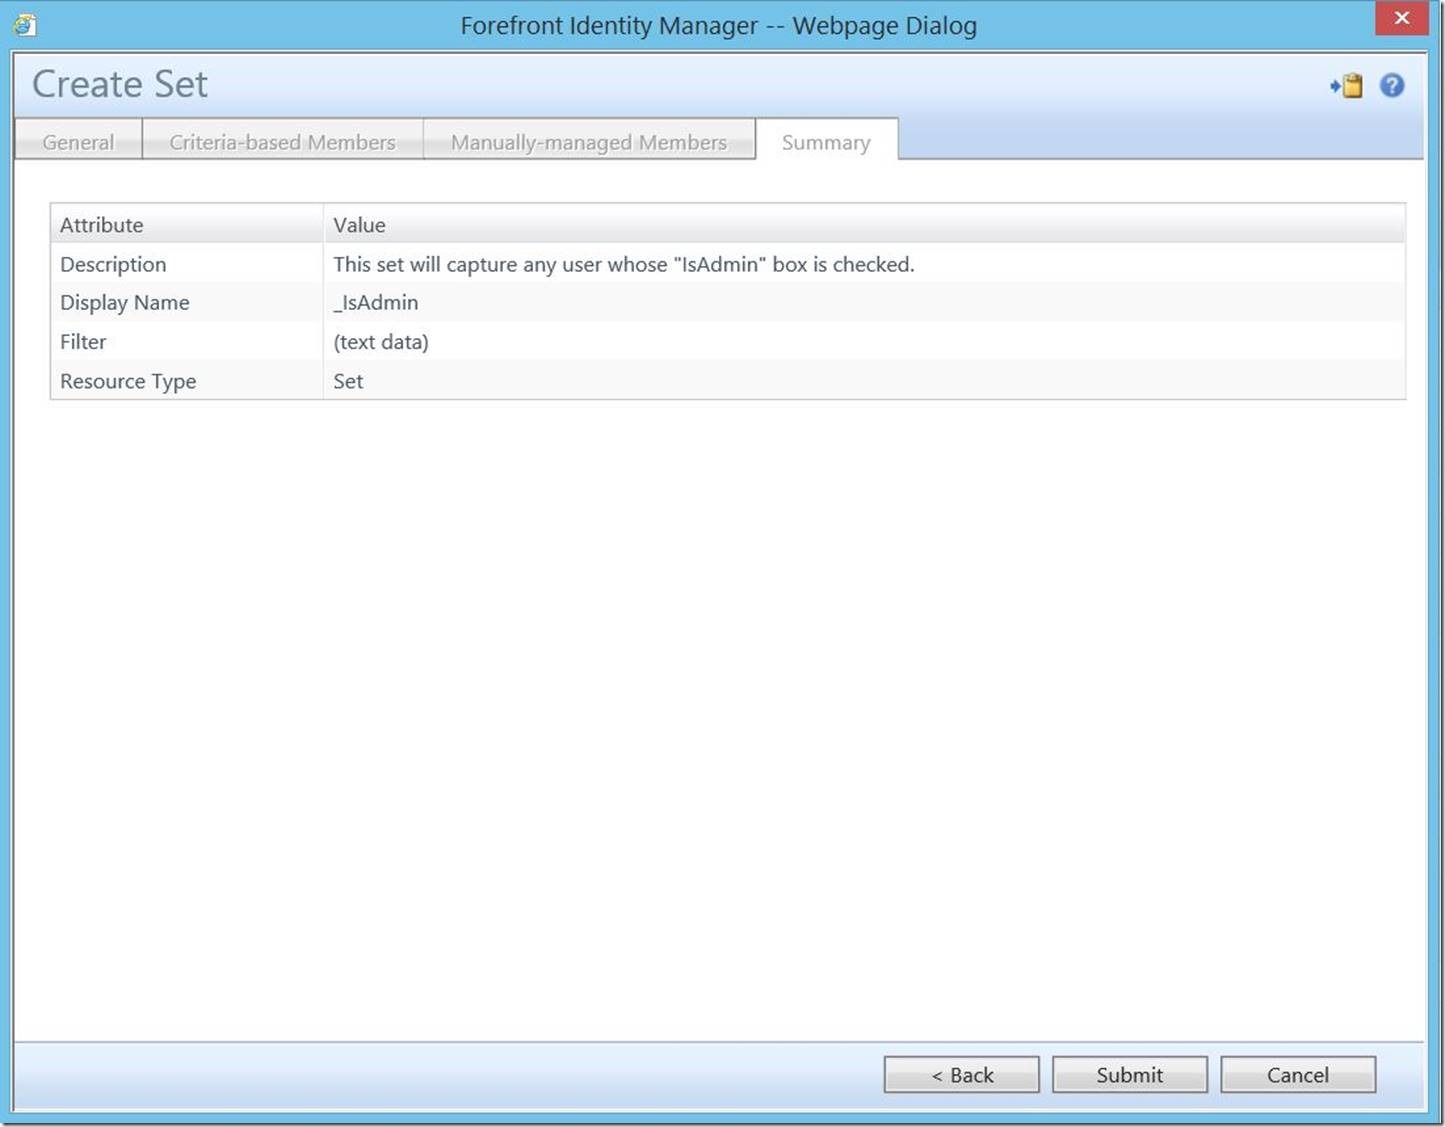
To complete this set, click “Submit”.
Next, it will be necessary to create a permission granting management policy rule to actually assign rights to members of this set. Again in the left-hand navigation bar, select “Management Policy Rules”.
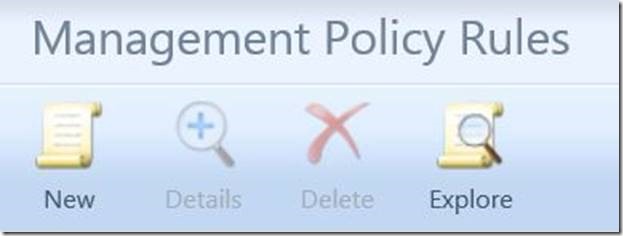
This will open the “Management Policy Rules” screen. In the top menu, select “New”.
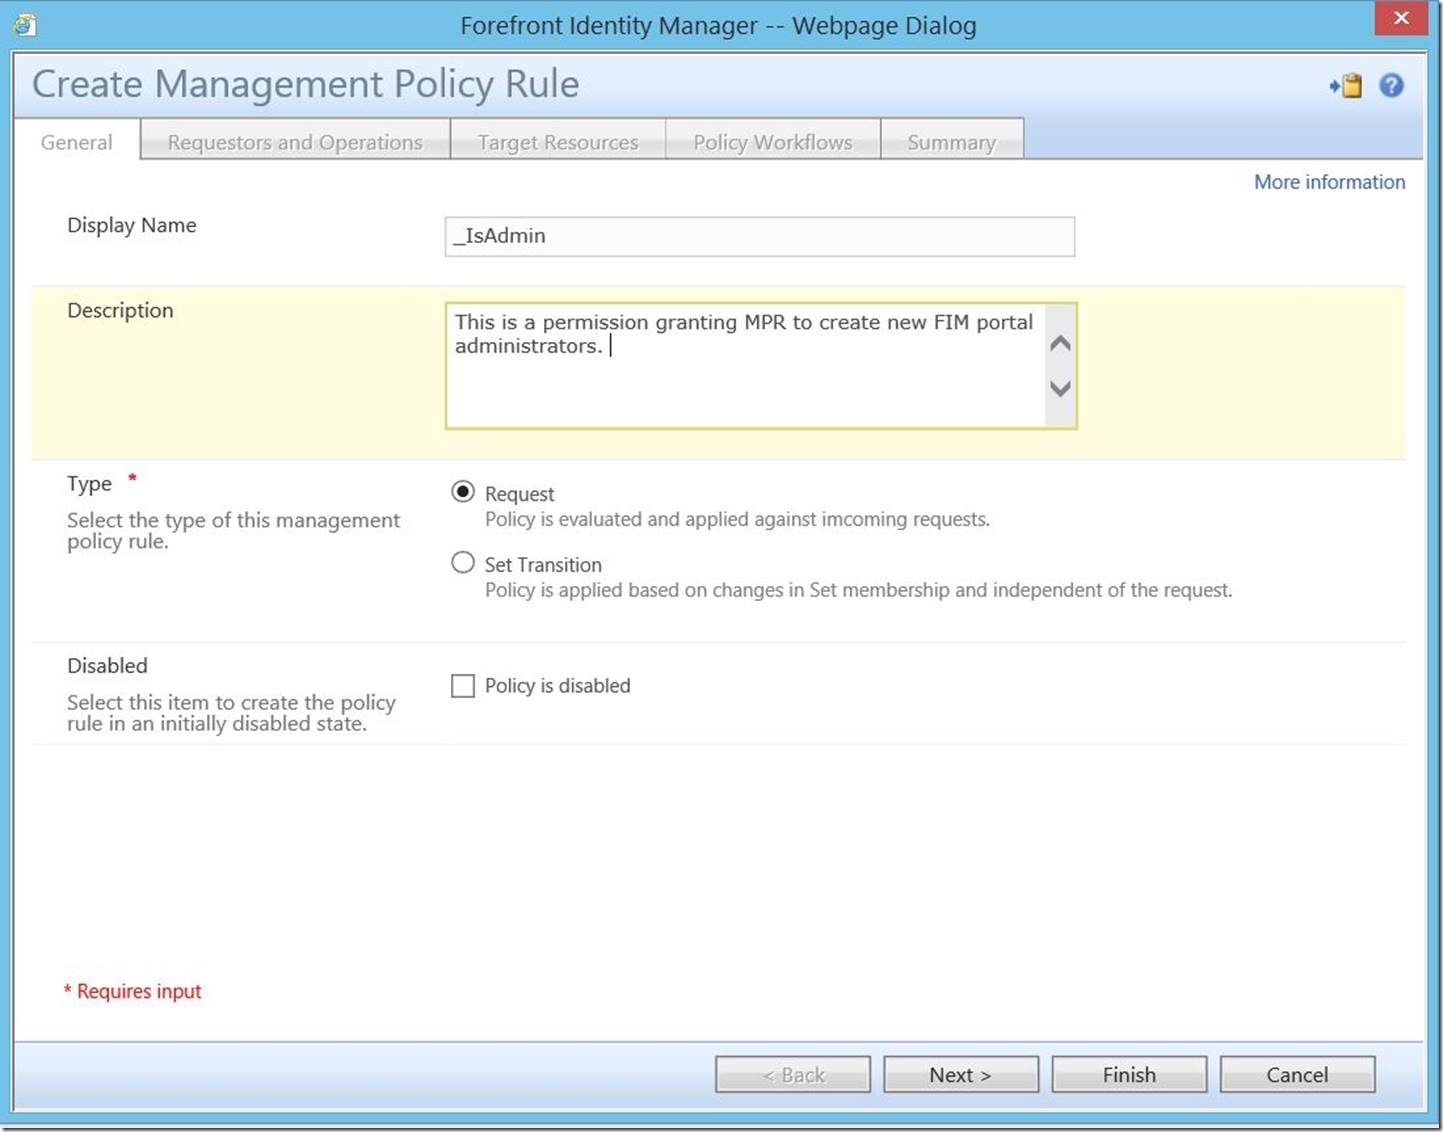
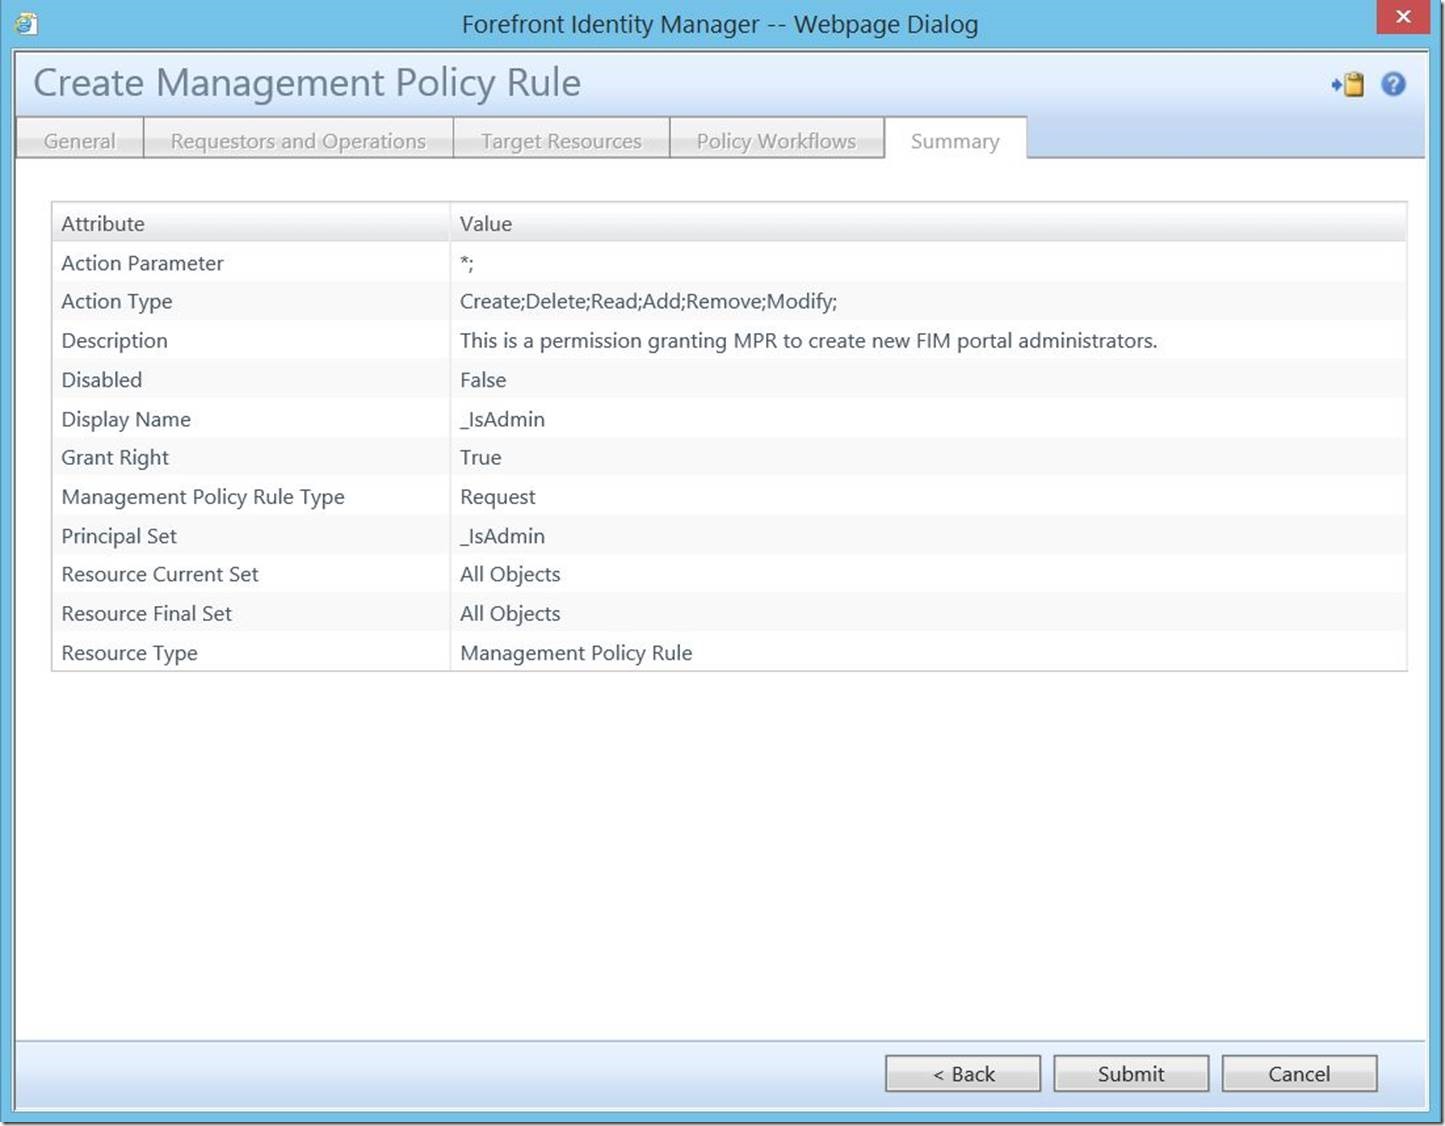
This will open the “Create Management Policy Rule” dialogue. Enter a Display Name (required), Description (optional) and for Type, select “Request”. Click “Next” to continue.
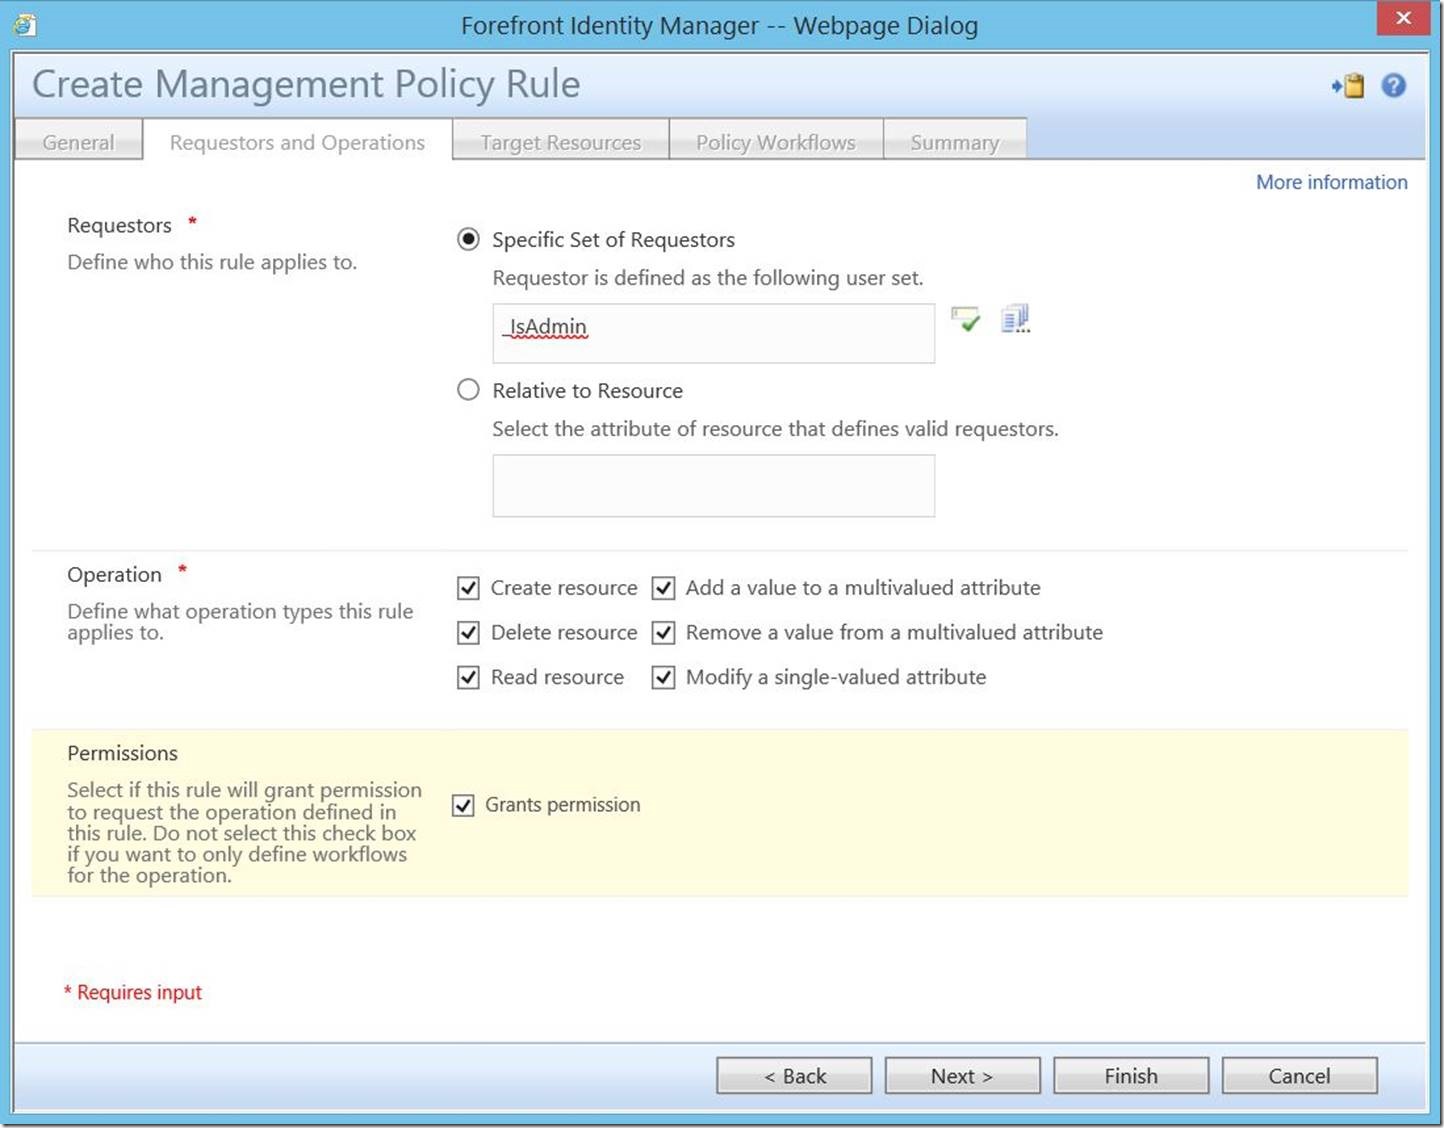
For “Requestors”, choose “Specific Set of Requestors” and select the set you created. To make these users true portal admins, select all check boxes (as shown below), then click “Next” to continue.
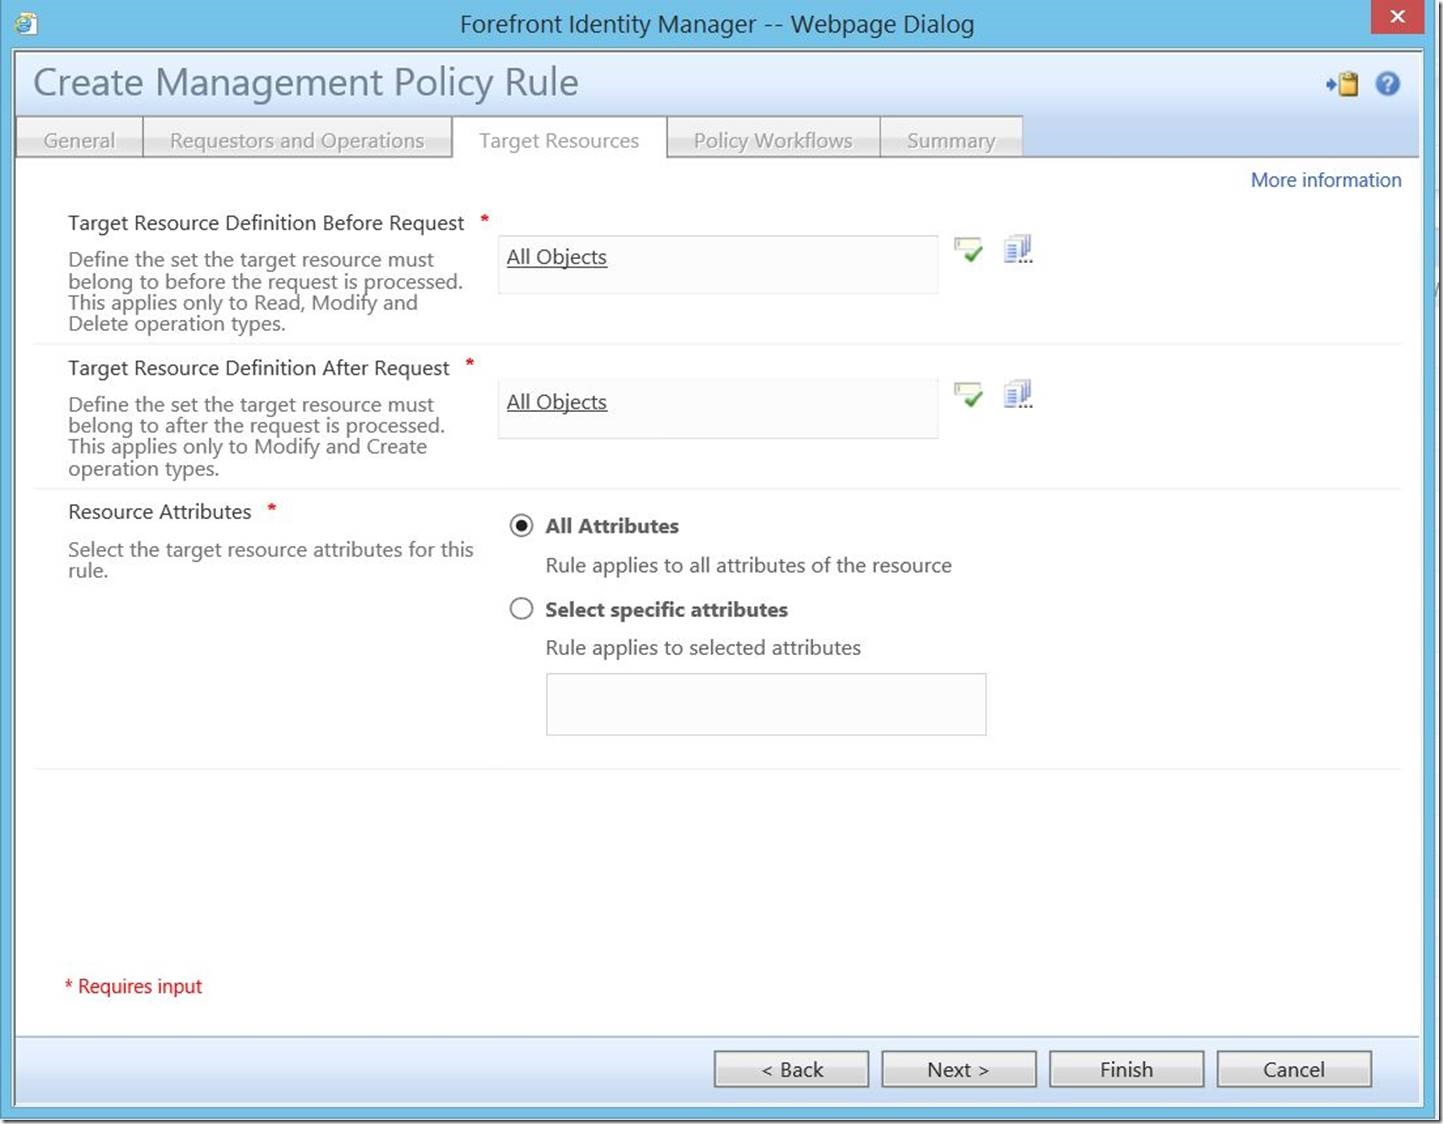
For “Target Resource Definition Before Request” and “Target Resource Definition After Request”, select “All Objects”. For “Resource Attributes”, select “All Attributes”, then click “Next” to continue.
It is worth noting here that this same process could also be used to create specific types of administrative users. For example, rather than selecting “All Objects”, one could select “All Groups”, thus creating a specific class of group administrators. Similarly, rather than selecting “All Attributes”, one could select a specific list of attributes to allow these users to modify. What this allows is a very granular level of control over all object types and attributes in your FIM portal environment.
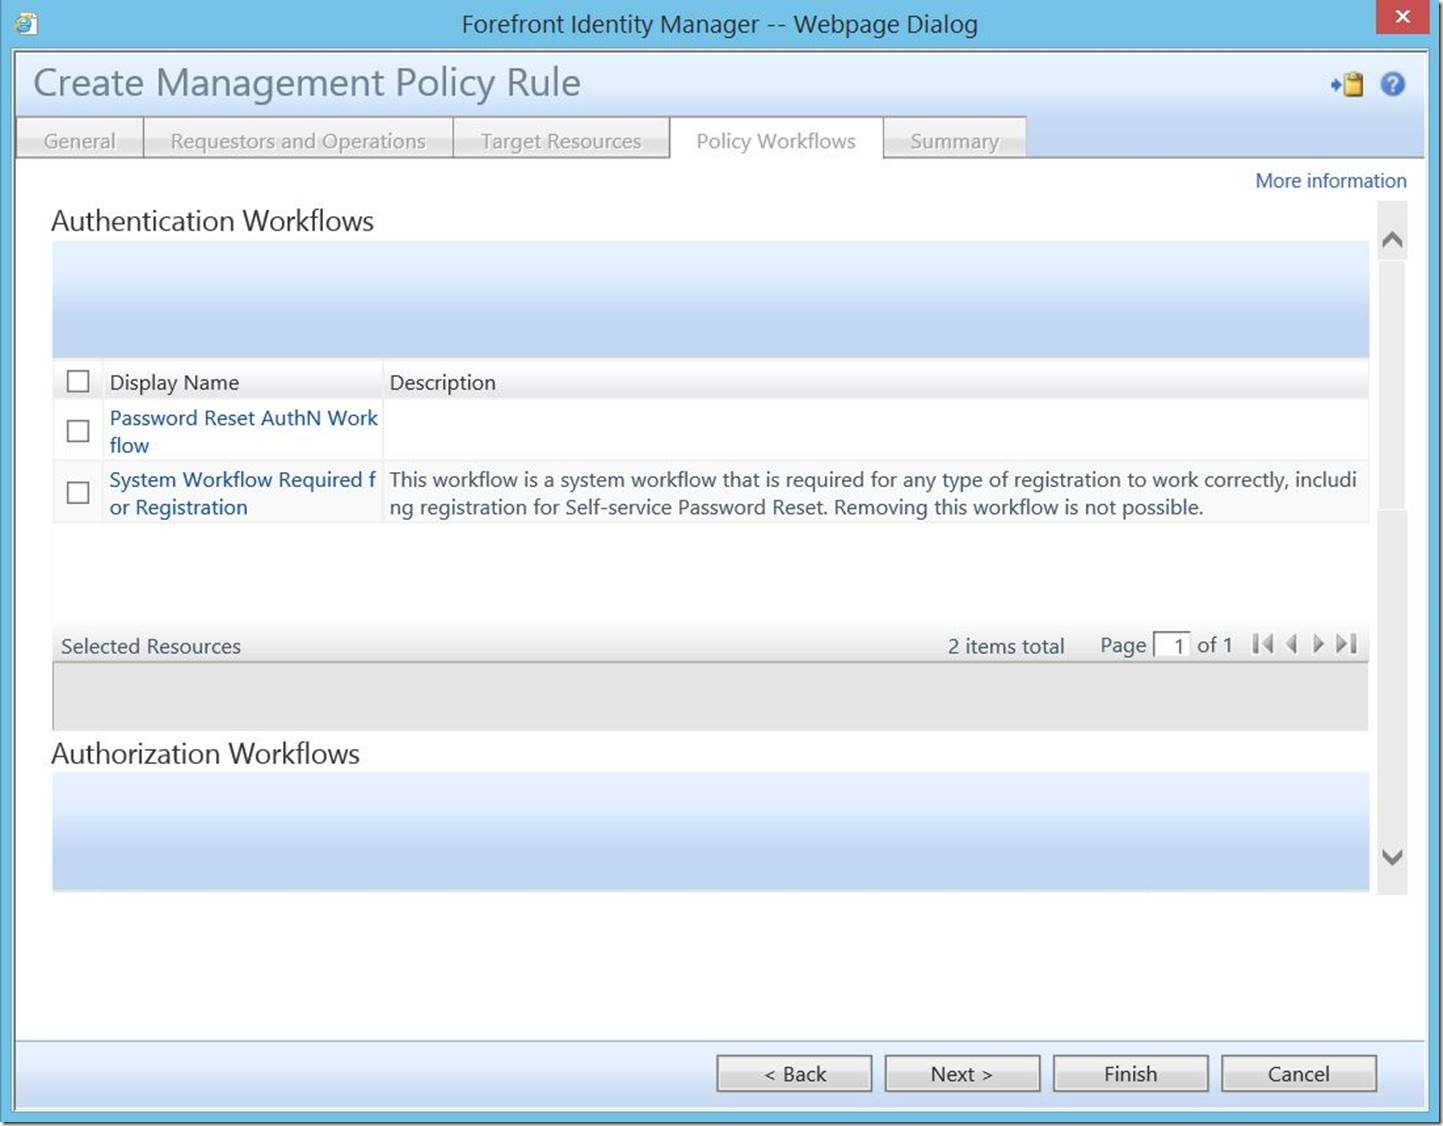
As this is a permission granting request based MPR, there are no associated workflows, so you may click “Next” to proceed.
To finish, click “Submit”.
Finally, you may wish to add this custom attribute to the resource control display configuration (RCDC) file for ease of access. While it is outside the scope of this discussion, for detailed step-by-step instructions on modifying RCDCs, please see this post.
For an example, here is a sample block of RCDC:
<my:Control my:Name="IsAdmin" my:TypeName="UocCheckBox" my:Caption="{Binding Source=schema, Path=IsAdmin.DisplayName}" my:Description="{Binding Source=schema, Path=IsAdmin.Description}" my:RightsLevel="{Binding Source=rights, Path=IsAdmin}">
<my:Properties><my:Property my:Name="ReadOnly" my:Value="false" />
<my:Property my:Name="Checked" my:Value="{Binding Source=object, Path=IsAdmin, Mode=TwoWay}" />
<my:Property my:Name="Text" my:Value="" />
<my:Property my:Name="Hint" my:Value="{Binding Source=schema, Path=IsAdmin.Hint}" />
</my:Properties>
</my:Control>
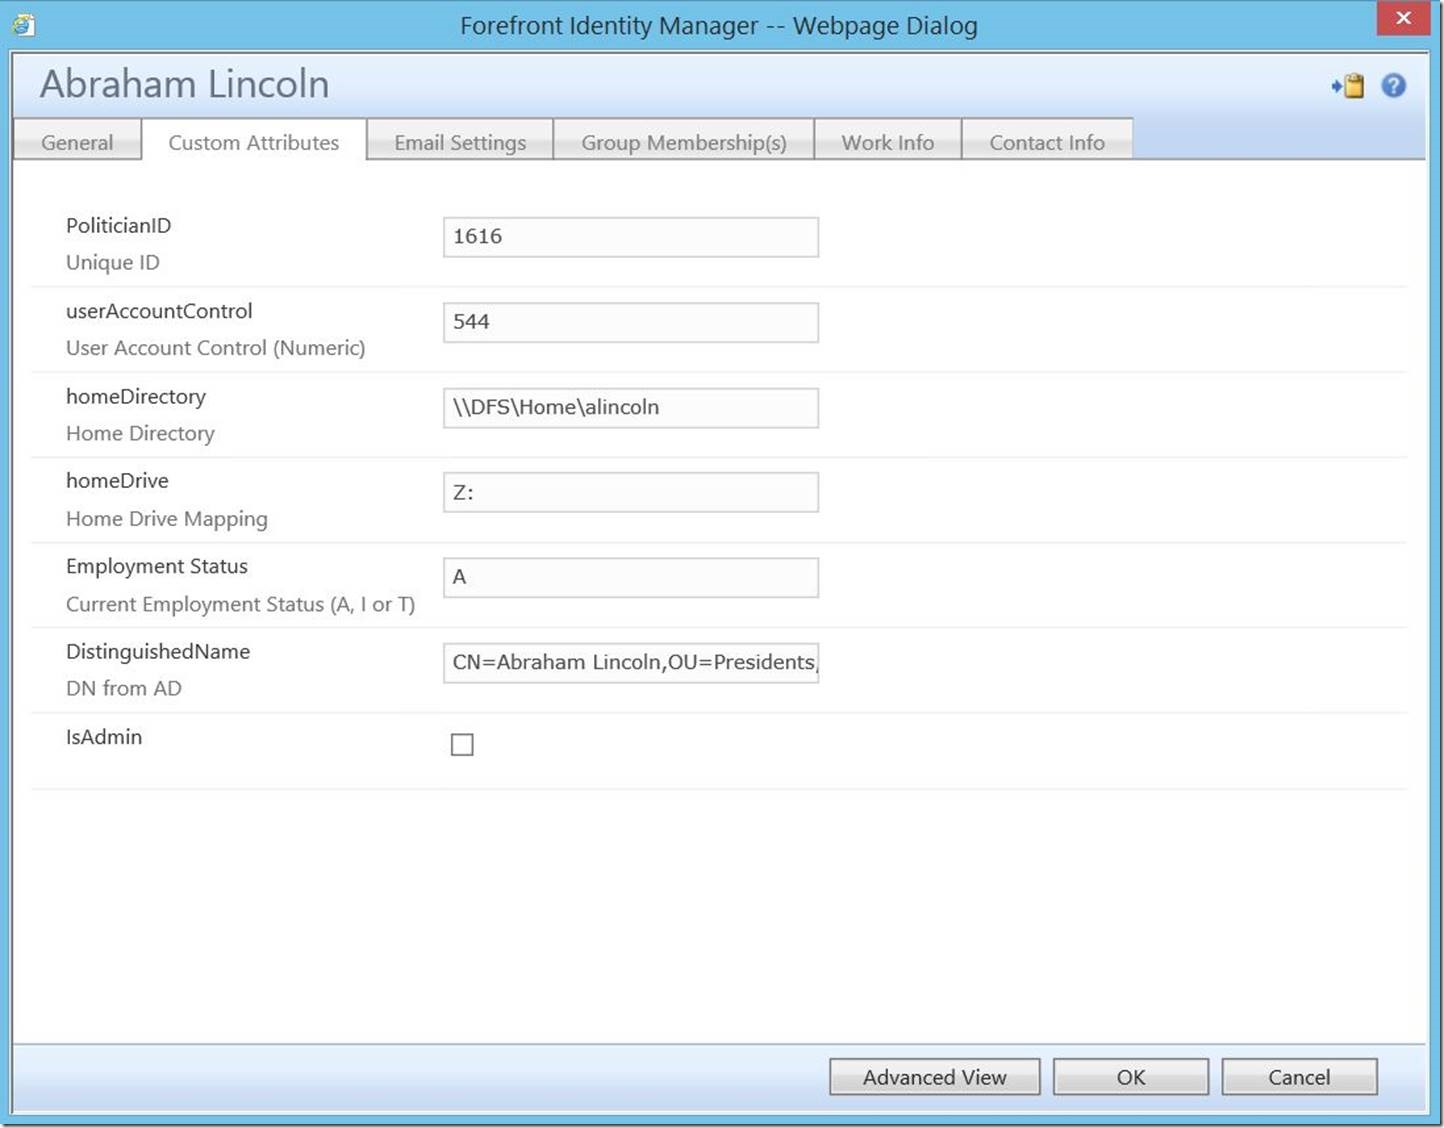
Which will result in the following:
Notice we now see the “IsAdmin” checkbox (and it is unchecked).
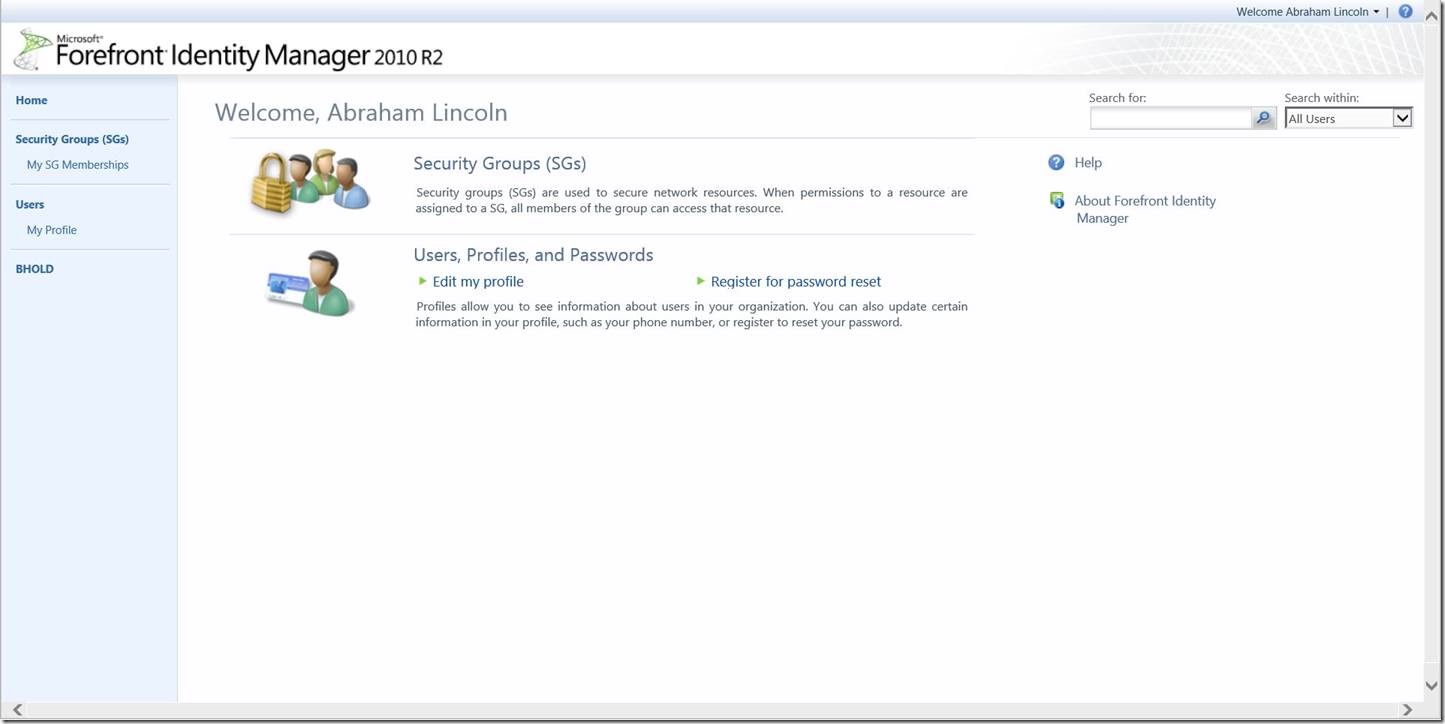
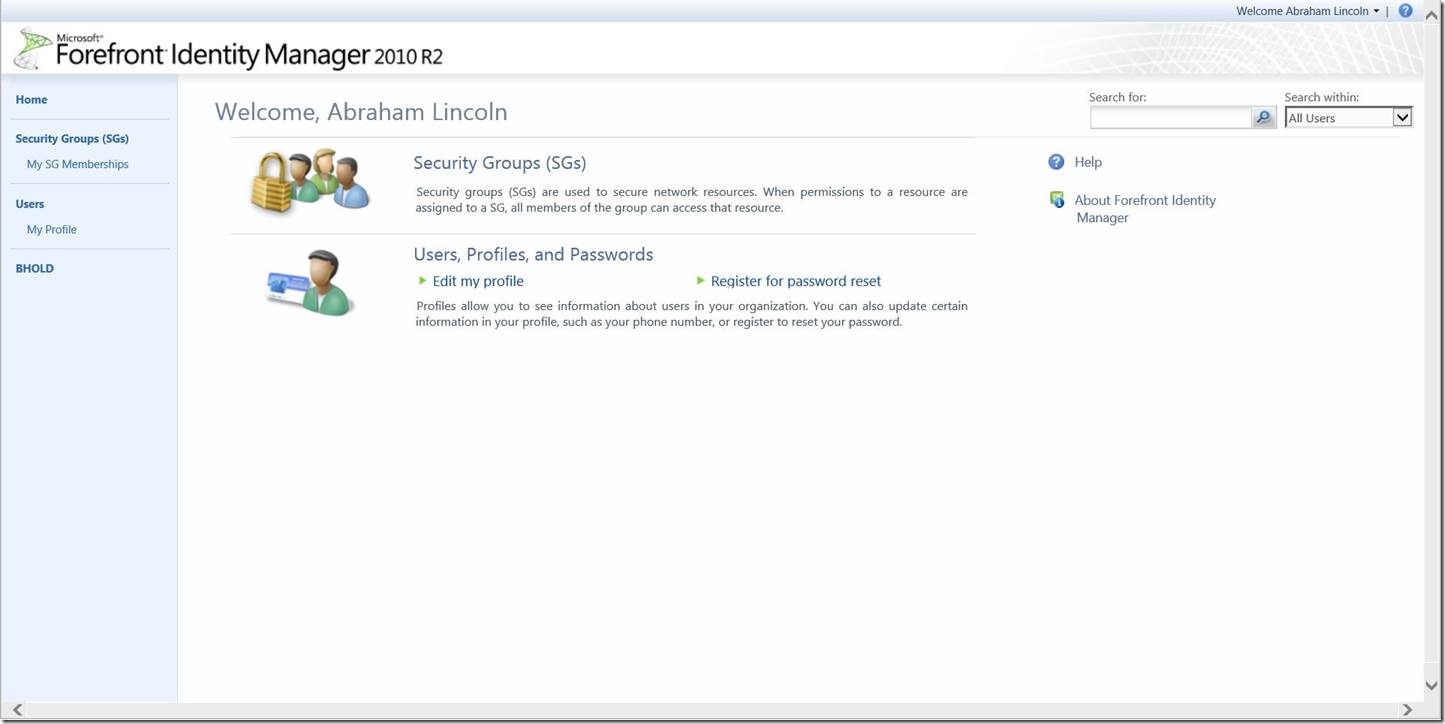
If we log in as this user in his current (non-administrative) state, here’s what we see:
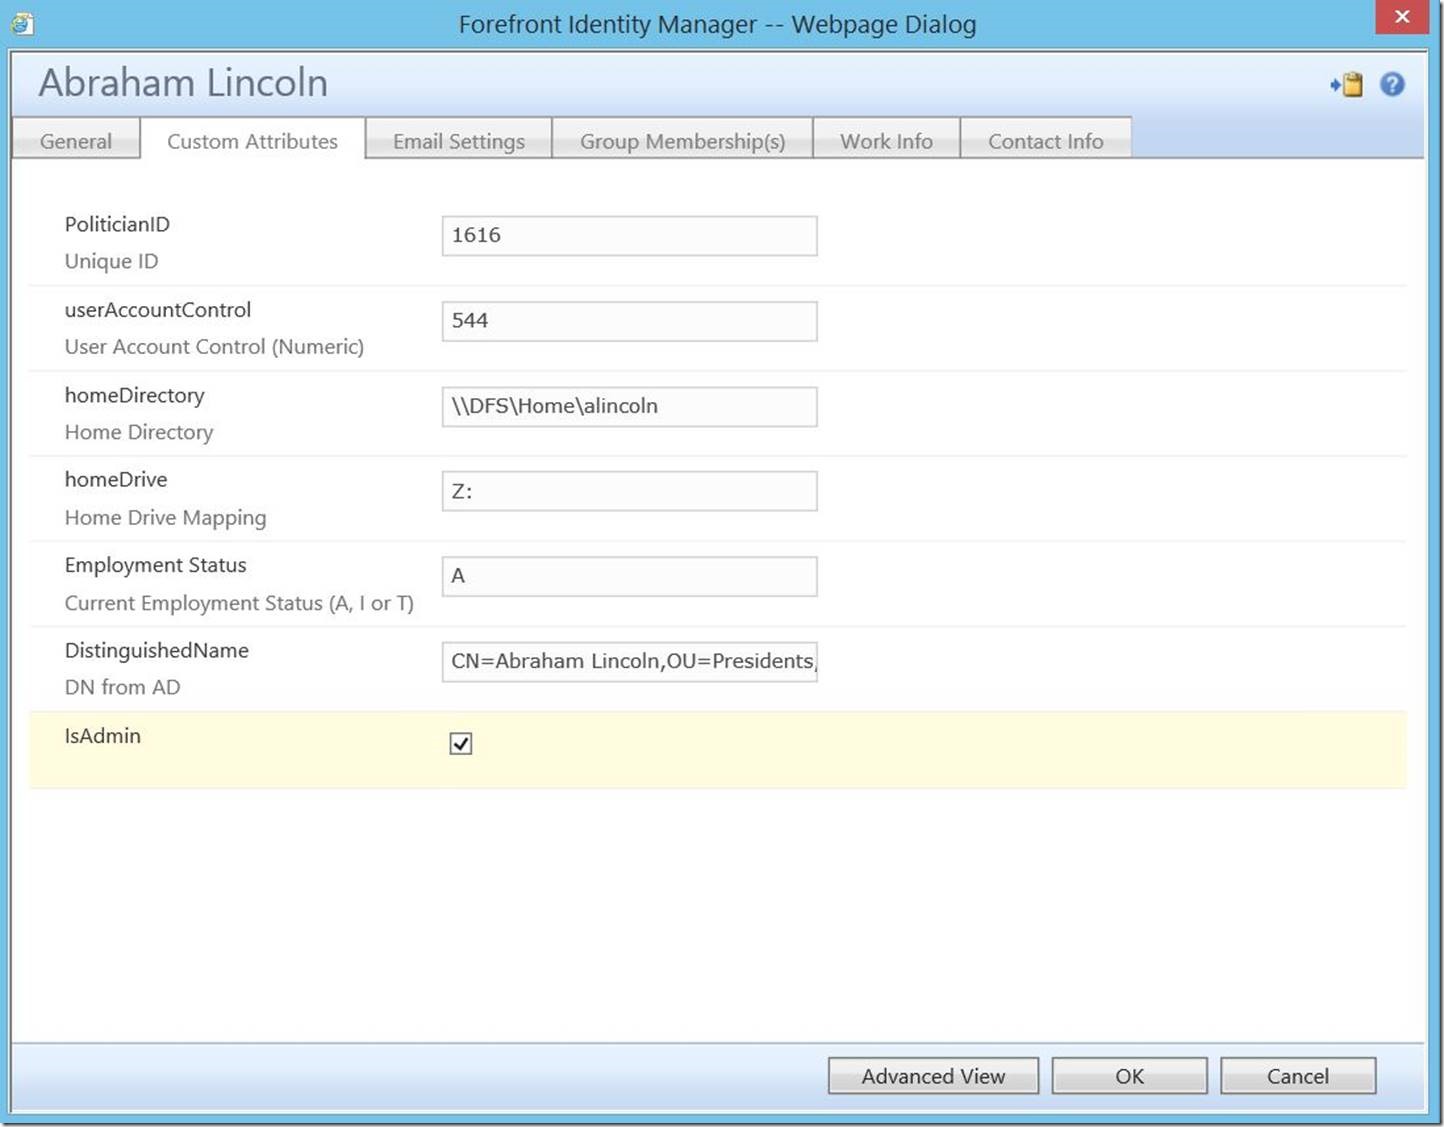
Now, for the real meat and potatoes, let’s follow the process and see it work. As an existing portal admin, open up this user and check the box for “IsAdmin”, then click “OK”.
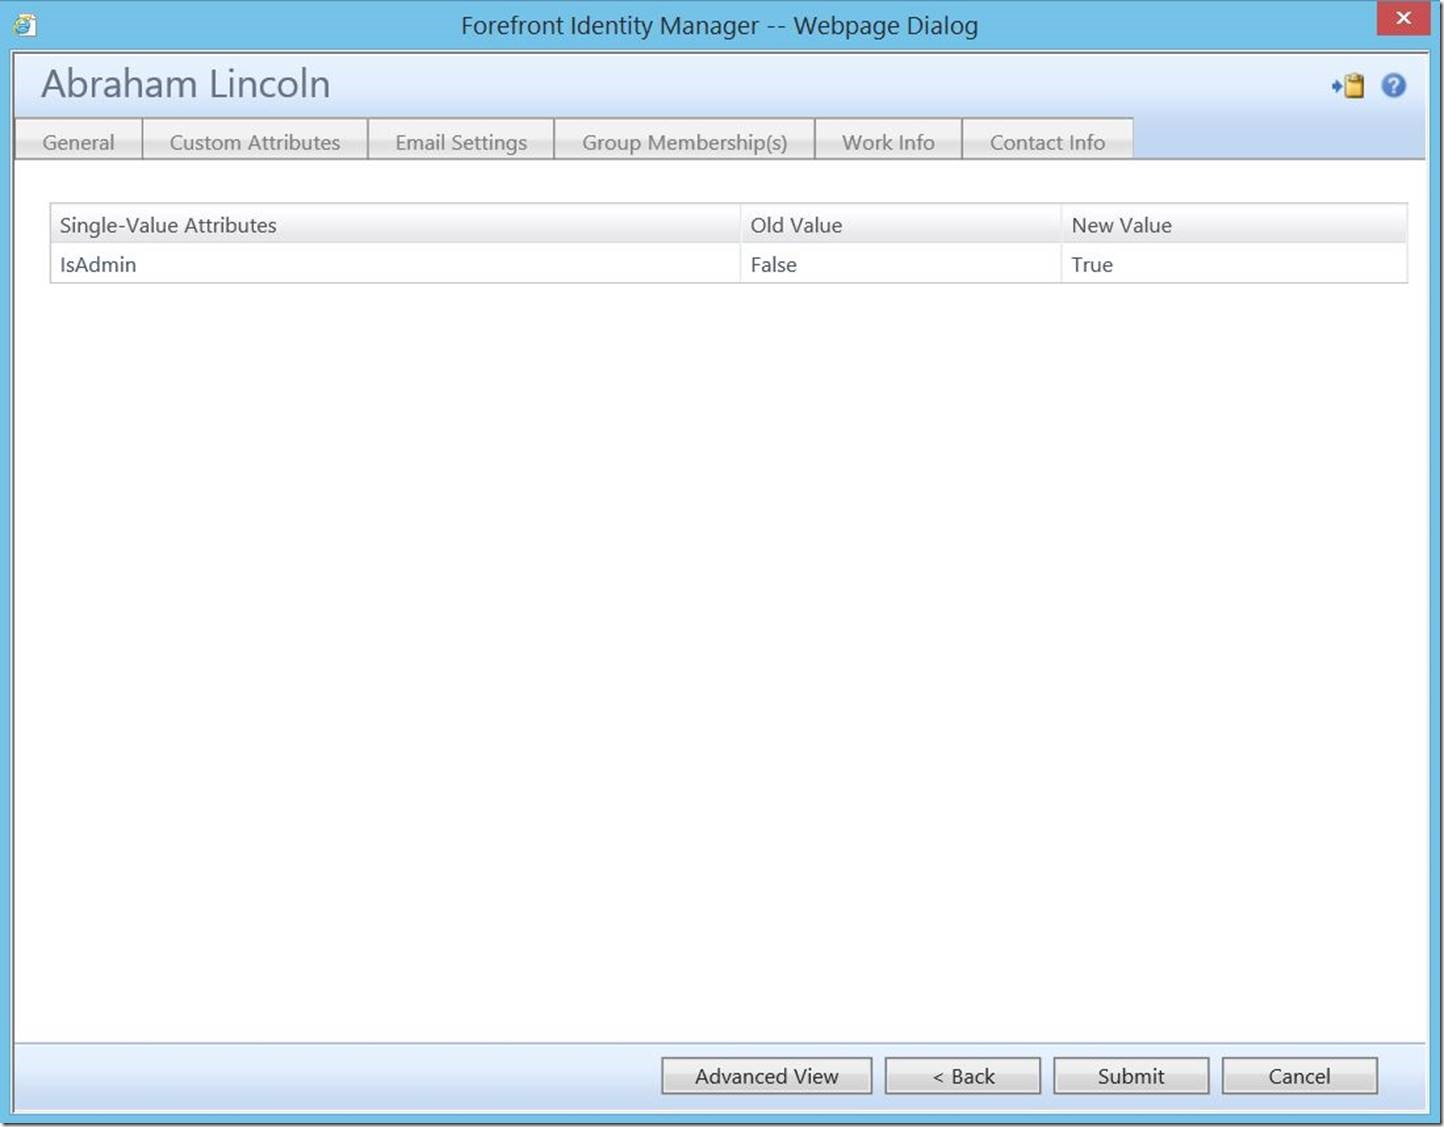
Here we see the change; to commit it, click “Submit”.
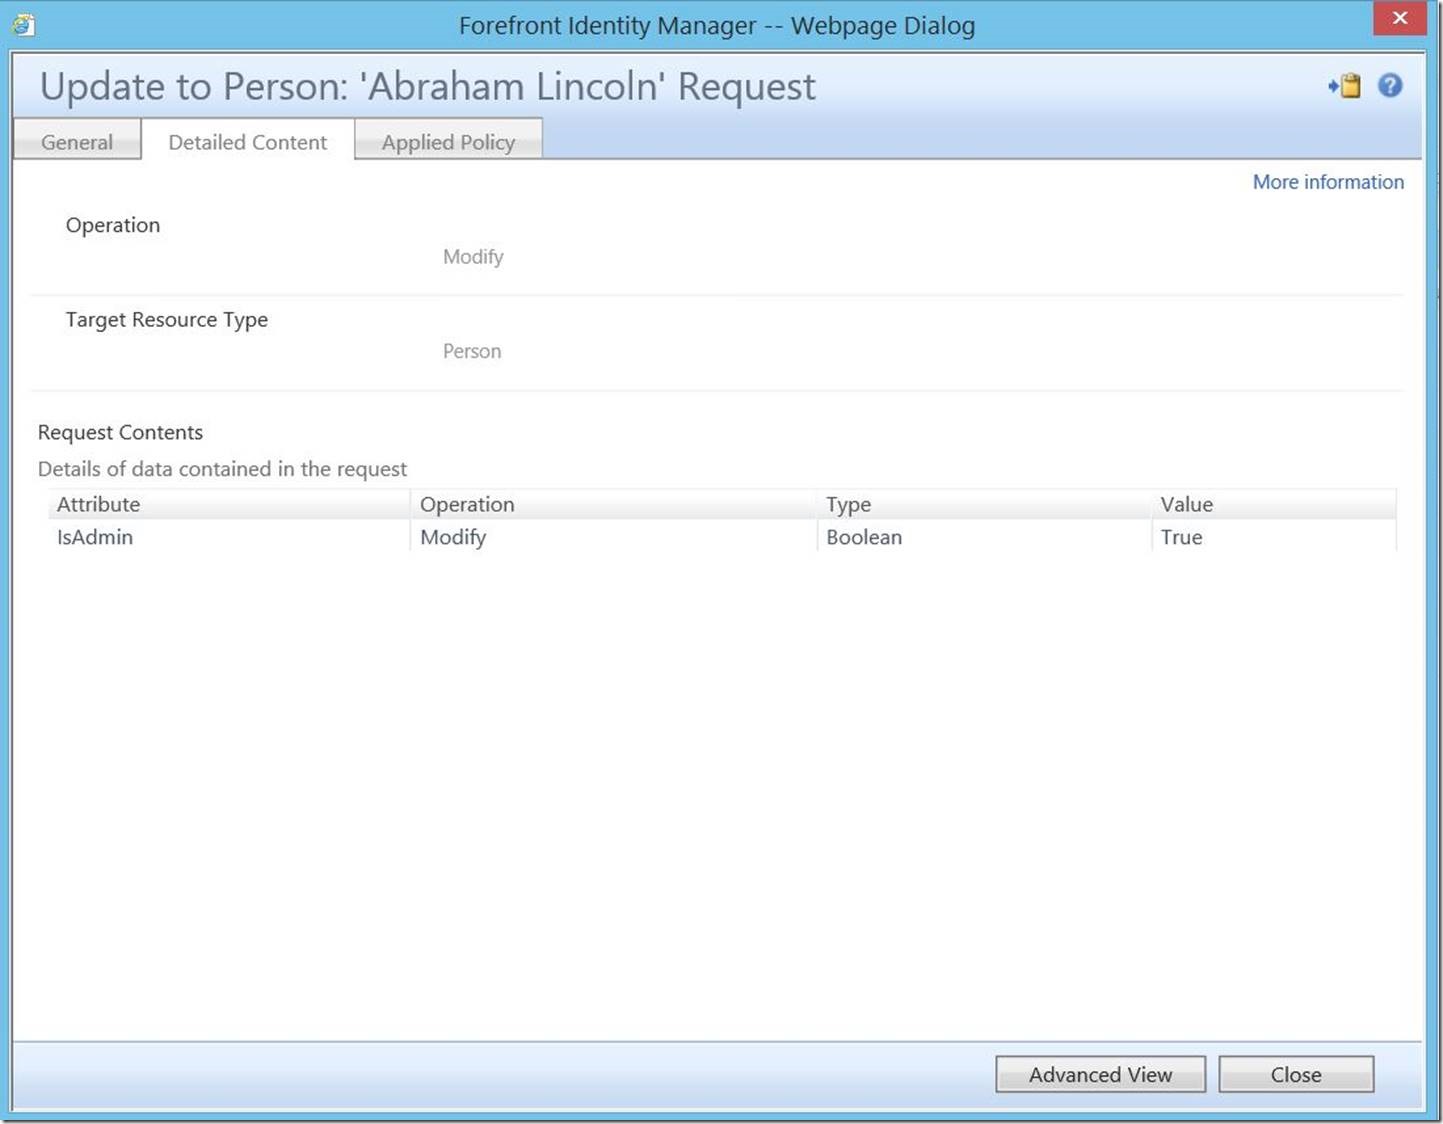
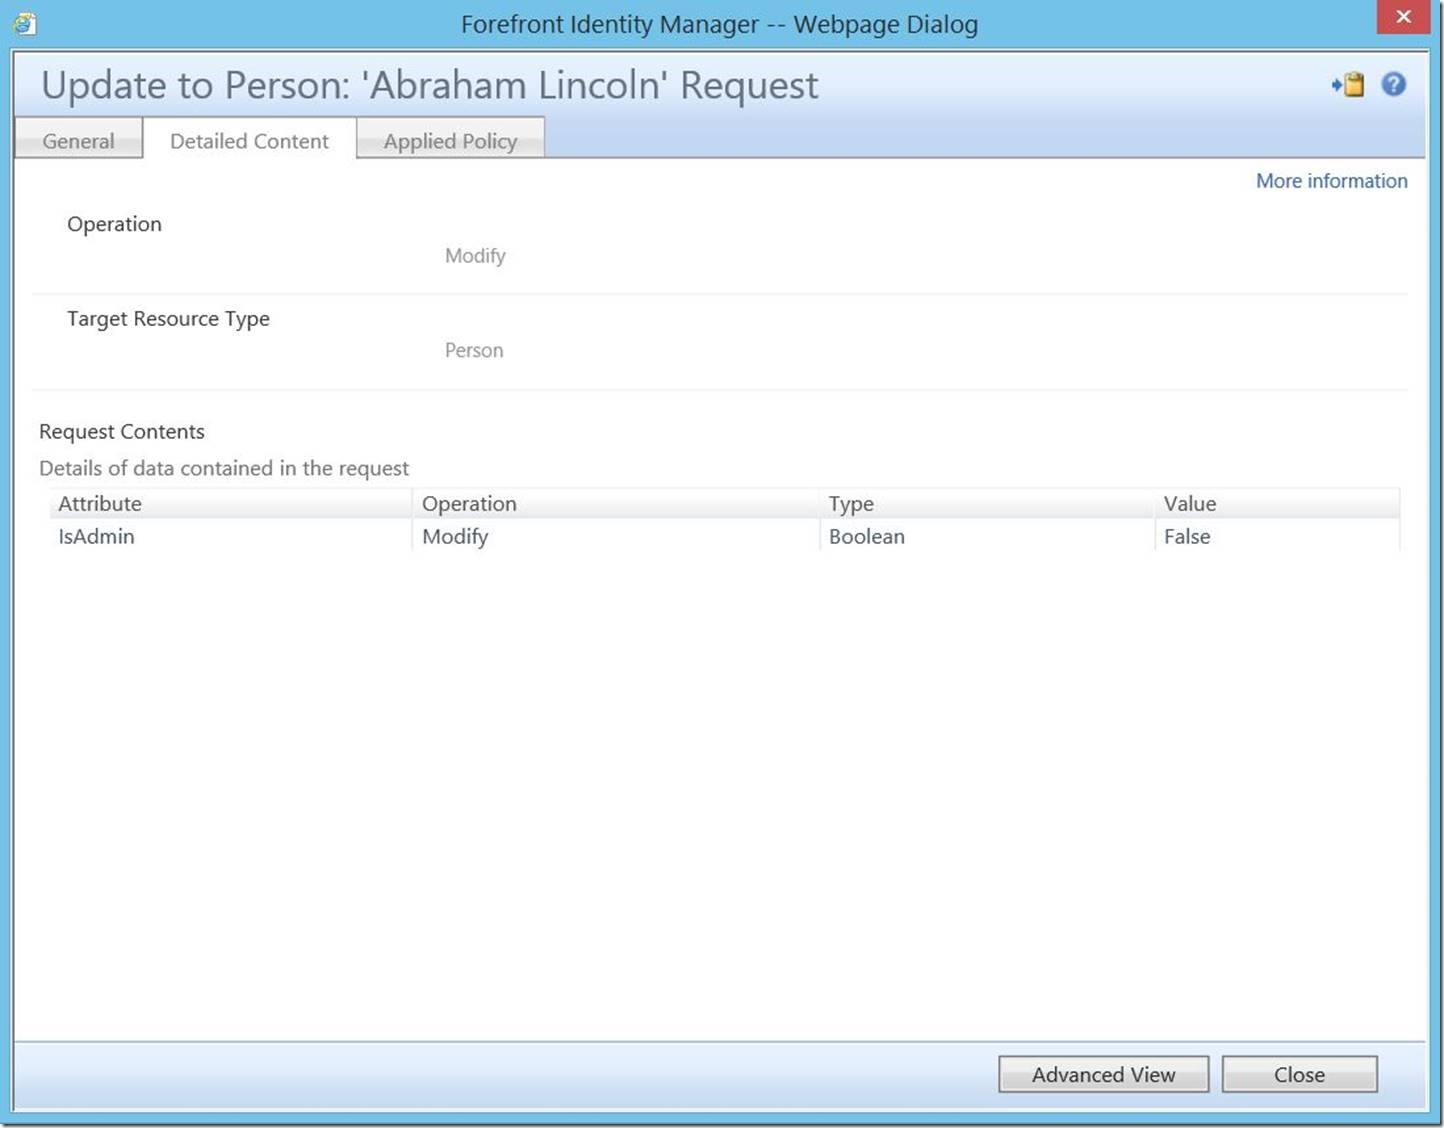
We can actually verify this change has occurred by checking the search requests.
Now, if we again log in with this user, we see he has been elevated to a full-blown FIM portal admin.
Note, this change may take several minutes to take effect. Rarely have I seen it be near instantaneous.
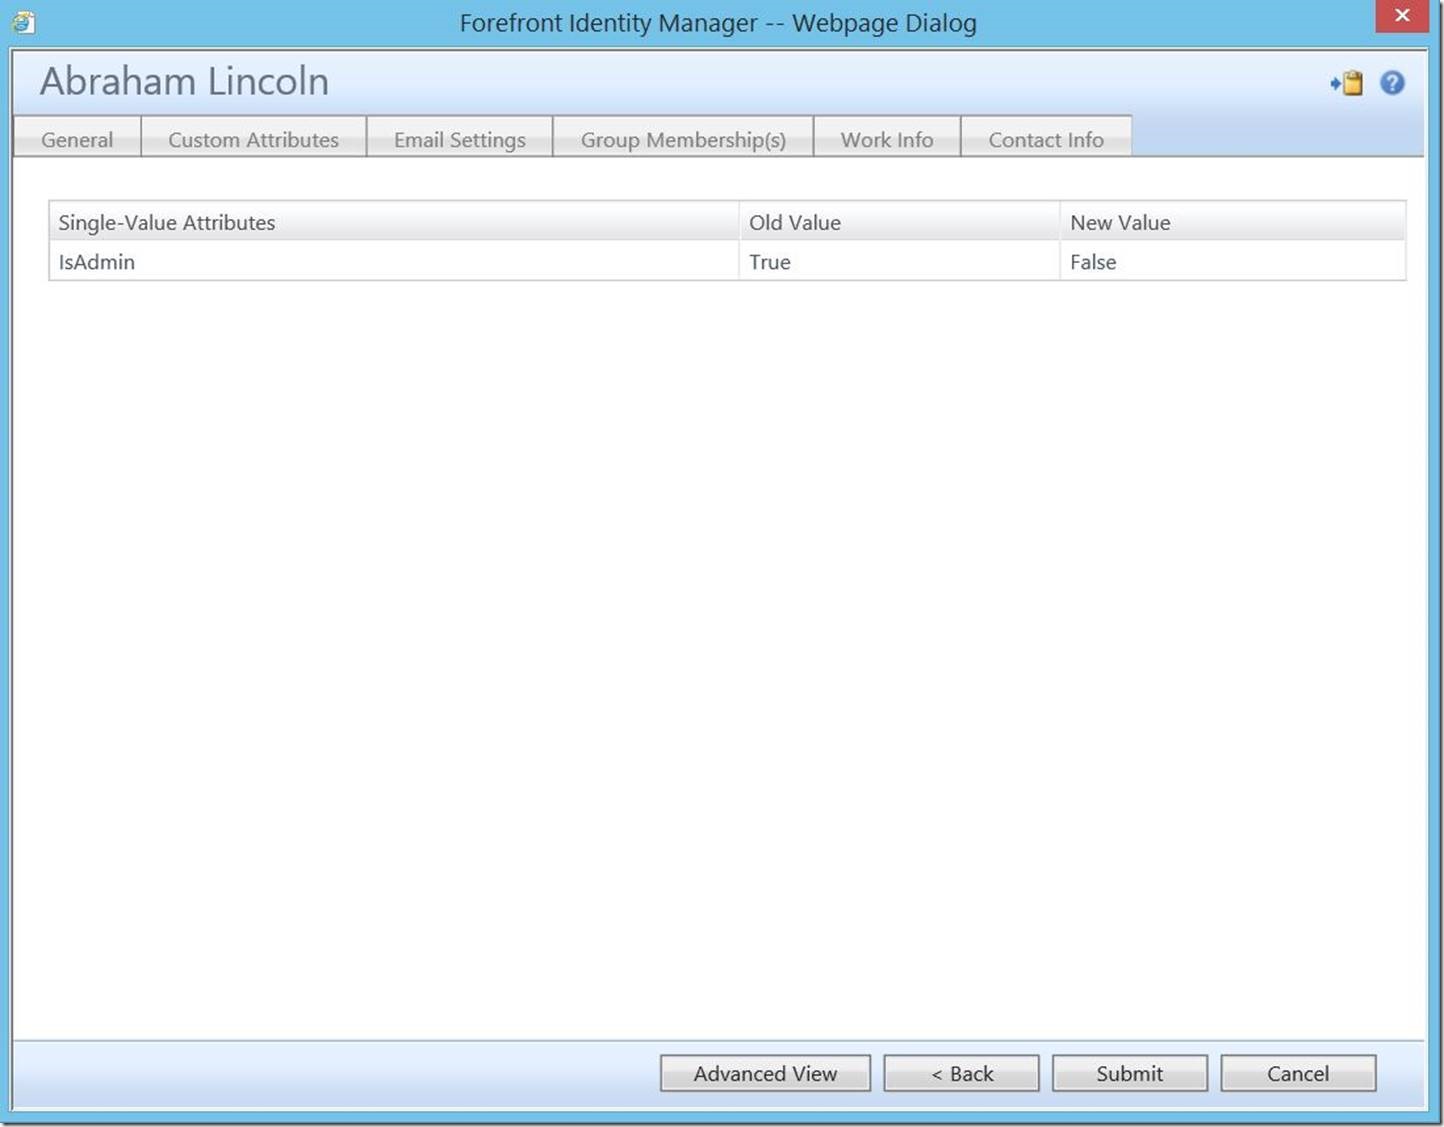
Now, I know what you’re asking: “But what if I fire this user or demote them or just don’t want them to be an admin anymore?”. Normally, if we were relying on some form of transition based workflow, we’d have to create an additional workflow and MPR to reverse this. However, since this is a request based MPR, we simply uncheck the box.
Check search requests shows the change being committed:
And logging in again with this user shows him reverted to chump-level status.
Questions? Comments? Love FIM so much you can’t even stand it?
EMAIL US!
>WE WANT TO HEAR FROM YOU<
## https://blogs.msdn.microsoft.com/connector_space# #
Anonymous
September 18, 2015
This solution is almost perfect. Unfortunately when you look at a user, the Advanced View button is missing. Without that, you cannot modify attributes not seen by the RCDC. Please do tell if there is a workaround. CheersAnonymous
October 05, 2015
The comment has been removed
