Note
Access to this page requires authorization. You can try signing in or changing directories.
Access to this page requires authorization. You can try changing directories.
Previously in the post RCDC - Session 2 - Adding a new Attribute to an Existing TAB We added the attribute Employee Status to the Create User RCDC. Currently this attribute is displayed via a standard Text Box.
we could control what values a user can type within that text box by adding a Regular Expression. If you followed the Schema Management Series in this Blog you might remember the Post Schema Management - Binding a New Attribute which details the binding of a new attribute to a resource. This posting additionally makes note of the Validation Tab which we will now use to apply a regular expression that will restrict the types of values that can be typed for Employee Status.
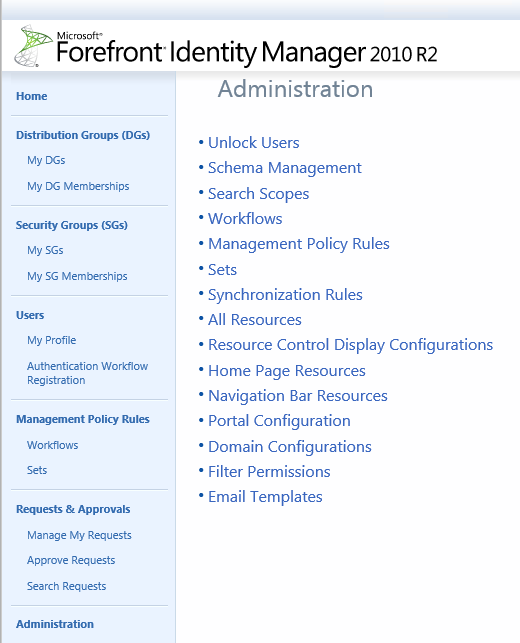
- From the Administration Page of the Portal Click on Schema Management
- From the Schema Management Page click on All Bindings, In the Schema Management - All Bindings Window Type Employee in the Search for Box and click on Enter or the Magnifying Glass.
- Select Employee Status
- From the Employee Status Attribute Window click on the Validation Tab
- In the Text Box for String Pattern Type ^(Enabled|Disabled|InActive)?$
- Click on Ok
- Verify that a change has been made, Click on Submit to close the window
- At this time only the values that are types in the text box for String Pattern would be accepted values typed in for a value to the Employee Status Attribute, Any thing other than Enabled, Disabled, or Inactive were display a denied message and not commit the change.
- Now lets say we would like to Make it easier to let the user know what the allowed attributes are, we can convert the Textbox in the RCDC configuration to Dropdown Menu. Now if you have been following this series you may remember in the post RCDC - Session 2 - Adding a new Attribute to an Existing TAB how we updated the RCDC to include the Employee Status Attribute as a Text Box. From your Text Editor of your choice grab the RCDC Configuration file that you wish to convert the Text box to a dropdown and open it up.
- Now change the section UocTextBox to UocDropDownList
save the configuration file and import the new RCDC.
Click on Browse, a window will pop up and give you the option to browse and select the file you wish to upload.
- Once you located the correct file click on the Open button, this will show you the screen below, it may display the uploaded file for a brief moment and it will disappear. This is Normal do not panic and there is no need to re upload the file.
- Click on Ok
- Verify the RCDC That you are updating is correct and you should see (text data) under New Value, It doesn't show you what the data you uploaded is but if has been uploaded. Click on Submit
- You have now successfully uploaded the RCDC Configuration File.
IIS RESET
- Before we continue open up PowerShell or a command prompt as an Admin, Type IISRESET
- After a few moments you will notice that the Service is stopped and restarted.
- Once complete close out PowerShell
- Now go back to the FIM Portal Page, notice it may take a few extra moments to load the page, this is normal behavior after an IISRESET
- Now open up the New User Interface from the FIM Portal, the window should now load normally.
- Click on Next to view the Next Tab which is where we will find our new attribute.
- Examine the new Attribute, click on cancel
- Stay tune for the follow up Post where we will update:
- Add a Boolean Attribute
- Add a reference attribute
- Manage RCDC Permissions
https://blogs.msdn.com/b/connector_space/default.aspx?wa=wsignin1.0


