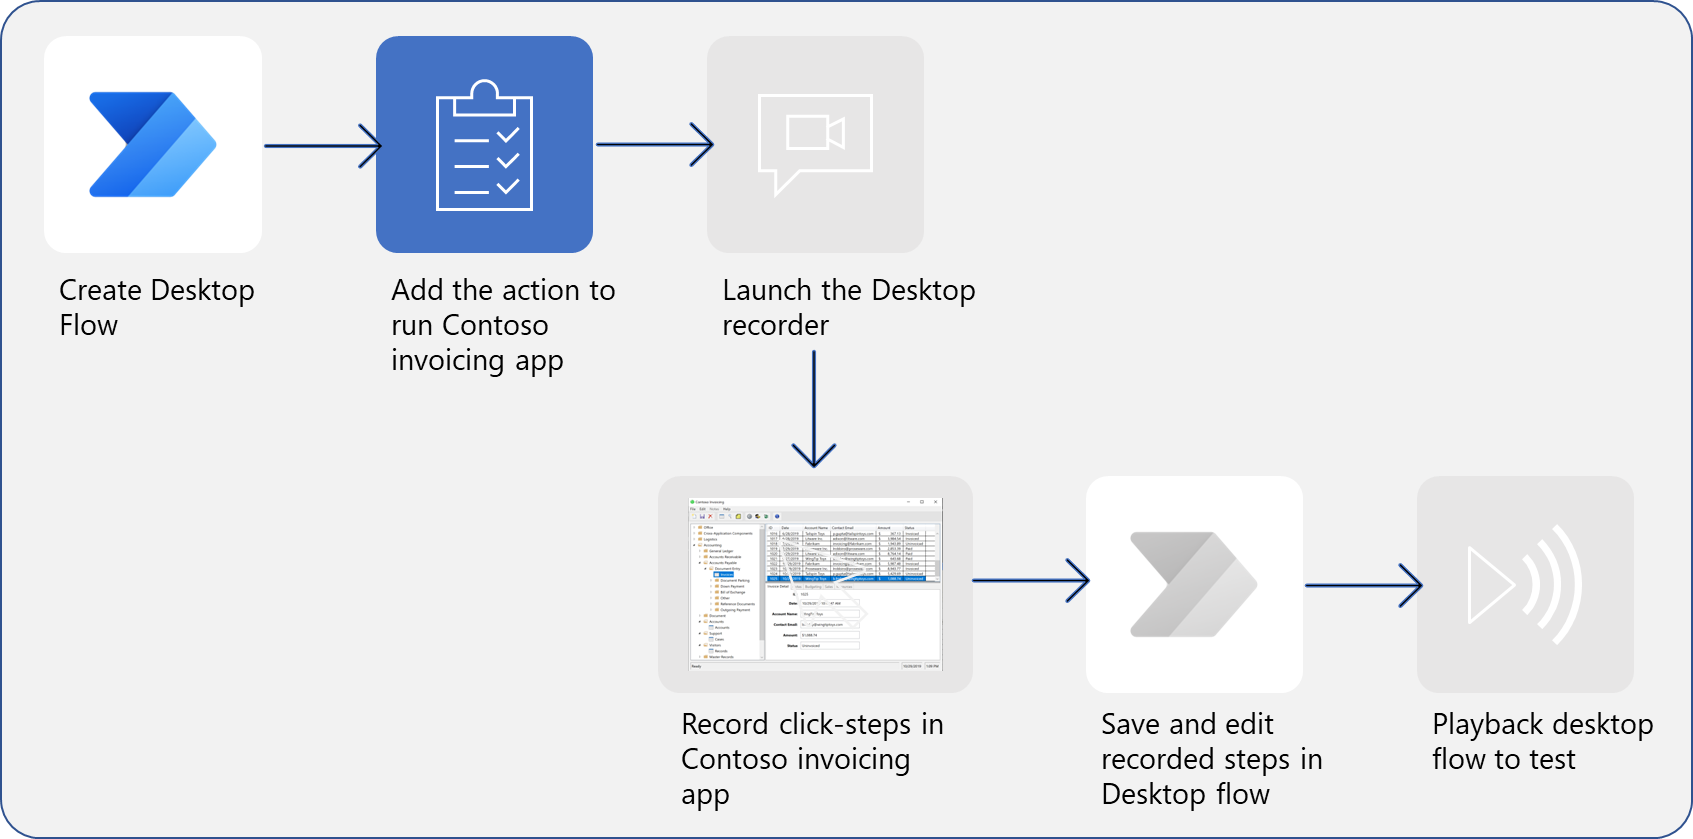
Create your first Power Automate for desktop flow
This unit explains how to set up a desktop flow by using the Contoso Invoicing application.
Go to Power Automate. Ensure that you're signed in and are in the appropriate environment. Under Flows, select My flows > New flow.
Select Launch app and then open Power Automate from the subsequent dialog. The desktop app opens in the designer with a new flow named Untitled, which you can change later.
Desktop flows are created to mimic the actions of a user who's performing steps in a process. You need to train the flow by adding those actions.
To add actions to your flow, select the desired action and then drag it to the Main canvas. Under the System dropdown menu on the Actions Pane, select and drag Run Application. You use this feature to open your invoicing application.
In the following dialog, specify the path to the application by entering the location manually; however, by selecting the icon on the right, you can select the application from a file explorer. You can search in the file explorer if you don't know the exact location of your application.
Leave the remaining fields as-is and then select Save.
Now that Power Automate opened the application, you can complete the next actions. Previously, you chose from the actions on the Action Pane; however, a simpler way of communicating actions that need to be performed is by recording your desktop. The next unit provides instructions on how you can record your desktop.

