Create and manage channels in a team
Channels are dedicated sections within a team to keep conversations organized by specific topics, projects, disciplines. Each channel could be a different unit in a department or a project group in a larger project with different groups.
Channels can be open to all team members (standard channels), selected team members (private channels), or selected people both inside and outside the team (shared channels).
When you create a new team or a private or shared channel in Teams, a team site in SharePoint gets automatically created. You can increase the value of channels when extending them with apps that include tabs, connectors, and bots.
Channel features
Before you create channels, you first need to decide, which channels you need and if they shall be standard, private, or shared. Especially private channels require a solid planning and decisions, if they are the right tool to achieve your business aims. For example, a private channel is useful in these scenarios:
A group of people in a team want a focused space to collaborate without having to create a separate team.
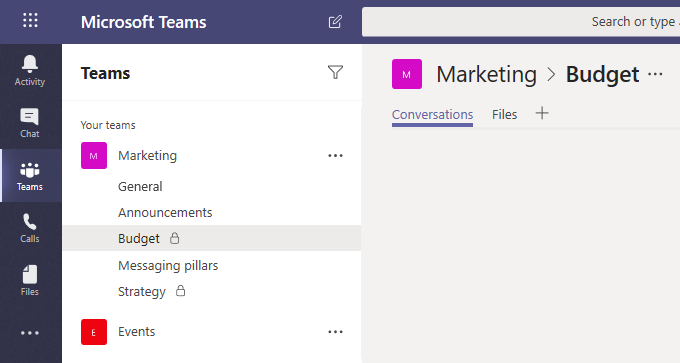
A subset of people in a team want a private channel to discuss sensitive information, such as budgets, resourcing, strategic positioning, and so on.
A lock icon indicates a private channel. Only members of private channels can see and participate in private channels that they are added to.
The following decision matrix should be helpful at planning and recommending channel types.
| Features | Standard channel | Private channel | Shared channel |
|---|---|---|---|
| People can be added to the channel without adding them to the team. | No | No | Yes |
| Channel membership can be limited to a subset of the team. | No | Yes | Yes |
| Channel can be shared directly with other teams. | No | No | Yes |
| Channel can be shared directly with its parent team. | N/A | No | Yes |
| Guests can participate in the channel. | Yes | Yes | No |
| External participants (B2B Direct Connect) can participate in the channel. | No | No | Yes |
| Moderation | Yes | No | No |
| Breakout rooms | Yes | No | No |
| Copy link to channel | Yes | No | No |
| Each channel has a dedicated SharePoint site. | No | Yes | Yes |
| Scheduled meetings | Yes | No | Yes |
| Planner | Yes | No | No |
| Bots, connectors, and messaging extensions | Yes | No | No |
| Supported in class teams | Yes | Yes | No |
| Tags | Yes | No | No |
| Analytics | Yes | Yes | No |
Manage channels
Use Teams admin center
Create a channel
To add a channel in the Teams admin center, follow these steps:
Go to Teams admin center and select Teams > Manage teams.
In the main pane, select the team you want to modify.
Select the Channels tab.
Select + Add.
Provide the following information and select Apply.
Name
Description
Type
Update a channel
You can update channel name and description once created. But, you cannot modify the channel type. A channel that was created as private will stay private and a standard channel cannot be turned into a private channel.
To modify a channel in the Teams admin center, follow these steps:
Go to Teams admin center and select Teams > Manage teams.
In the main pane, select the team you want to modify.
Select the Channels tab.
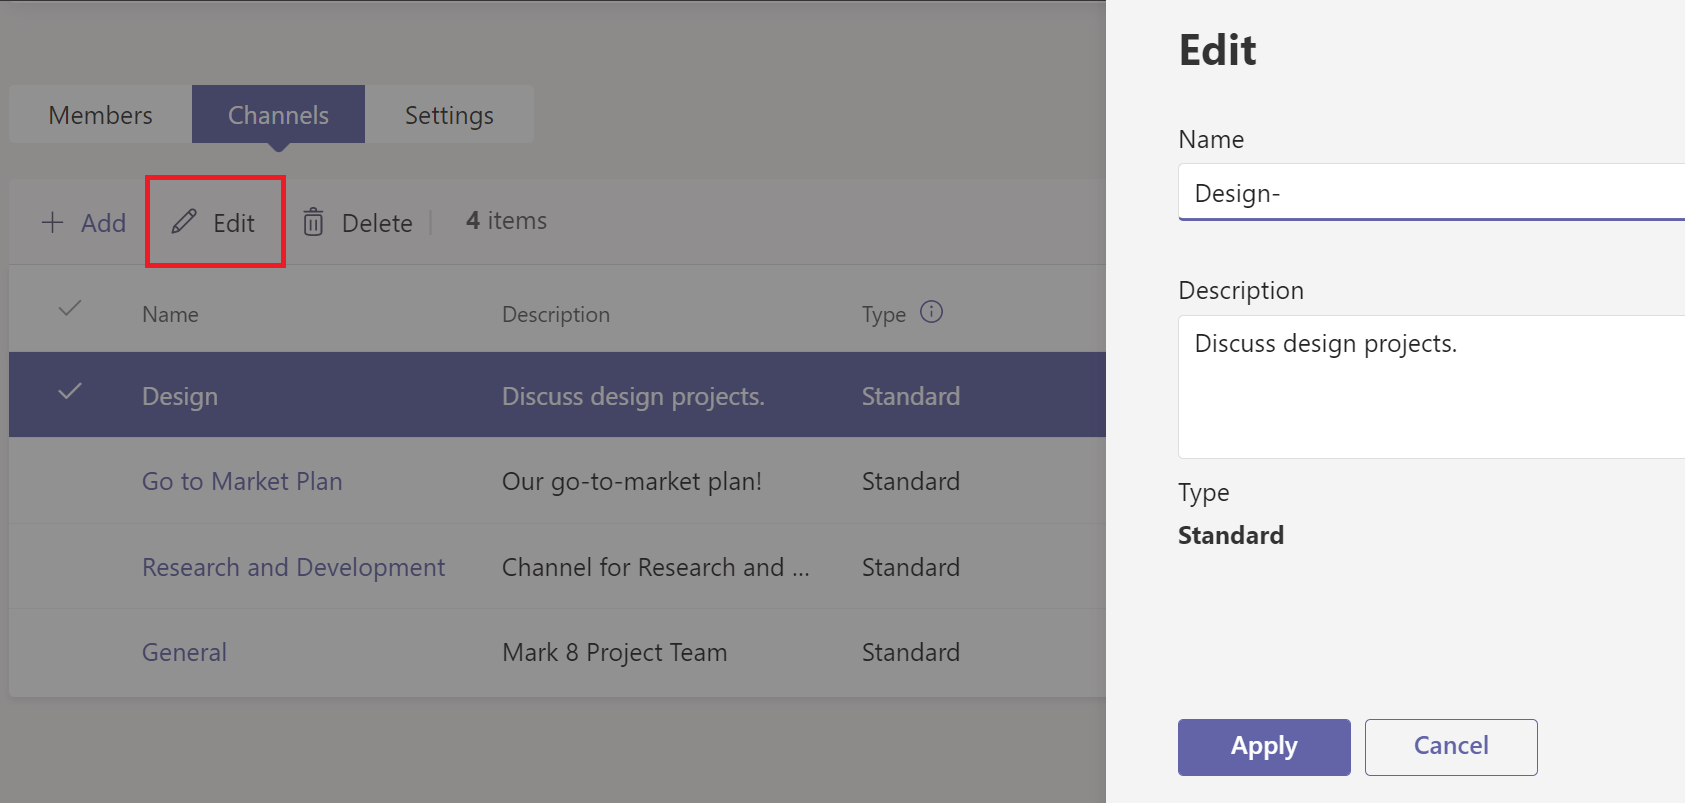
Select the Channel you want to modify.
Select Edit.
Modify the channel name and description then select Apply.
Delete a channel
To delete a channel in the Teams admin center, follow these steps:
Go to Teams admin center and select Teams > Manage teams.
In the main pane, select the team you want to modify.
Select the Channels tab.
Select the Channel you want to delete.
Select Delete to delete the channel.
Restore a deleted channel
When a channel is deleted accidentally or by purpose, it can be recovered within 30 days. This must be done by a team owner of the team that contained the deleted channel via the Teams client.
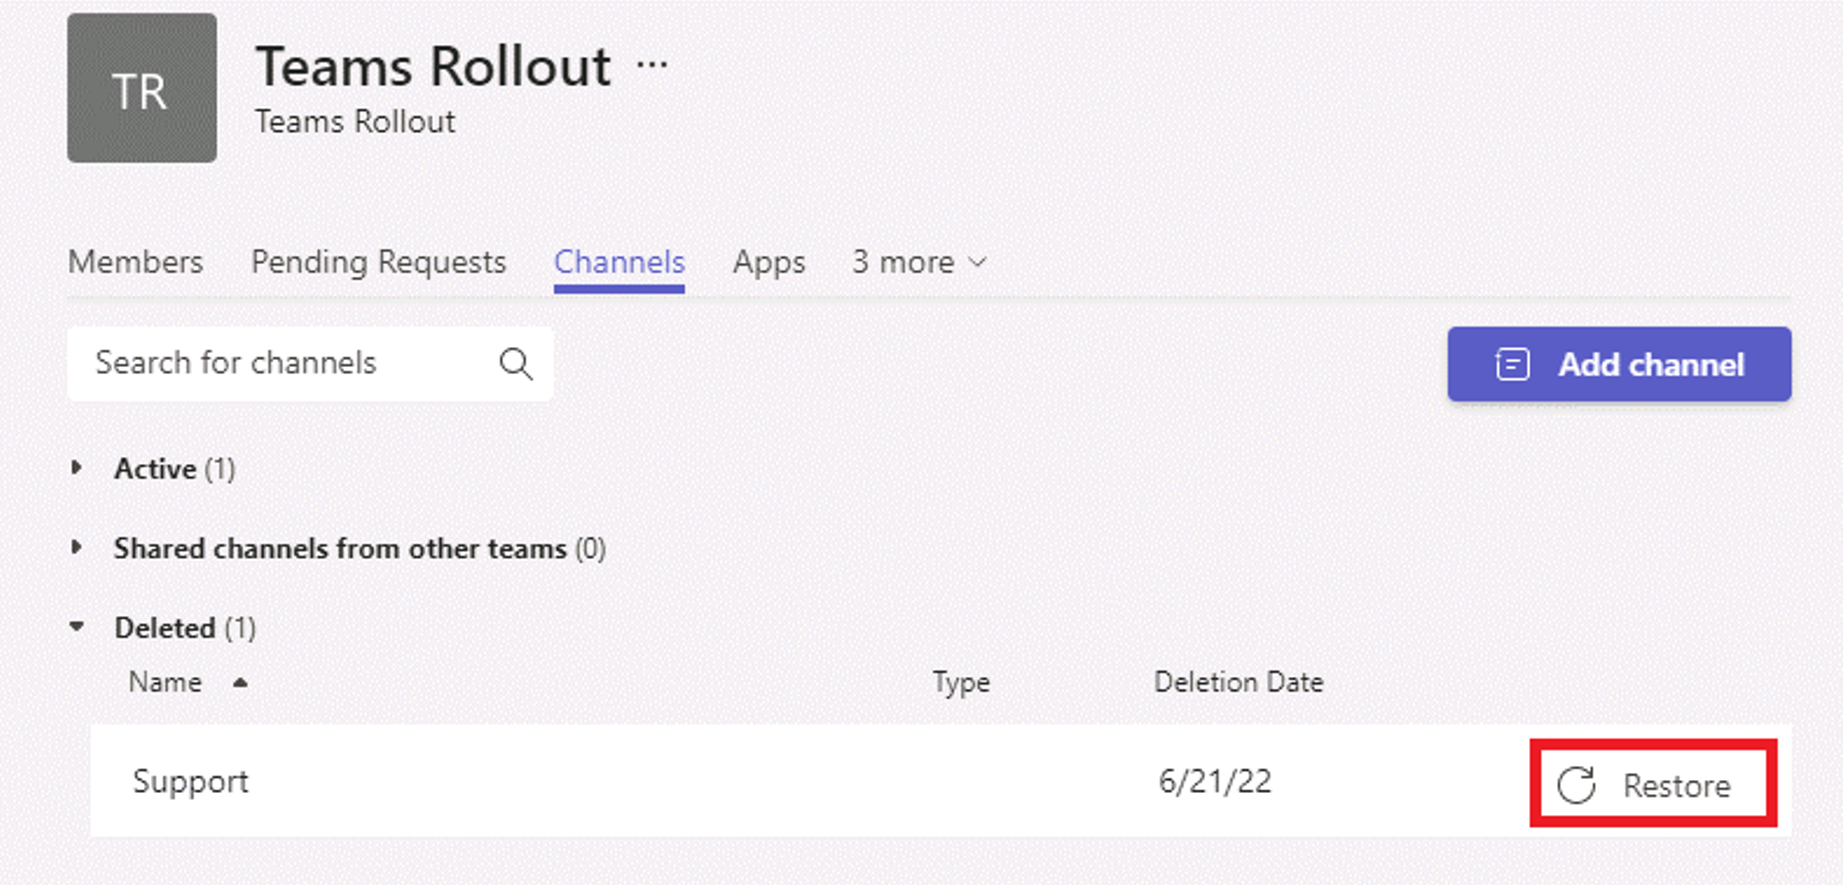
To recover a deleted channel in the Teams client, follow these steps:
In Teams client, select Teams, and then the team that contained the channel.
Select the Channels tab from the top pane.
Open the Deleted row by selecting it.
Select Restore right from the channel you need to restore.
Note
It is currently not possible to restore channels from the Teams admin center or via the Teams PowerShell module.
Use PowerShell
Use the New-TeamChannel cmdlet to create a new standard channel:
Get-Team -DisplayName "CxO Team" | New-TeamChannel -DisplayName "Billing" -Description "A channel for requesting payment on your invoices."
To list all channels of a specific team, run the following:
Get-Team -DisplayName "CxO Team" | Get-TeamChannel
To modify a channel, use the Set-TeamChannel cmdlet:
Get-Team -DisplayName "CxO Team" | Set-TeamChannel -CurrentDisplayName "Billing" -NewDisplayName "Invoices"
Remove a channel, by using the Remove-TeamChannel cmdlet:
Get-Team -DisplayName "CxO Team" | Remove-TeamChannel -DisplayName "Invoices"
To create a private channel, use the membership parameter and set the type to private:
Get-Team -DisplayName "CxO Team" | New-TeamChannel -DisplayName "Billing" -Description "A channel for requesting payment on your invoices." -MembershipType Private
Note
Using the -MembershipType parameter requires Teams PowerShell version 1.0.18 or newer.
To create a private channel on behalf of a user, without granting permissions to an administrator use the following cmdlet:
Get-Team -DisplayName "CxO Team" | New-TeamChannel –MembershipType Private –DisplayName "Dunning" –Owner Alex.Wilber@contoso.com