Try-This exercise - Scale the node count in an Azure Kubernetes Service cluster
Use this Try-This exercise to gain some hands-on experience with Azure Kubernetes Service.
You can scale the number of nodes in your cluster to increase the total number of cores and memory available for your container applications.
If the resource needs of your applications change, your cluster performance may be impacted due to low capacity on CPU, memory, PID space, or disk sizes. To address these changes, you can manually scale your AKS cluster to run a different number of nodes. When you scale down, nodes are carefully cordoned and drained to minimize disruption to running applications. When you scale up, AKS waits until nodes are marked Ready by the Kubernetes cluster before pods are scheduled on them.
Note
To complete this exercise you'll need an Azure Subscription.
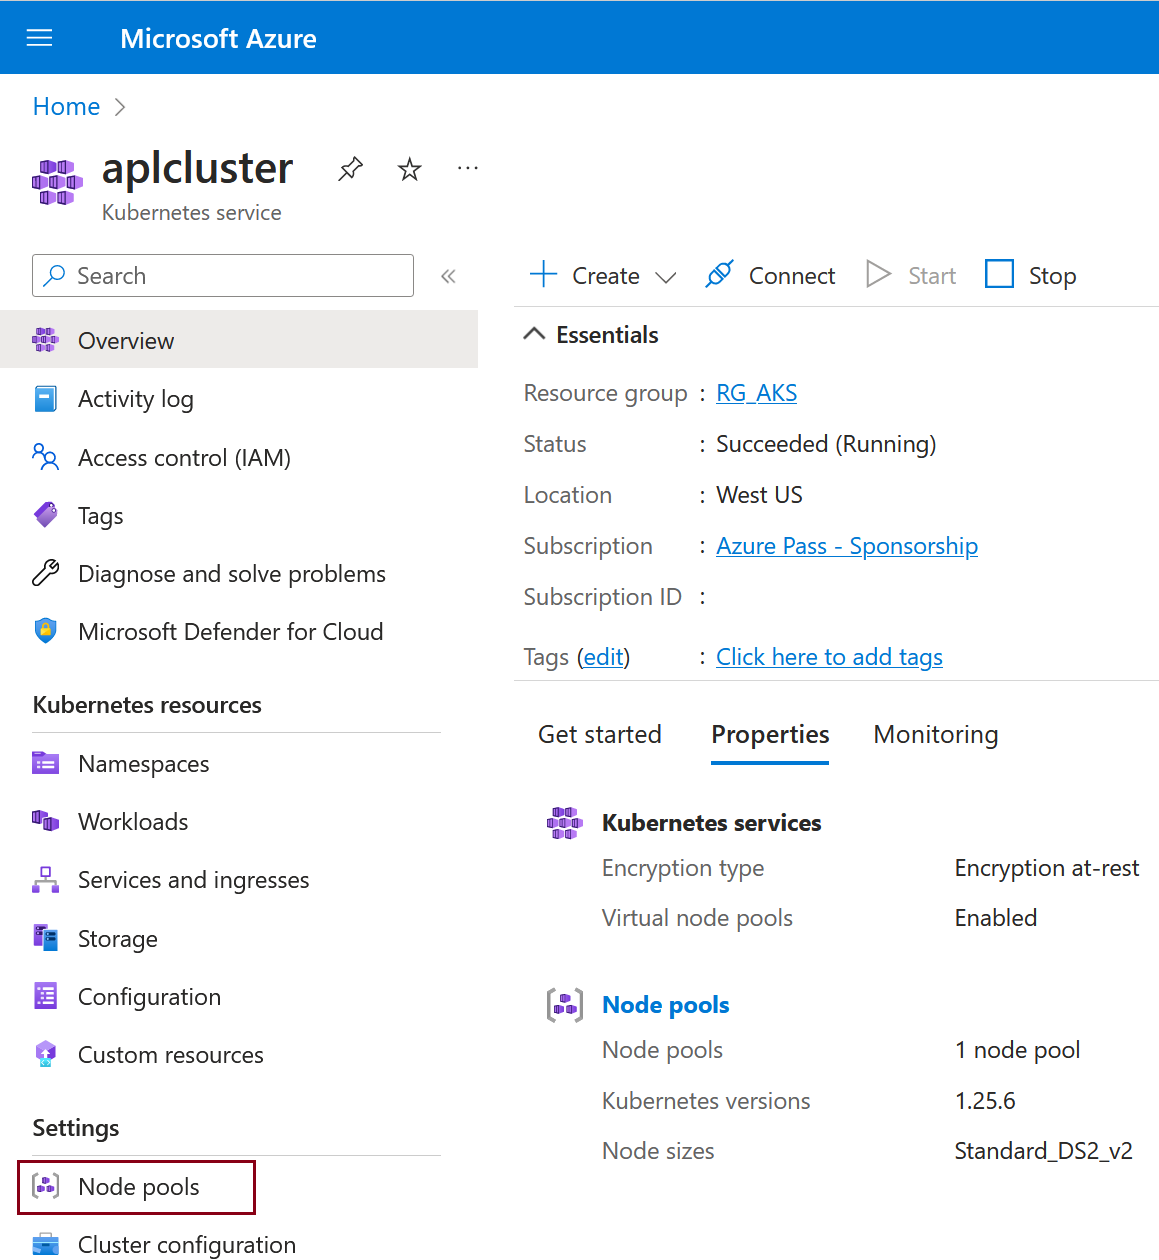
From Overview, select Node pools.
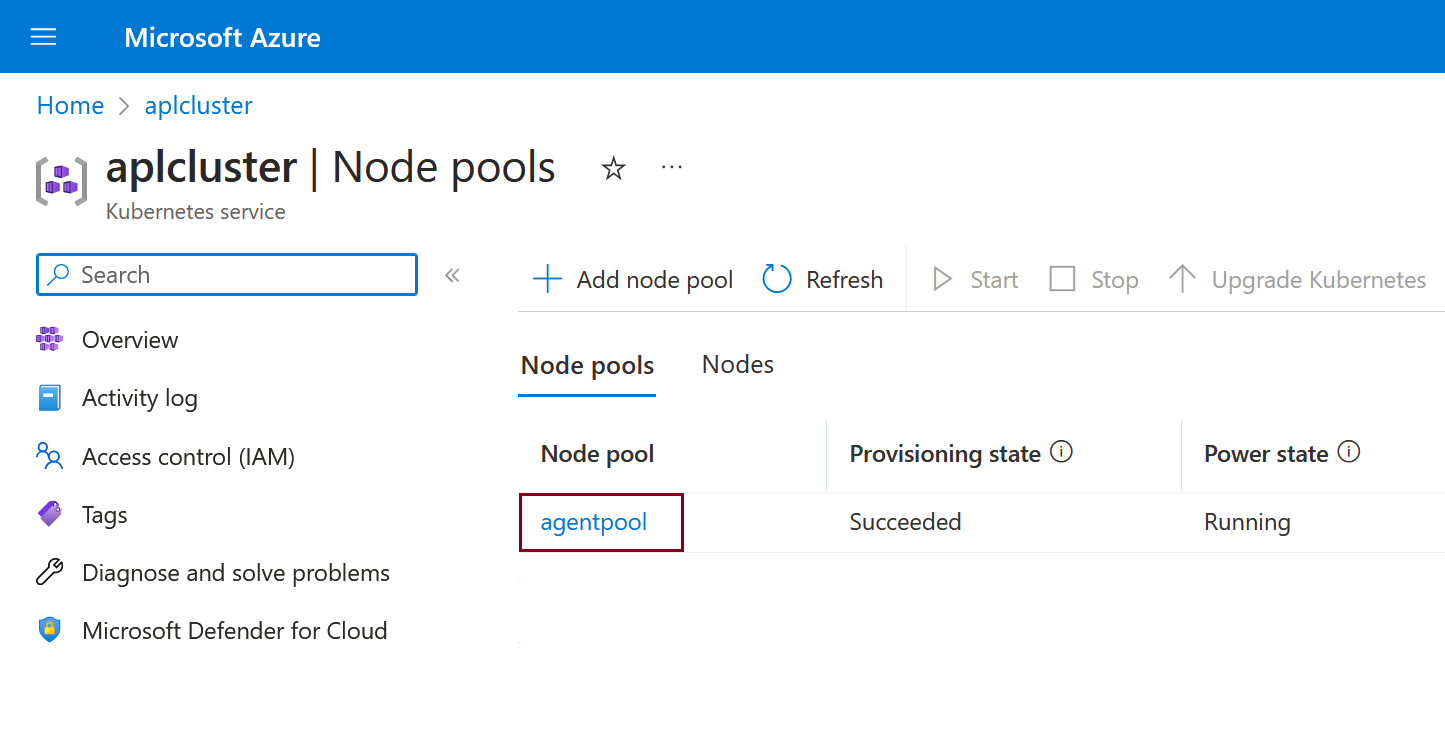
Select the node pool.
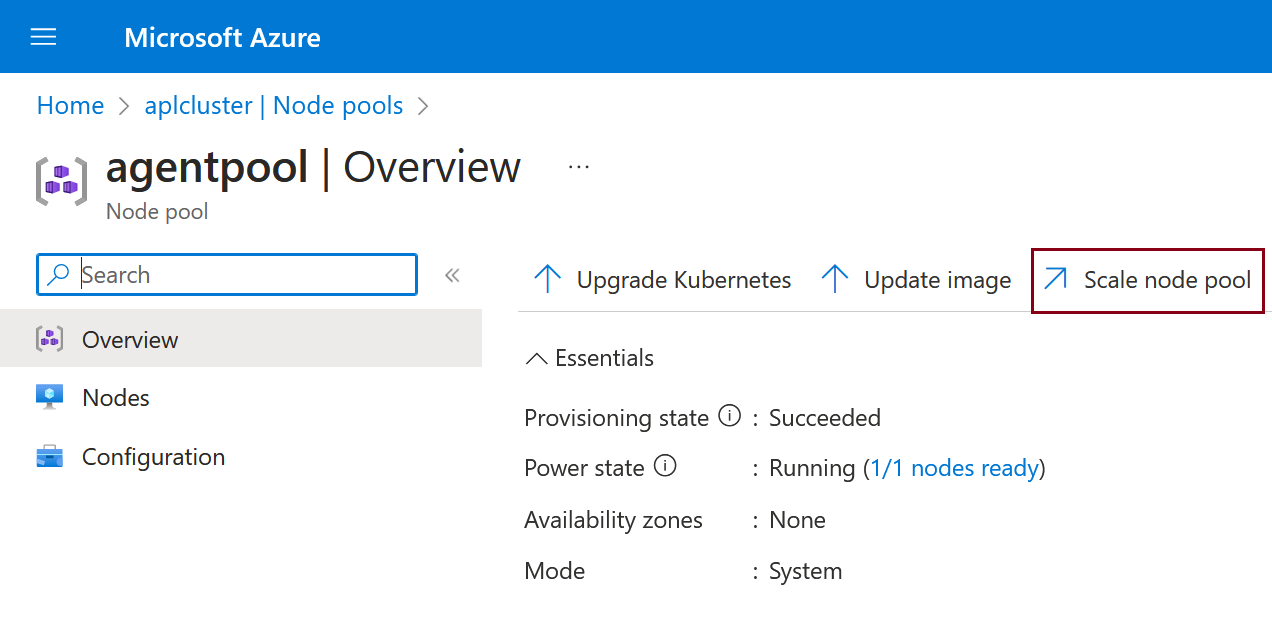
Select Scale node pool.
Select Autoscale - Recommended and set the minimum and maximum node count.
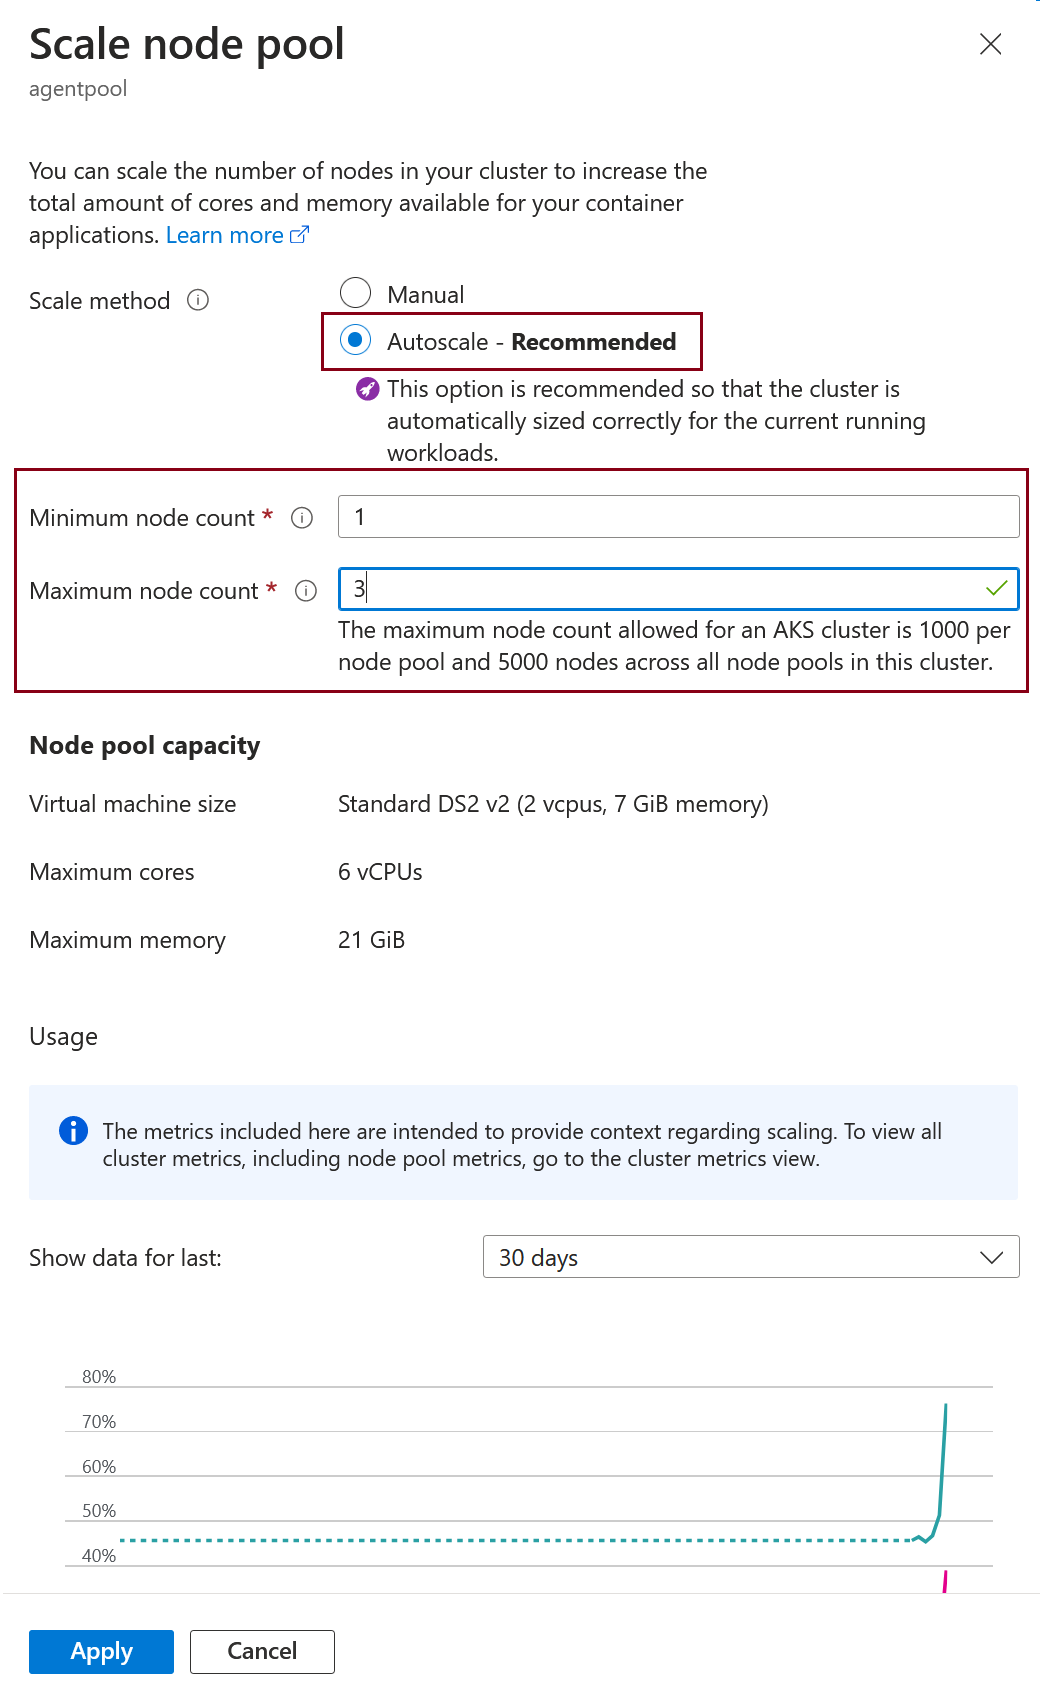
Select Apply to enable node scaling.